Fix “explorer.exe class not registered” error on Windows 10
- Home
- Support
- Tips Data Recovery
- Fix “explorer.exe class not registered” error on Windows 10
Summary
Learn how to fix the "explorer.exe class not registered" error in Windows 10 and easily recover accidentally deleted data with our comprehensive article. Gain insights into the possible causes of the issue and explore various solutions for a hassle-free experience.
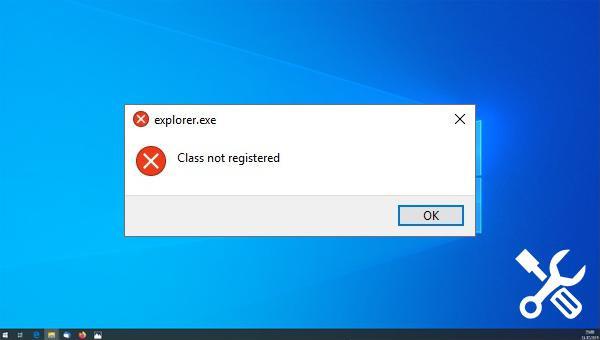
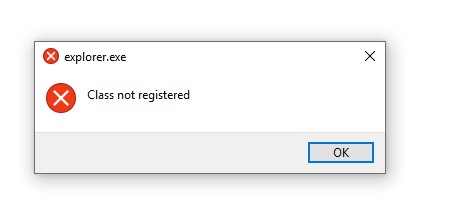
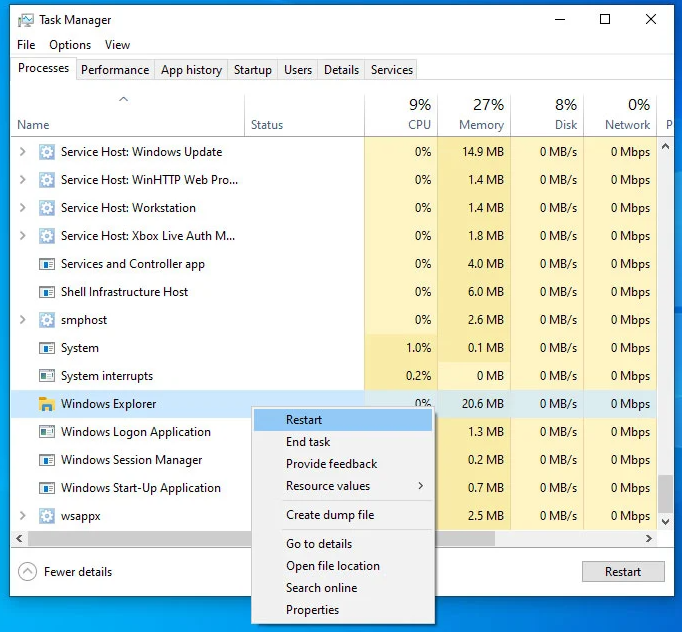
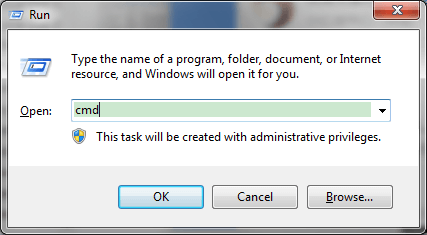
regsvr32 ExplorerFrame.dll and hit Enter to re-register the DLL file. Once the command executes, reboot your PC to see if the issue is resolved.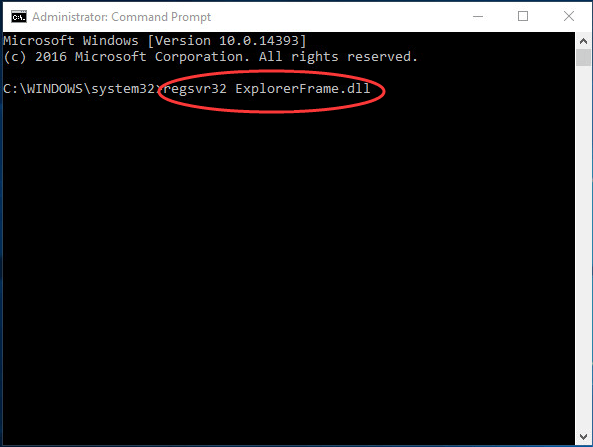

Easy to use Recover data by 3 steps;
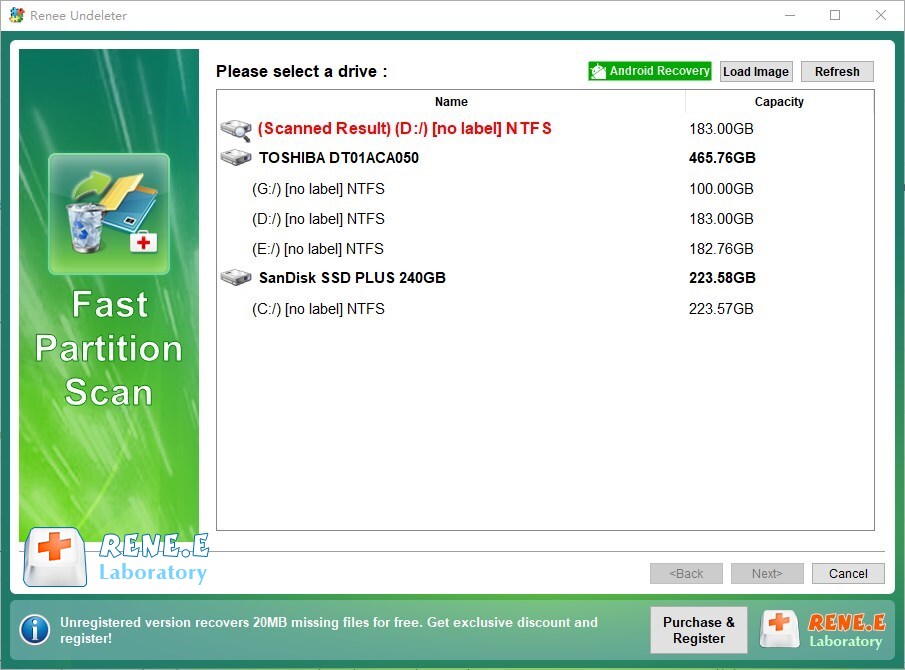
Multiple scan modes Fast partition scan, whole partition scan and whole disk scan;
Supported file types Image, video, audio, text, email and so on;
Image creation Create a partition image to read and back up data;
Supported devices SD card, SDHC, SDXC, USB flash drive, hard disk and computer.
Easy to use Recover data by 3 steps;
Multiple scan modes Fast partition/whole partition/whole disk scan;
Supported devices SD card/USB/hard disk.
Free TrialFree TrialFree Trial 800 people have downloaded!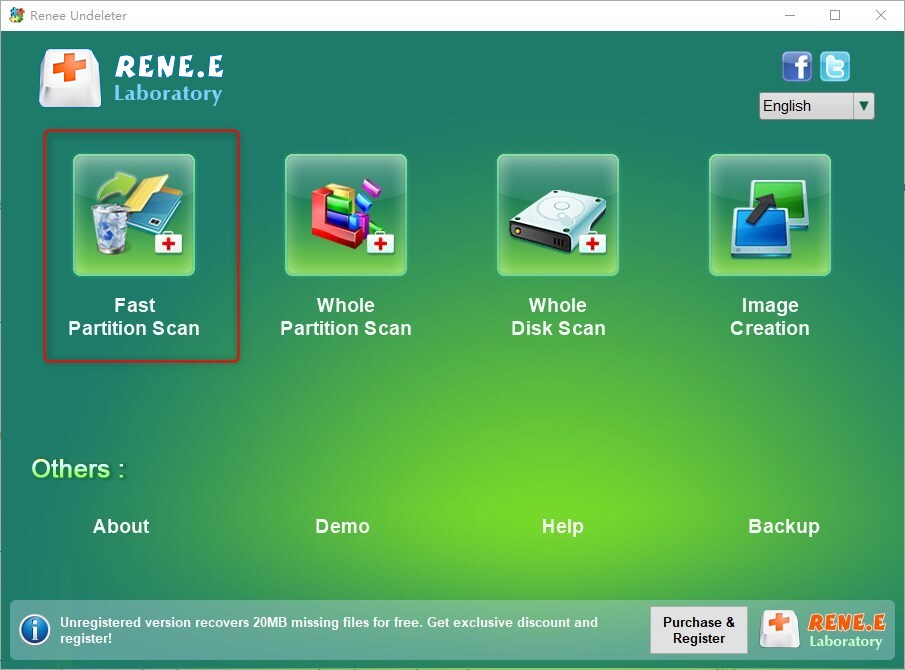
Relate Links :
How to Fix When Files on SD Card Not Showing up on Android?
27-12-2021
Amanda J. Brook : Sometimes, the SD card files are not showing up on Android. How can we solve the problem? In...
How to Fix GoPro SD Card Error?
14-09-2024
Ashley S. Miller : Some people meet with the GoPro SD card errors, such as “NO SD” and “SD ERR”. In this...
Solutions to SD Card Unexpectedly Removed on Android
24-12-2021
Jennifer Thatcher : Some Android users complain that they always receive the notification saying that the SD is unexpectedly removed. In...
How to Fix Corrupted SD Card on Android?
16-12-2021
John Weaver : SD card is used in various devices, phones, cameras and video games. How to fix the corrupted SD...


