

Recover Data from Damaged MacBook Pro Hard Drive Effortlessly

Summary
Learn how to perform macbook pro data recovery on hard disk with a simple and practical method. Find out more in this article.

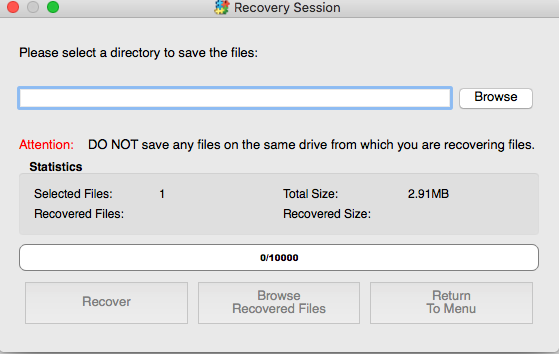
Easy to use Recover data by 3 steps;
Multiple scan modes Fast partition scan, whole partition scan and whole disk scan;
Supported file types Image, video, audio, text, email and so on;
Image creation Create a partition image to read and back up data;
Supported devices SD card, SDHC, SDXC, USB flash drive, hard disk and computer.
Easy to use Recover data by 3 steps;
Multiple scan modes Fast partition/whole partition/whole disk scan;
Supported devices SD card/USB/hard disk.
Free TrialFree TrialFree Trial 800 people have downloaded!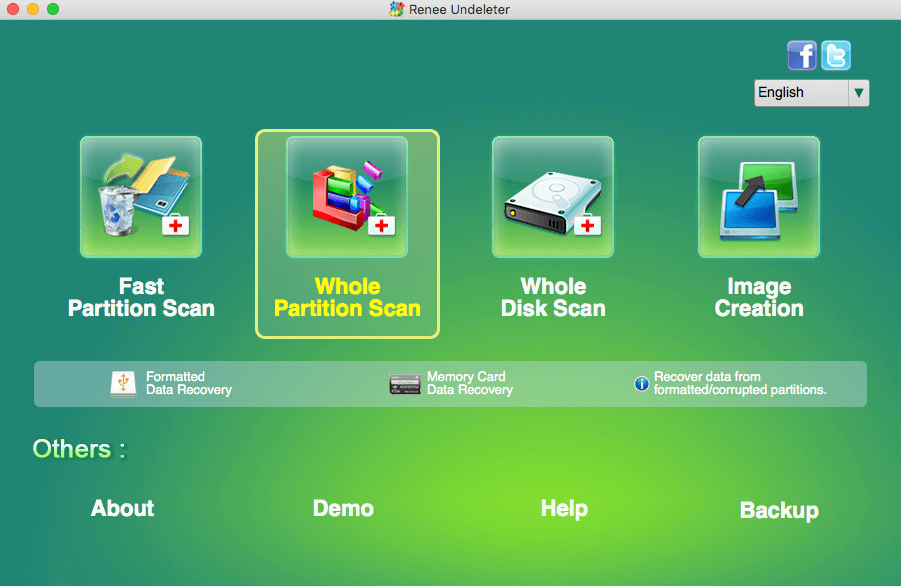
- Fast Partition Scan – Quickly retrieve files lost due to accidental deletion or emptying the recycle bin.
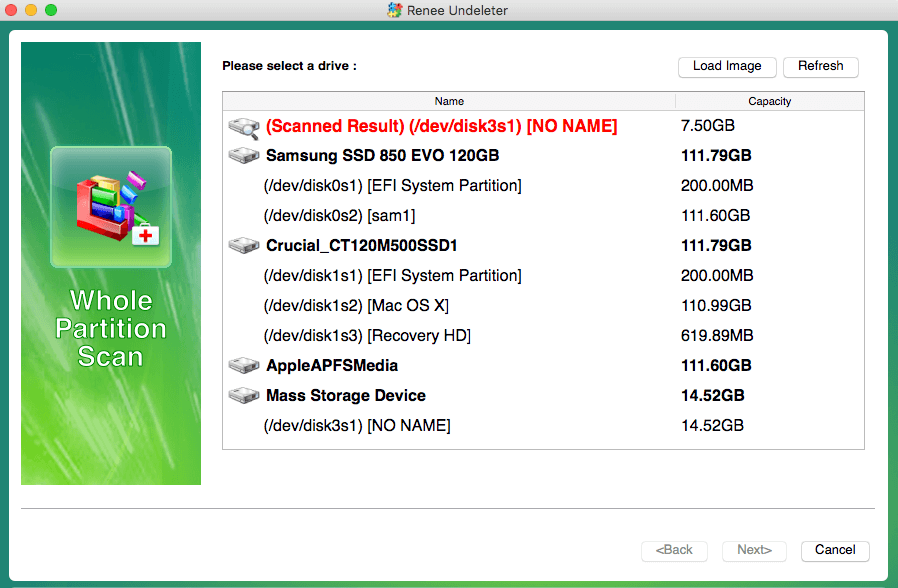
- Whole Partition Scan – Quickly recover files lost due to inaccessible or formatted partitions.
- Whole Disk Scan – Analyze and get partition information and perform a full scan of the entire partition.
- Image Creation – You can create a mirror image for a partition to back up the current partition state.
Relate Links :
Recover Data from Formatted Mac Hard Drive: Expert Guide

26-04-2024
John Weaver : Learn how to recover lost data from a formatted Mac hard drive with a simple and effective method....
Recover Deleted Files from External Hard Drive/USB: Expert Guide

19-06-2024
Amanda J. Brook : Master how to recover deleted files from external hard drive. Understand deletion causes, restoration techniques, and storage device...
Fix WD My Passport Drive Not recognized: Ultimate Solutions

13-09-2023
Ashley S. Miller : Learn why your WD My Passport mobile hard drive is not recognized by your computer and discover effective...
How To Recover Files from a Hard Drive that Won't Boot in Windows 10?
01-03-2024
Amanda J. Brook : Recover data seamlessly from a computer that won't boot. Uncover tried-and-true techniques to salvage crucial files from your...

