

Find Your Autosave Files in Photoshop Quickly and Easily

Summary
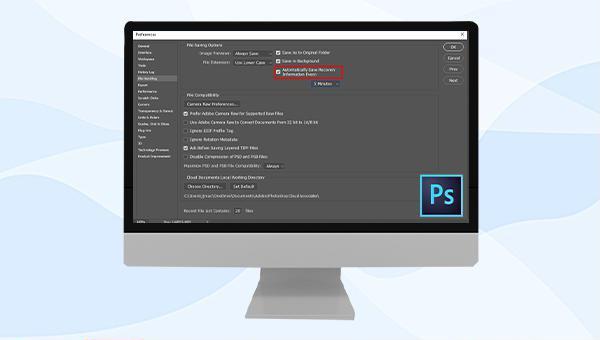
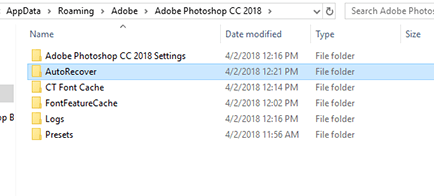
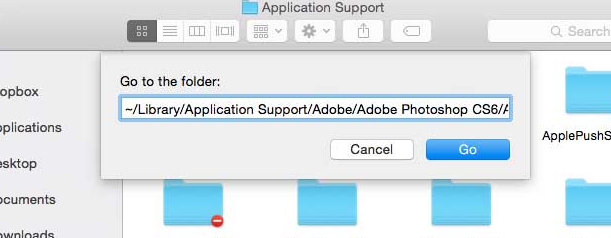
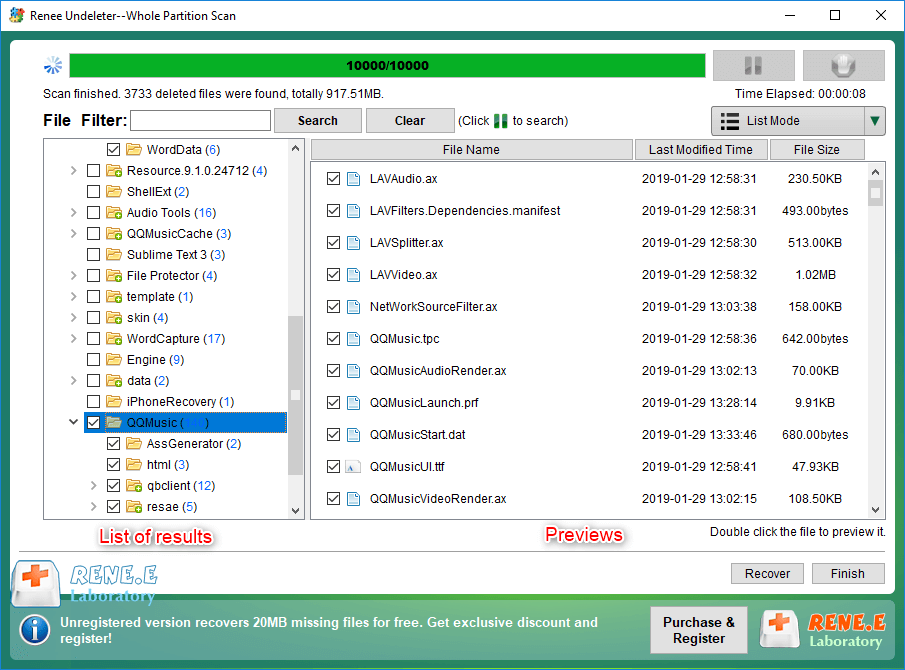
Optimize Photoshop's auto-save settings to ensure that your hard work won't be lost due to power or system failures. Learn where auto-saved files are stored and how to recover them.

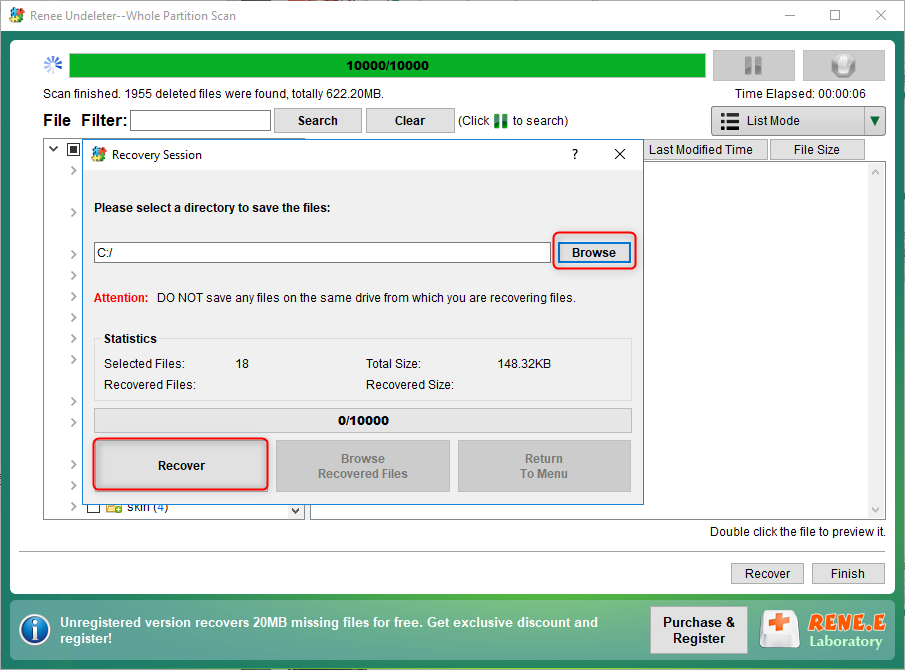
Easy to use Recover data by 3 steps;
Multiple scan modes Fast partition scan, whole partition scan and whole disk scan;
Supported file types Image, video, audio, text, email and so on;
Image creation Create a partition image to read and back up data;
Supported devices SD card, SDHC, SDXC, USB flash drive, hard disk and computer.
Easy to use Recover data by 3 steps;
Multiple scan modes Fast partition/whole partition/whole disk scan;
Supported devices SD card/USB/hard disk.
Free TrialFree TrialFree Trial 800 people have downloaded!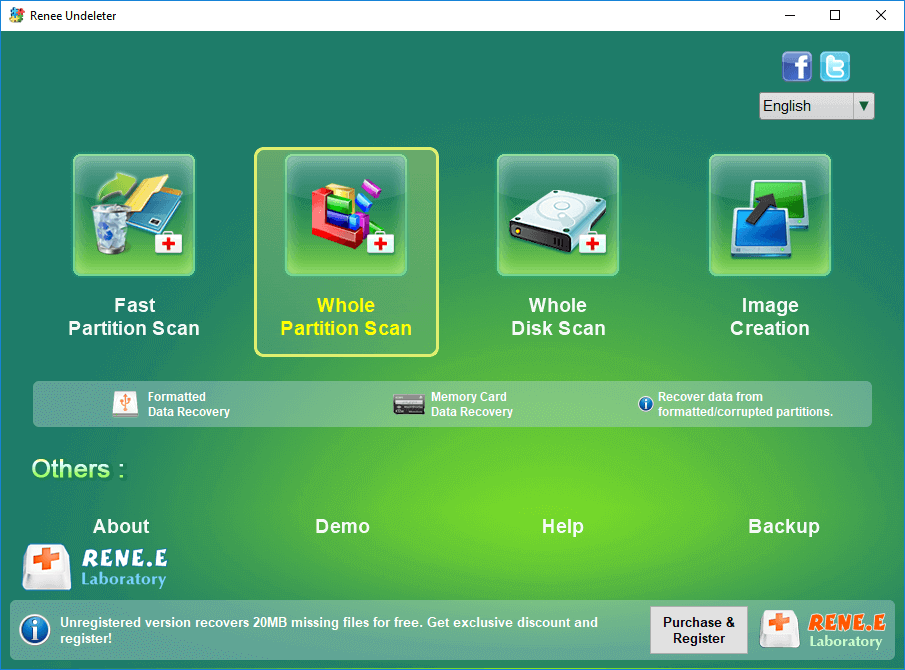
Fast Partition Scan: Quickly retrieve files lost due to accidental deletion or emptying the recycle bin.
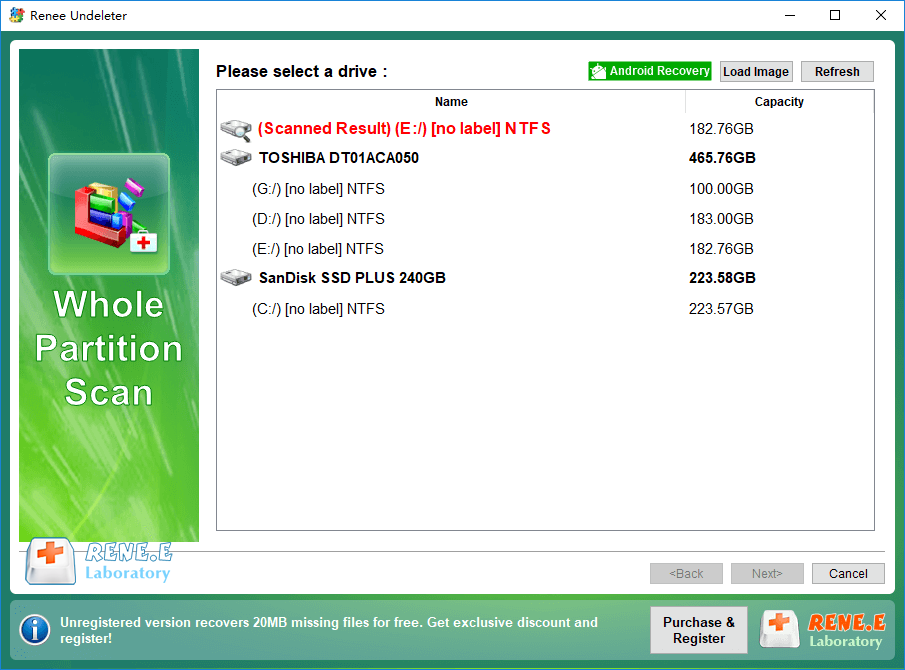
Whole Partition Scan: Quickly recover files lost due to inaccessible or formatted partitions.
Whole Disk Scan: It can analyze and obtain partition information, and fully scan the entire partition.
Image Creation: You can create a mirror image for a partition to back up the current partition state.
Relate Links :
How to Fix When Files on SD Card Not Showing up on Android?

27-12-2021
Amanda J. Brook : Sometimes, the SD card files are not showing up on Android. How can we solve the problem? In...
How to Fix GoPro SD Card Error?

14-09-2024
Ashley S. Miller : Some people meet with the GoPro SD card errors, such as “NO SD” and “SD ERR”. In this...
Solutions to SD Card Unexpectedly Removed on Android

24-12-2021
Jennifer Thatcher : Some Android users complain that they always receive the notification saying that the SD is unexpectedly removed. In...
How to Fix Corrupted SD Card on Android?
16-12-2021
John Weaver : SD card is used in various devices, phones, cameras and video games. How to fix the corrupted SD...

