

Mastering RAID 0 Data Recovery: From Crashes to Complete Data Retrieval

Summary
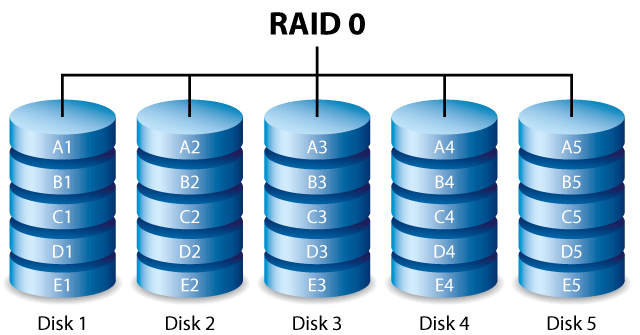
Learn how to master the process of recovering data after a RAID 0 array crash, including determining disk order and start offsets. Understand the basics and functionality of RAID 0 arrays, the common causes of failures, and preventative measures. Follow a step-by-step guide for data recovery and explore professional services as an alternative option.
Table of contents

Quick Backup files at up to 3,000MB/min.
Fullfill different backup needs Supports system backup, disk / partition backup, file backup and disk clone.
Intelligent Automatically analyze the differences between source and backup data.
Convenient Support VSS, allowing to freely view webpages when backing up system.
Highly compatible Supports various files and storage devices.
Quick Backup files at up to 3,000MB/min.
Fullfill different backup needs Backup for disk, partition and system. Save disk space by backing up incremental /differential data.
Highly compatible Supports various files and storage devices.
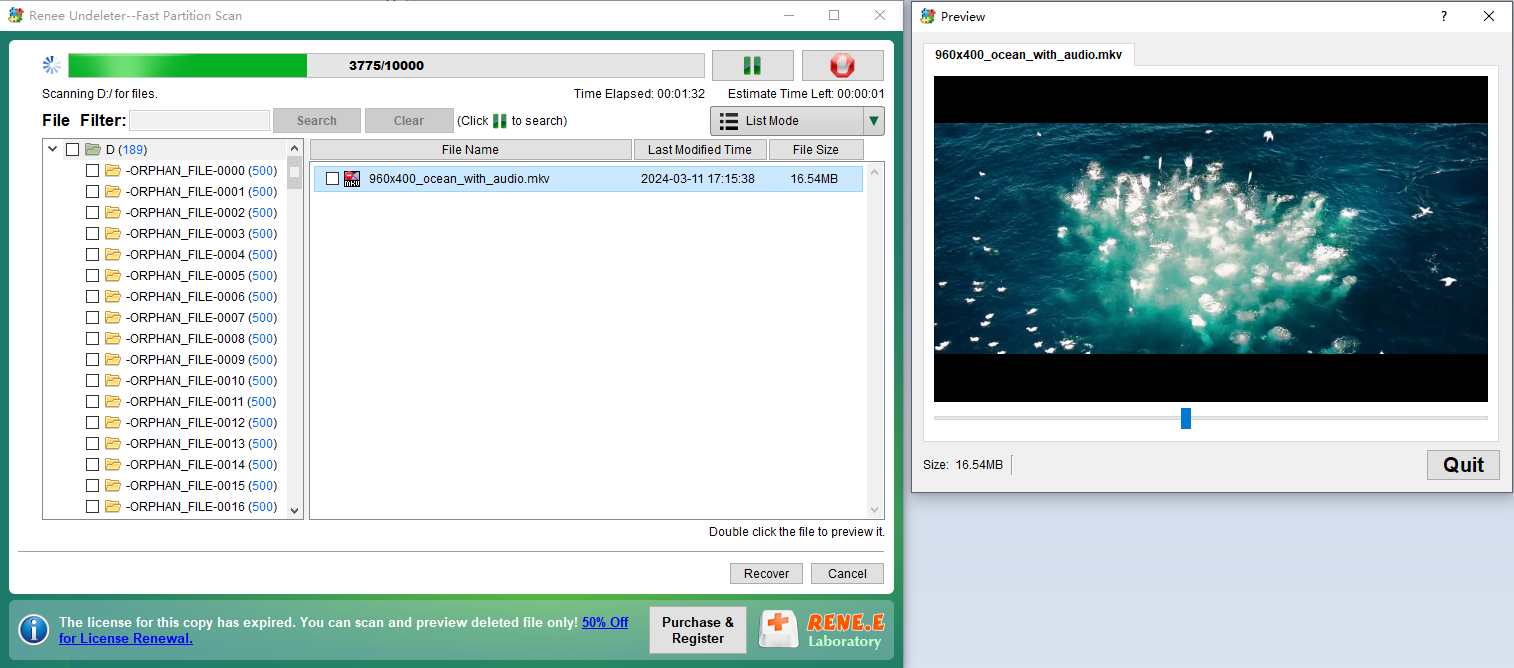
Easy to use Recover data by 3 steps;
Multiple scan modes Fast partition scan, whole partition scan and whole disk scan;
Supported file types Image, video, audio, text, email and so on;
Image creation Create a partition image to read and back up data;
Supported devices SD card, SDHC, SDXC, USB flash drive, hard disk and computer.
Easy to use Recover data by 3 steps;
Multiple scan modes Fast partition/whole partition/whole disk scan;
Supported devices SD card/USB/hard disk.
Free TrialFree TrialFree Trial 800 people have downloaded!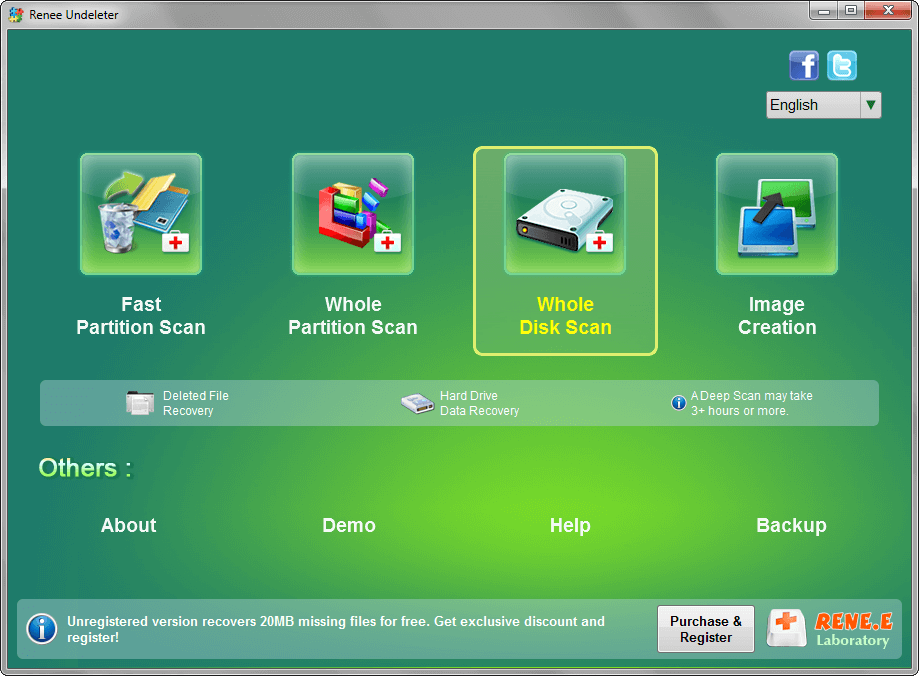


| Service Provider | Estimated Cost |
|---|---|
| Ontrack | Starts from £600.00 |
| Proven Data | Varies based on failure type, severity, recovery difficulty, and time required |
- Perform regular backups, ideally daily, to ensure data recovery in case of a crash.
- Invest in high-quality, reliable hardware components for your RAID 0 array to prevent future issues.
- Regularly monitor the arrays for signs of potential failure, such as error messages or unusual noises, and address issues promptly.
- Maintain a cool, well-ventilated environment for your RAID 0 array to prevent heat-induced failures.
- Keep the arrays clean, ensuring they are free from dust and debris to avoid overheating and failure.
Relate Links :
Mastering Western Digital Hard Drive Recovery
15-11-2023
Ashley S. Miller : Learn how to master Western Digital hard drive recovery with a comprehensive guide, including tips and tricks for...
Recover Removable Hard Drive Data: Expert Tips & Precautions

13-10-2023
Jennifer Thatcher : Professional data recovery software like Renee Undeleter, DiskGenius, and EasyRecovery are highly recommended for solving data loss issues...
Best SD Card Recovery Software - Find Your Savior Now!

24-02-2024
John Weaver : Learn about SD card recovery software, its features, and how to choose the right one for successful data...
Hard Drive Won't Power Up - How To Fix and Recover Data
15-01-2024
Ashley S. Miller : Learn how to analyze and solve hard drive wont power up issues and restore lost data with the...

