I. Reasons and solutions for the prompt that the device is currently in use
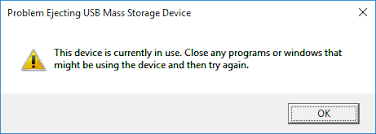
The reason for the prompt “The device is in use” when the USB flash drive is ejected is very simple, generally there are two points:
①Some programs on the computer are using some files in the U disk.
② Certain software or programs are accessing the U disk in the background of the computer, such as Windows security protection software, anti-virus software, etc.
After understanding the reason of “this device is in use”, you can refer to the following solutions to operate.
1. Close all running programs and temporarily disable Windows security software
After we close all running programs, generally there will be no situation that some programs are using the U disk device file, so the U disk can be ejected successfully. Specific steps are as follows:
Step 1: Close all open program windows in the taskbar, then click the up arrow on the right side of the taskbar to check if there are programs that may still access the USB flash drive, right-click the program icon and select (Exit).
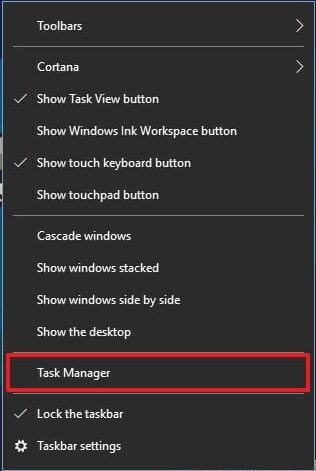
Step 2: Since there may still be programs running in the background accessing the U disk, you can right-click the taskbar at the bottom of the desktop and select (Task Manager).
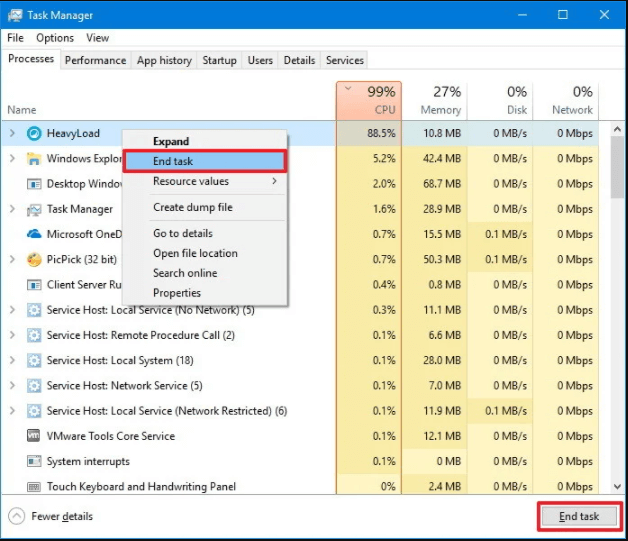
Step 3: In the task manager, we can view all the programs that are running or running in the background, select the programs you know or open manually (for example, you have just accessed the files in the U disk through this program), and then click (End task) to try ejecting the U disk again. Please note that some programs whose names look unfamiliar, please do not end the task, so as not to lose the necessary processes to maintain the operation of the Windows system. If you have closed all running programs you know, but still cannot successfully eject the USB flash drive, you can temporarily disable Windows security software or third-party antivirus software, and then safely eject the USB flash drive.
2. Find and close the program that occupies the U disk file
Method 1 closing all running programs is not suitable for all users, especially when there are other uninterruptible tasks to be done, then you can try to find the programs currently occupying or accessing the U disk in the resource monitor in the task manager , and then close the program. Methods as below:
Step 1: Right-click the taskbar at the bottom of the desktop and select (Task Manager).
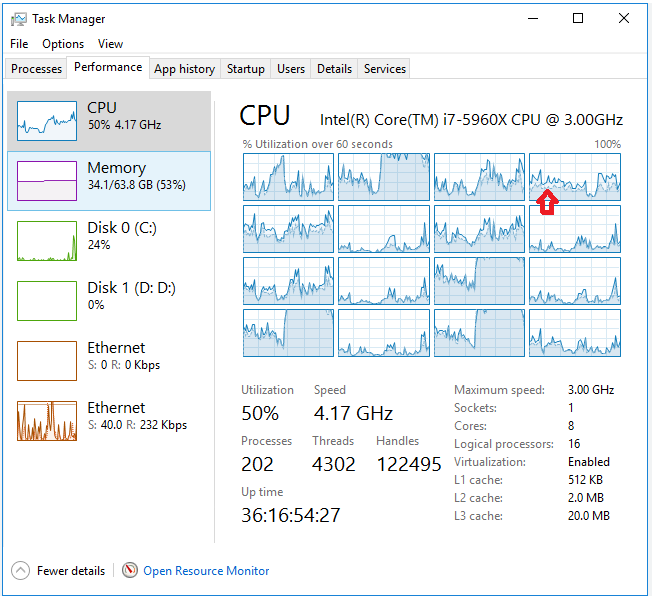
Step 2: Switch to the (Performance) tab and select (Open Resource Monitor).
Step 3: Enter the drive letter of the U disk in the input box on the right side of the “Associated Handle” in the (CPU) interface, for example, the drive letter of the U disk is (E:), then please enter (E:), and you can view it later Right-click on the program currently associated with (E:) (2345PicViewer.exe as shown in the figure below) and select (End Process), then the U disk can be ejected successfully. Do not end other processes that you do not know or are not familiar with, so as not to affect the normal operation of Windows 10.
3. Eject the U disk in the disk management
Disk Management can help us view all connected storage devices in Windows computers, including U disks. In addition, you can perform operations such as formatting, deleting volumes, extending volumes, or ejecting the disks in the computer through Disk Management. It should be noted that this method will not close the program that is accessing the U disk file, so please ensure that the U disk file has been properly saved before proceeding. Specific steps are as follows:
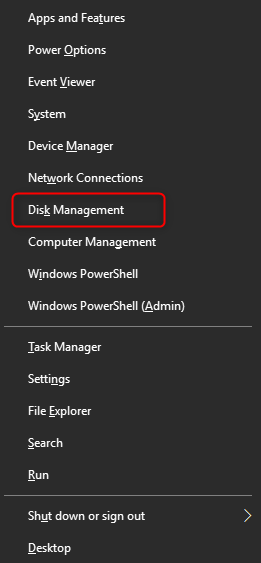
Step 1: Right-click the Start button and select (Disk Management).
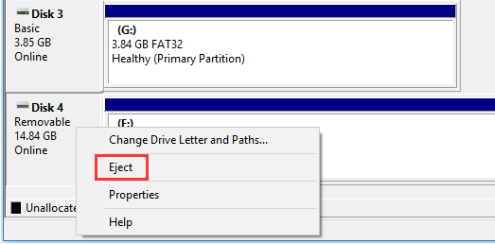
Step 2: Find the target U disk, that is, Disk 3 in the figure below, right-click on the location where Disk 3 is displayed on the left, and select (Eject).
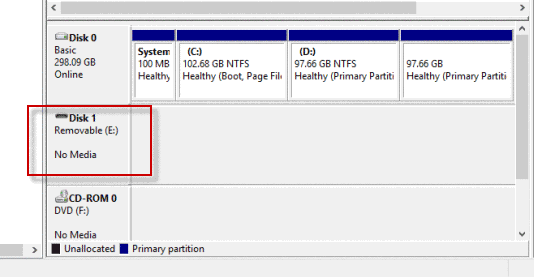
Step 3: After that, the U disk will become “No Media” in Disk Management.
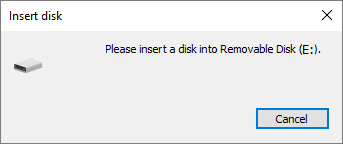
Step 4: And the U disk cannot be opened in the file explorer, double-click the U disk will prompt (please insert the disk into “test(E:)”). At this point, the USB drive can be removed.
Kind tipsIf it cannot be used normally when the USB flash drive is connected again, and “Offline” is displayed in Disk Management, please right-click the location of “Offline” and select (Online).
4. Eject the U disk after logging out or shutting down
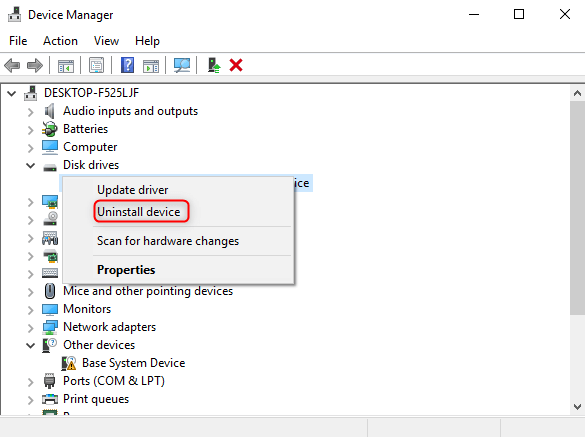
There are many ways to pop up the U disk, for example, find the corresponding U disk device in the device manager (disk drive), right-click it and select (uninstall device), this method may prompt you to restart the computer to complete the deletion of the device operation. And uninstalling the device in the device manager is also risky. If other disks are uninstalled by mistake, it may cause system errors or other normal programs to be interrupted suddenly. Therefore, it is recommended that you choose to log out after saving other work progress Or shut down, then safely eject and remove the USB drive.
Logout steps: Left-click the start button, click the currently logged-in account name and select (logout).
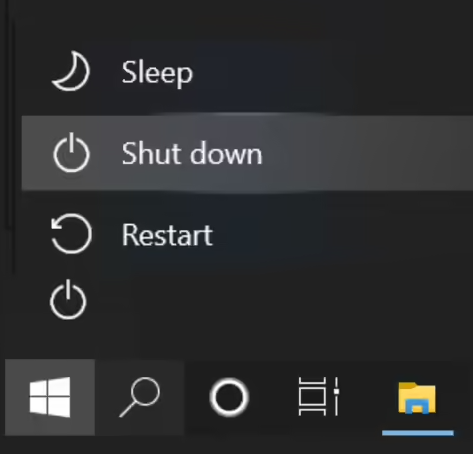
Shutdown steps: Left-click the Start button, click (Power) and select (Shutdown).