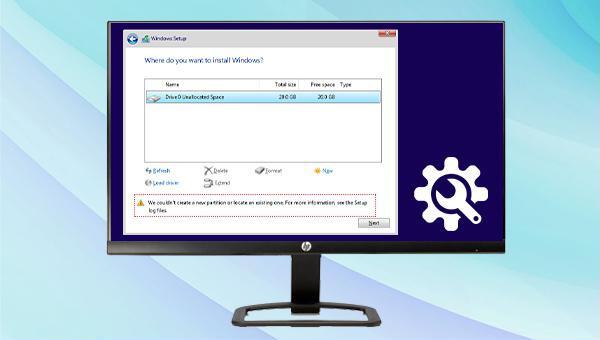
I. How to solve the problem of We cannot create new partitions and cannot find existing partitions ?
Restarting the computer is often the go-to solution when facing a failure. So, if you come across the error message “We couldn’t create a new partition or locate an existing one,” you might want to try restarting the computer. Some users have reported that this simple action resolved the issue for them.
2. Reconnect external devices
“We are unable to generate new partitions or locate existing ones.” This issue could also stem from difficulties with external device connections. To troubleshoot, attempt connecting external devices (like a bootable USB) to different ports on the computer and restarting the interrupt process. If the problem persists, reconnecting the external device (such as a bootable USB flash drive) to its original port may resolve the issue.
3. Use the Diskpart command to set the primary partition as the active partition
The primary partition, also known as the primary disk partition, is a type of disk partition. It is typically used to store Windows installation files and startup files, making it an essential component of the system. The active partition, on the other hand, is the primary partition that contains boot data. This allows it to perform various tasks, such as handover and startup, with the BIOS to successfully boot the system. To set the primary partition as the active partition, one can utilize the Diskpart command.
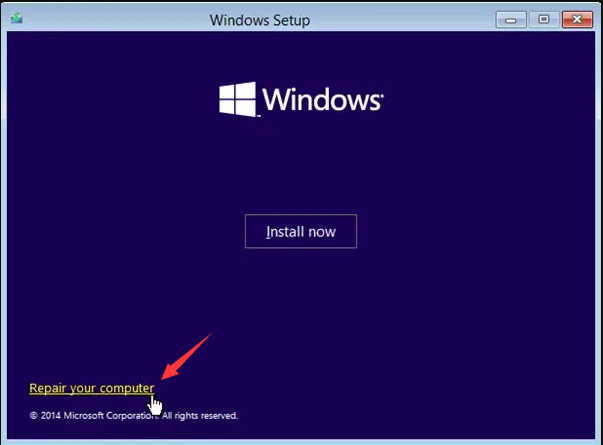
Step 1: Start the Windows installer using the USB installation media. Return to the “Install Now” interface and click (Repair your computer).
Step 2: Next, find and select (Troubleshoot) > (Advanced Options) > (Command Prompt) option.
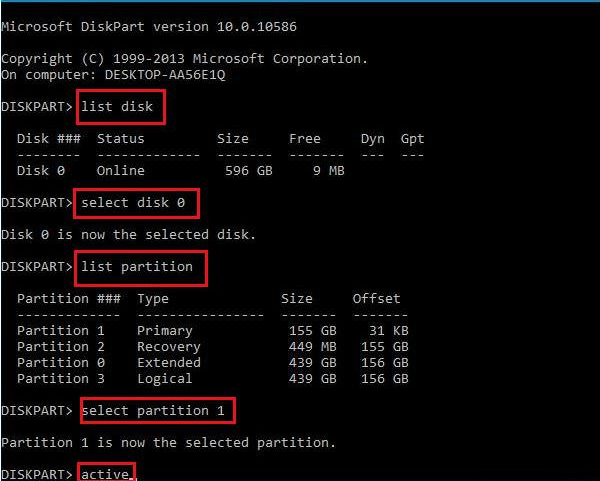
Step 3: Next, enter the (diskpart) command in the command prompt window and press the (Enter) key.
Step 4: Enter the following command and press the (Enter) key after entering the command. After that, reinstall the system to see if the problem is resolved.
list disk (will list the disk in the computer)
select disk 0 (select disk 0. 0 is the hard drive letter where Windows is to be installed, and can be filled in according to the actual situation)
list partition (list the partitions in the disk, you can view the partition type and size)
select partition 1 (select partition 1. 1 is the number of the primary partition where the Windows system is to be installed, please modify it according to your partition.)
active (set the partition as active)
Exit (Exit the Command Prompt window)
4. Run the Diskpart command to format the target disk
If the above method does not work, you can also try using the Diskpart command. This will format the target disk, clear all data, rebuild the primary partition, and mark it as active. However, it is important to note that before using this method, it is recommended to back up all data to avoid any potential loss. The following are the specific steps for this operation:
Step 1: Start the Windows installer using the USB installation media. Return to the “Install Now” interface and click (Repair your computer).
Step 2: Next, find and select (Troubleshoot) > (Advanced Options) > (Command Prompt) option.
Step 3: Next, enter the (diskpart) command in the command prompt window and press the (Enter) key. Type [list disk] and check the disk connected to the computer.
Step 4: Then enter (select disk 0) (0 is the disk number, please replace it with the target disk number where you need to save the Windows installation according to the actual situation). Then enter the (clean) command to clear all configuration information and data in the target disk.
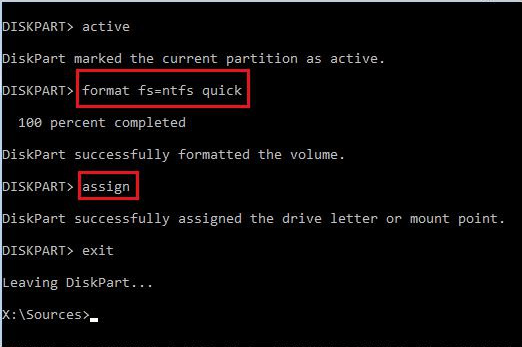
Step 5: Enter (creat partition primary) to create a primary partition, and enter (active) to mark the partition as an active partition.
Step 6: Finally, enter the command format fs=ntfs quick (quickly format the partition and set the file system to NTFS) and Assign (assign the drive letter), then type (Exit) to close the command prompt window. Then reinstall the system to see if the problem is resolved.
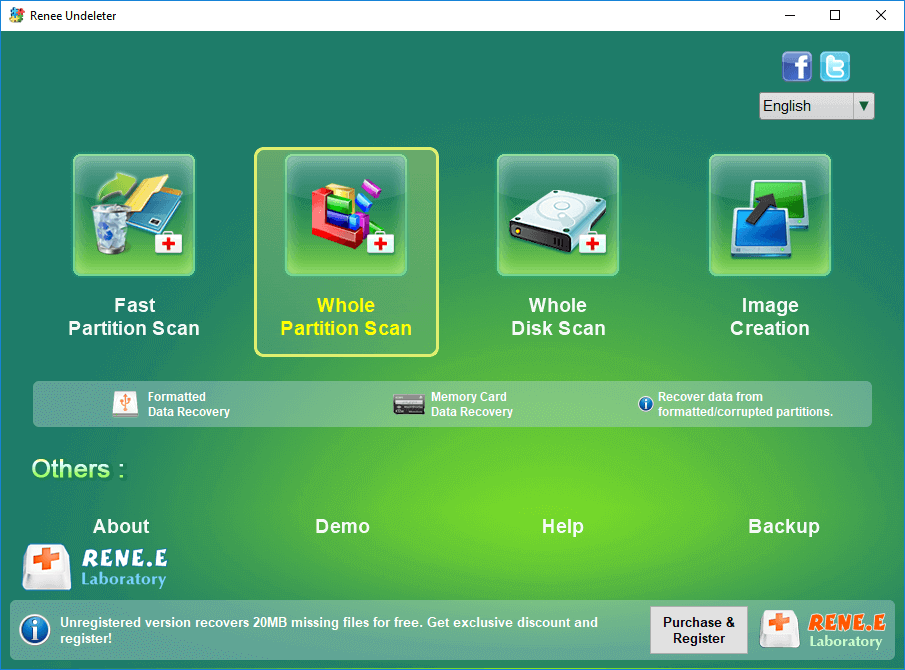
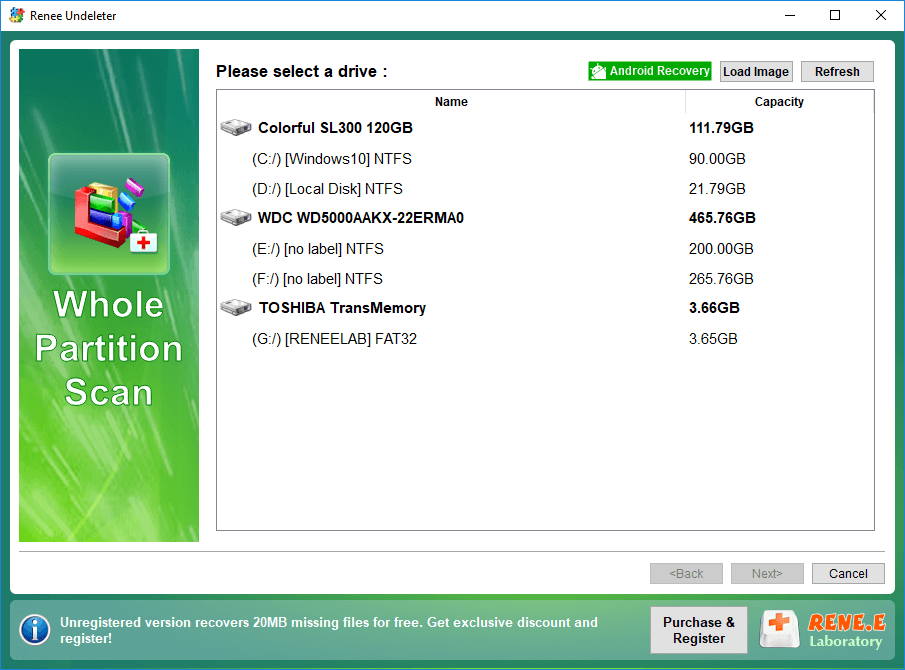
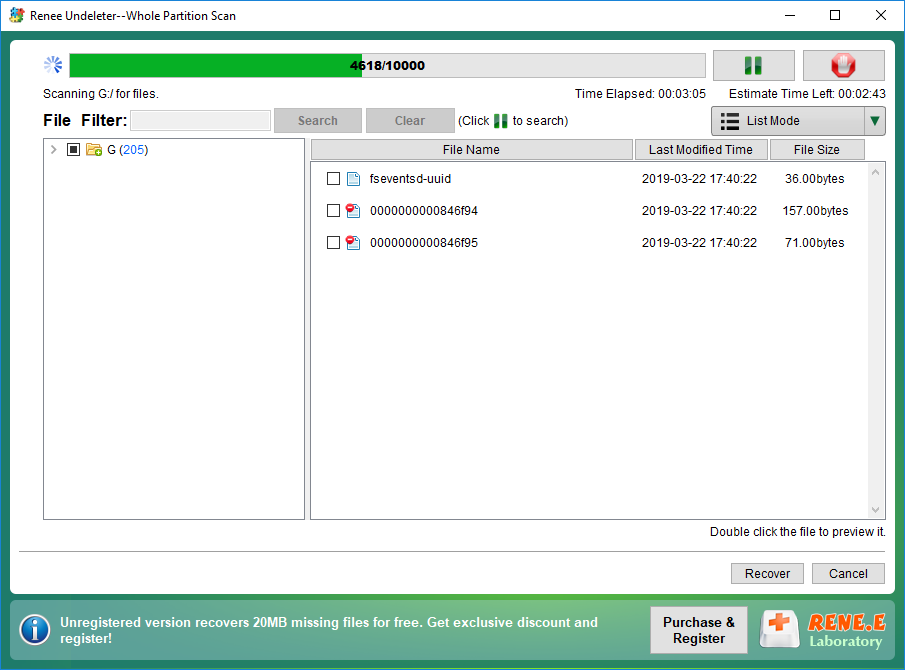
There are several methods to resolve the “We could not create a new partition and could not find an existing one” error. If you have experienced data loss after installing Windows or while using your computer, you can utilize the following data recovery techniques to retrieve your lost data.