II. How to solve the problem that we couldn't update the system reserved partition?
1. Adjust the size of the system reserved partition with the help of a third-party partition tool
Use a third-party partition tool to expand the system reserved partition to at least 300MB to 450MB to meet Windows 10 upgrade requirements. This can solve the issue of insufficient partition space but may cause the “Unable to update the system reserved partition” problem. Steps are as follows:
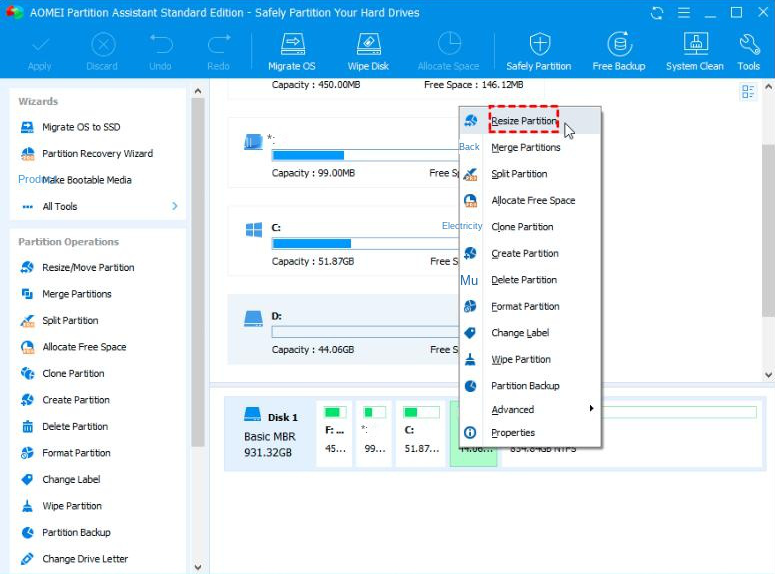
Step 1: Download, install, and run AOMEI Partition Assistant Standard Edition. If the C drive lacks sufficient space for the system reserved partition, reduce the space of the partition behind the C drive (e.g., D drive) and add the reduced space to the system reserved partition. Right-click on the D drive, select Resize Partition.
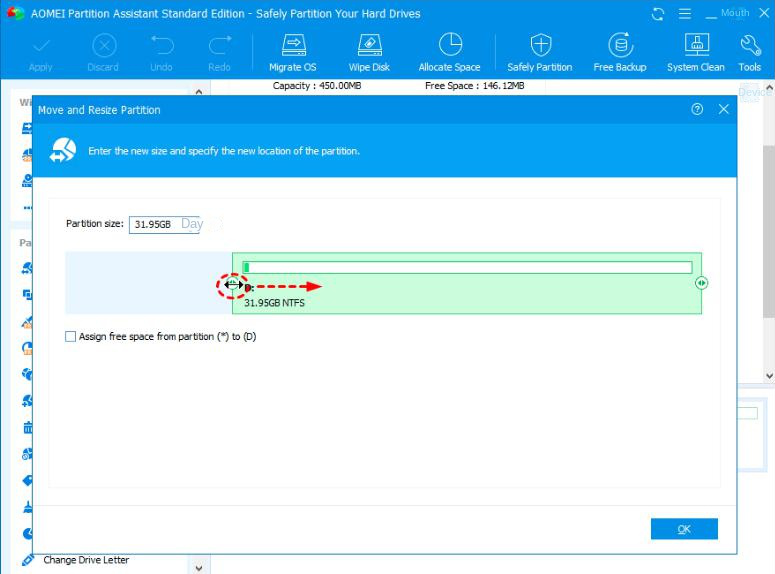
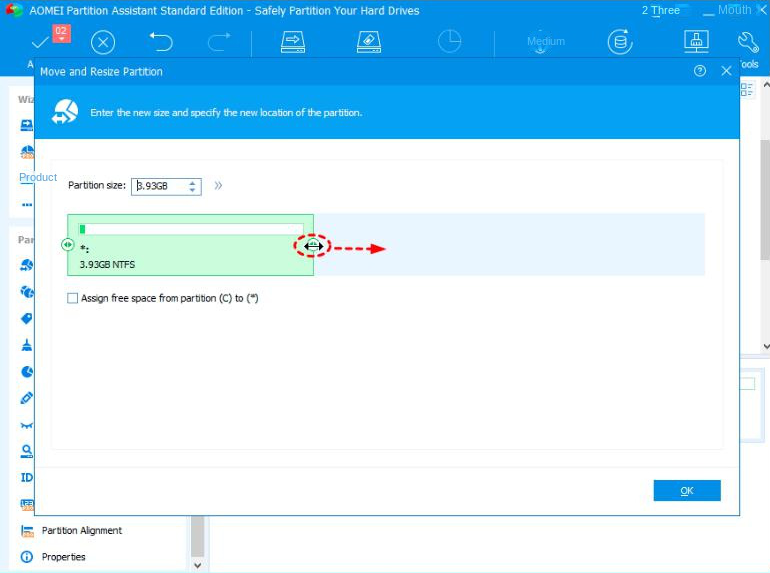
Step 2: Drag the slider from left to right or input the desired size to reduce the D: partition. Click OK to free up space, making it unallocated.
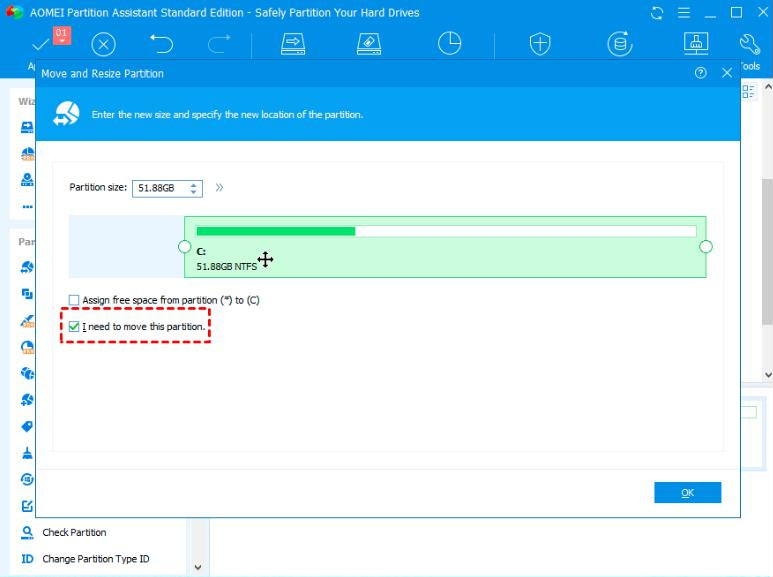
Step 3: Return to the main interface, right-click the C drive, select “Resize Partition”, and move the C drive space to the right so the unallocated space from D: is next to the system reserved partition. Click “OK.”
Step 4: Right-click the system reserved partition (marked with *) and select “Resize Partition.” In the pop-up window, drag the slider to the right to expand the system reserved partition, adding the unallocated space. Click “OK.”
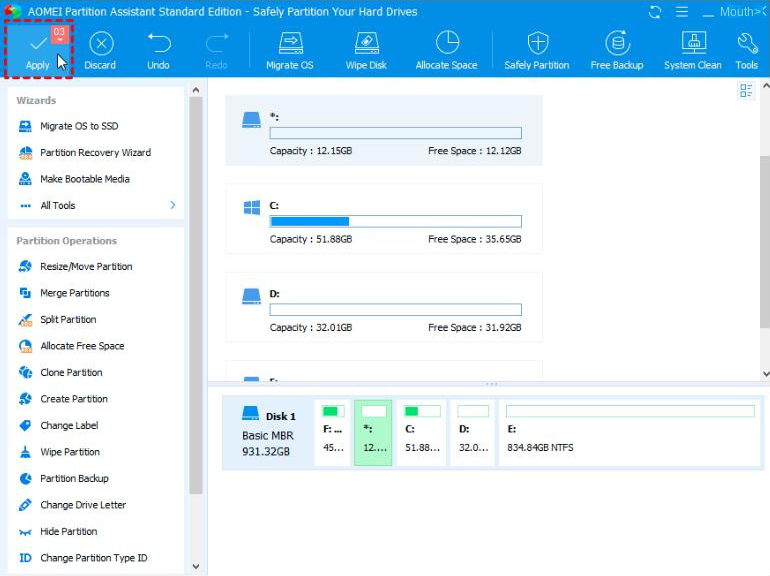
Step 5: Finally, click on (Apply) to perform the partition resizing process. After expanding the system-reserved partition, you can restart the operation of the Windows installation update.
2. Reinstall the system to let the system automatically partition
When upgrading or installing Windows 10, the system reserved partition must have at least 300MB to 450MB of storage space. If you’re not familiar with manually adjusting this partition, a system reinstallation is a feasible method, allowing the system to automatically partition to resolve the issue. Ensure you back up important files before reinstalling. Here are the specific steps for Windows 10.
Reinstalling the system requires the use of installation media, so we will divide the reinstallation system into two parts to teach you, namely, creating the installation media and reinstalling the system using the installation media.
a. Create installation media
First of all, before reinstalling the Windows 10 system, you need to create an installation medium. Before creating, you need to pay attention to the following two points:
● Important data has been backed up to other storage devices (e.g., USB stick, SD card, mobile hard disk) or OneDrive. Ensure the external storage device used for backup is different from the one used for downloading the Windows installation media.
● The storage device used to create the installation media should have at least 8GB of free space, and make sure the drive is empty. Because during the process of making the installation disk, all content stored in the device will be deleted.
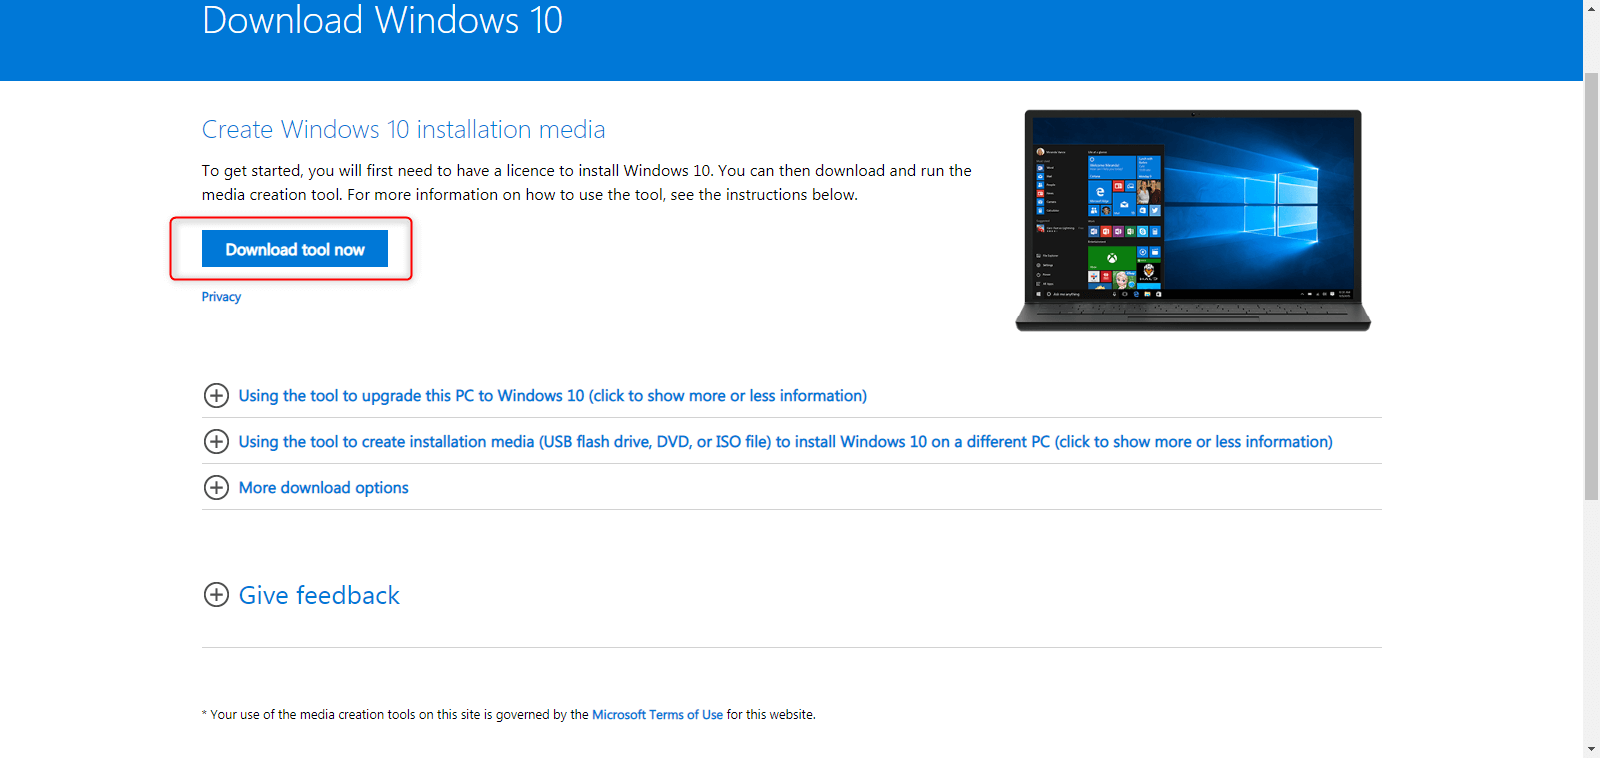
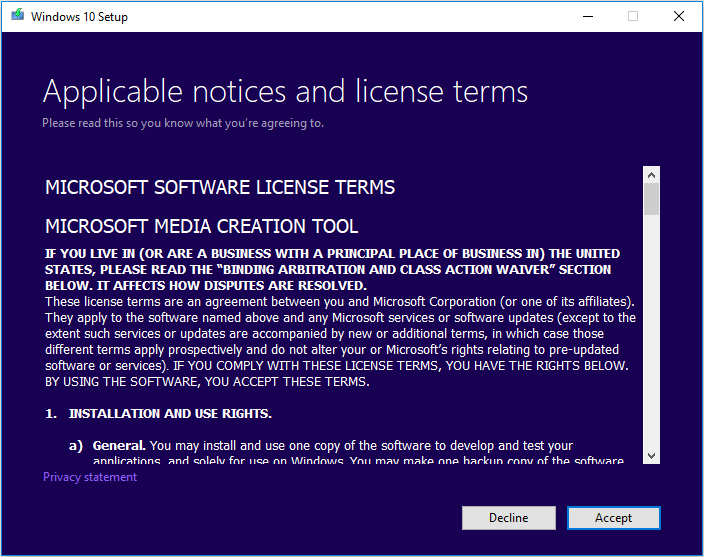
Step 2: Once the download is complete, open the tool and select (Yes) when asked if you want to use the app to make changes to your device. Then, when the Windows 10 Installer Setup Guide appears, tap (Accept) the License Terms and Agreement.
Step 3: To create an installation disk, select Create installation media (USB key, DVD, or ISO file) for another computer and click (Next).
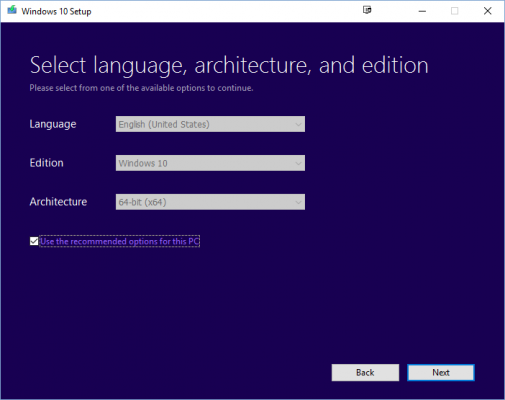
Step 4: Set the language, version, and architecture (64-bit or 32-bit) of the Windows 10 system, and click Next. By default, the Use the recommended options for this computer option is checked for automatic selection.
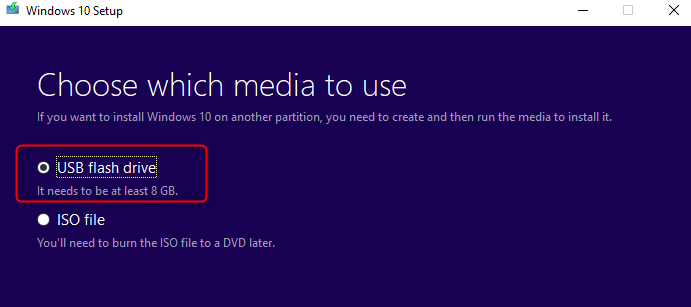
Step 5: Select the target to install the system image. To create a USB stick installation disk here, please select (USB flash drive) and click (Next).
Step 6: Select the pre-inserted USB disk and click (Next). Finally, wait for the installation media to be created and click (Finish).
b. Use the installation media to reinstall the Windows 10 system
Step 1: Insert the installation medium into the computer to be reinstalled, preferably when the computer is off. Note: For desktops or all-in-one computers, use the rear USB interface; for notebooks, use the USB 2.0 interface.
Step 2: Restart the computer. If it doesn’t boot from the installation USB, change the boot order in the BIOS or UEFI settings. Press the appropriate key (e.g., F2, F12, Del, or ESC) immediately after turning on the computer to access the boot menu.
Step 3: Boot from the installation USB stick, select your language, time, and keyboard preferences on the Windows installation page, then click Next > Install Now to start installing Windows 10. Wait for the installation to complete. Your computer will restart several times during the process.
The two most direct ways to fix the “Unable to update the system reserved partition” error are mentioned above. Additionally, you can use the command line to clean up unnecessary font files in the system reserved partition to free up space. However, this operation is complex and recommended for those with command line experience. Refer to the Official Microsoft support page for specific instructions.
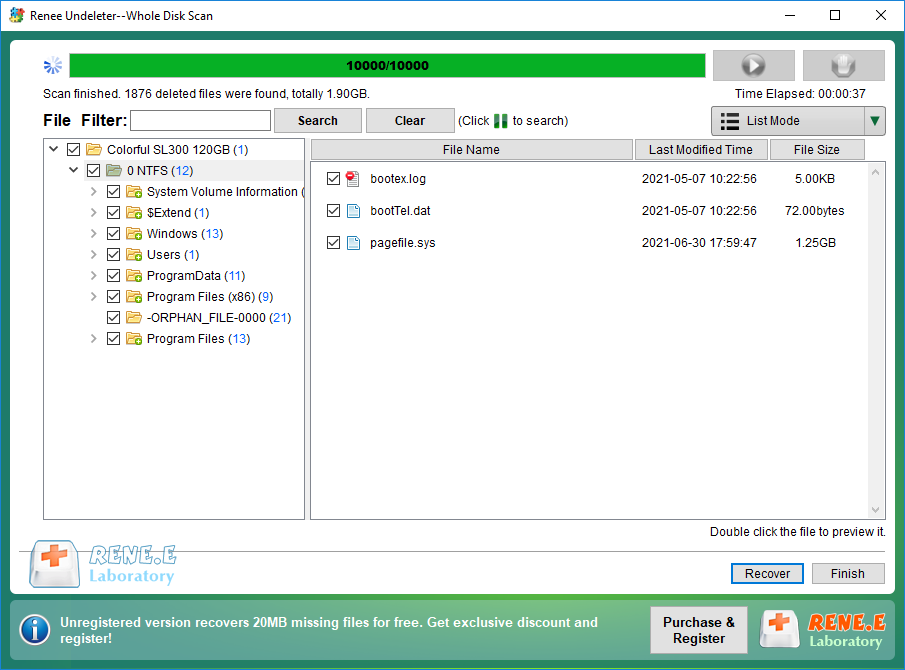
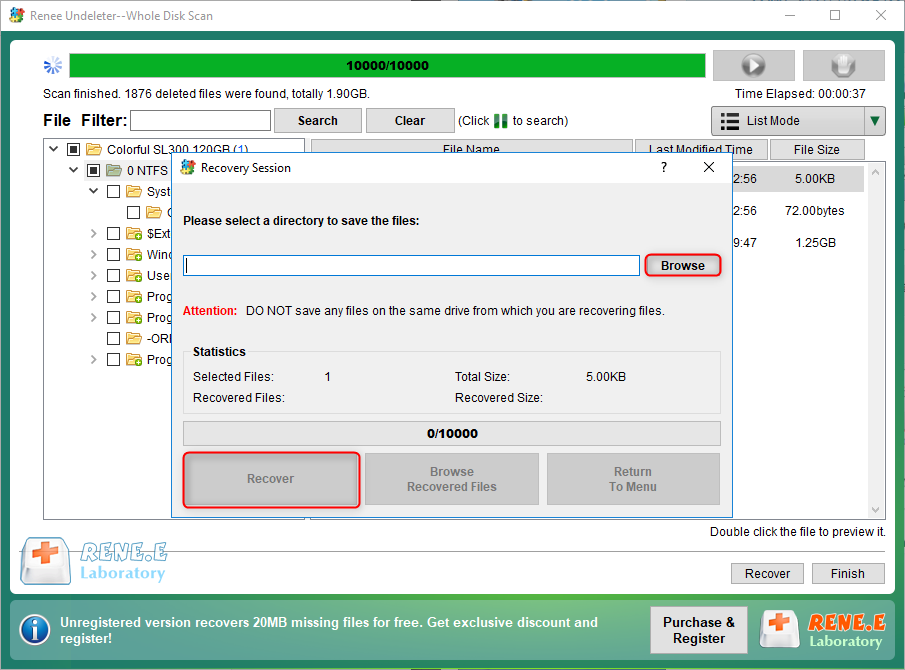
After repartitioning or reinstalling the system, if you find that important data in the computer equipment is lost, you can use professional data recovery tools to restore the data, let’s continue to learn more.