

Uncovering the Mystery: Where Do Deleted Files Go in Windows 10?

Summary
Are you wondering where your deleted files go in Windows 10? This article will guide you through the different paths that deleted files can take, from the Recycle Bin to third-party recovery tools. Learn how to recover permanently deleted files and where they end up on a network. Don't let your important data disappear. Read on to uncover the secrets of where deleted files go in Windows 10.
Table of contents
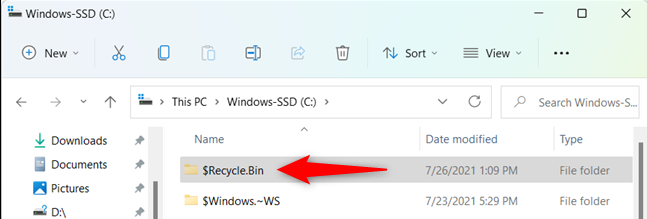
explorer.exe shell:RecycleBinFolder
- With the Recycle Bin, you have a chance to recover accidentally deleted files or change your mind about deleting them.
Cons:
- The Recycle Bin takes up storage space on your computer and files can still be permanently deleted if the Recycle Bin is full or bypassed with the Shift + Delete shortcut.

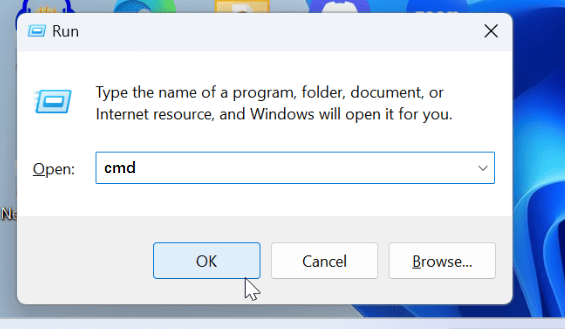
winfr source: destination
winfr C: C:\Users\YourUsername\Desktop
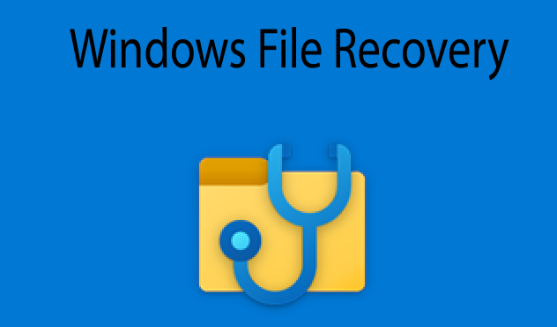
- Useful built-in option for recovering deleted files on Windows 10 and 11
- Supports various types of drives
- Offers both regular and extensive modes for recovering files
Cons:
- Only available for newer versions of Windows
- May not always be successful

Easy to use Recover data by 3 steps;
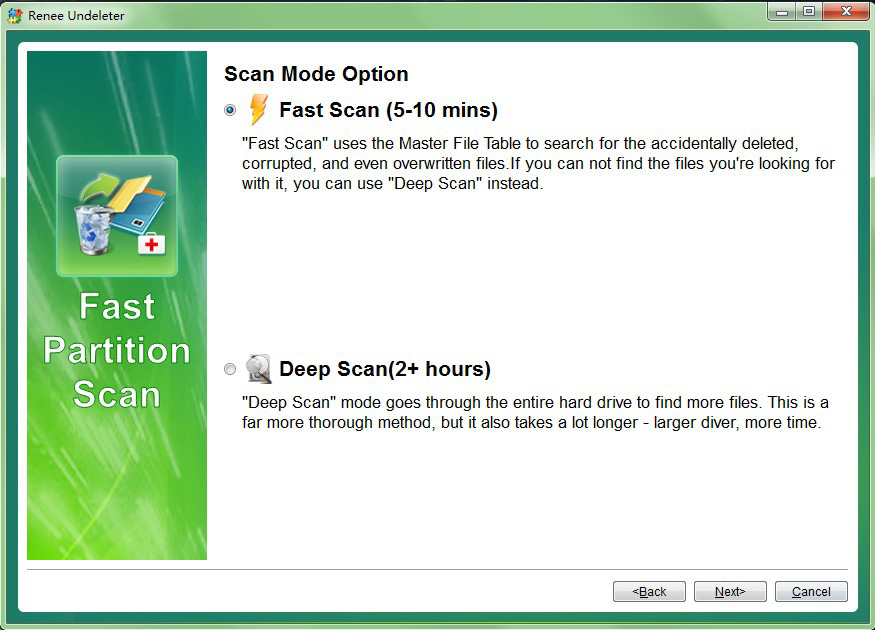
Multiple scan modes Fast partition scan, whole partition scan and whole disk scan;
Supported file types Image, video, audio, text, email and so on;
Image creation Create a partition image to read and back up data;
Supported devices SD card, SDHC, SDXC, USB flash drive, hard disk and computer.
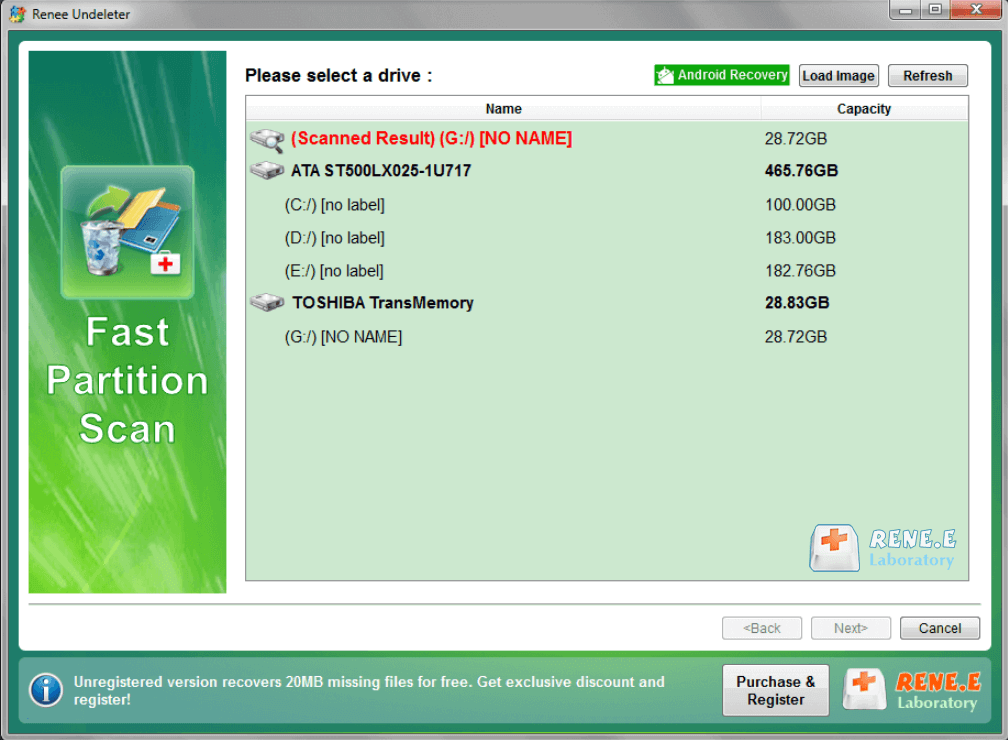
Easy to use Recover data by 3 steps;
Multiple scan modes Fast partition/whole partition/whole disk scan;
Supported devices SD card/USB/hard disk.
Free TrialFree TrialFree Trial 800 people have downloaded!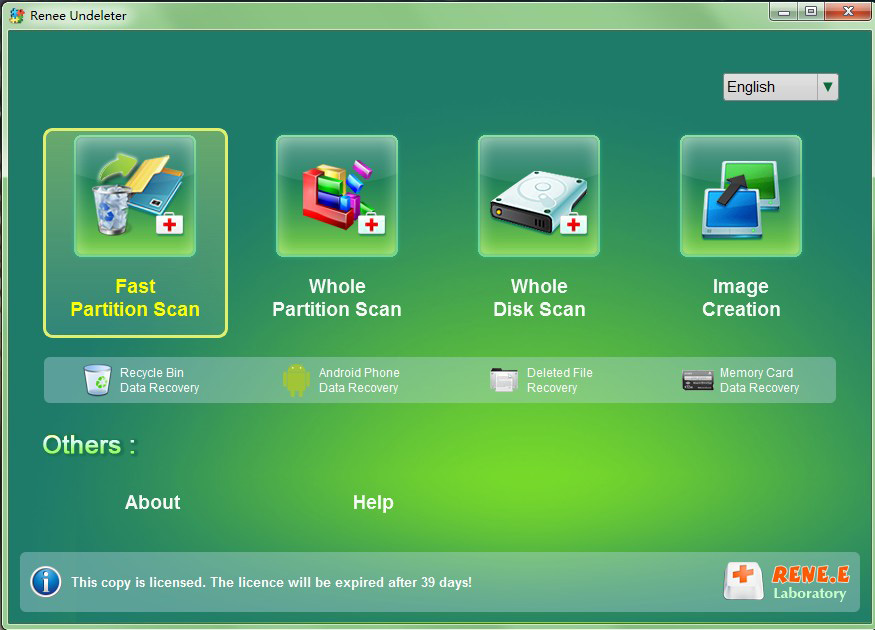

Relate Links :
Uncovering the Mystery: Where Do Deleted Photos Go?

13-11-2023
Ashley S. Miller : Uncover the mystery of where your deleted photos go and discover methods for recovering them on different operating...
Resetting HP Laptop Password with USB: Download Latest Tools
10-11-2023
John Weaver : Get back into your HP laptop with these four methods for resetting your password, using HP Recovery Manager,...
Resetting Windows 10 Password: Top 3 Methods with Bootable USB Drive
10-11-2023
Ashley S. Miller : Are you locked out of your Windows 10 account? Don't worry, we've got you covered. In this article,...
Resetting Your Windows 10 Admin Password: A Guide Using USB drive
09-11-2023
Ashley S. Miller : Forgot your Windows 10 admin password? Don't panic, there are multiple ways to reset it using a bootable...

