

Uncovering the Mystery: Where Do Deleted Photos Go?

Summary
Uncover the mystery of where your deleted photos go and discover methods for recovering them on different operating systems such as Windows, MacOS, iOS, and Android. Learn how to prevent accidental permanent deletion of photos and find out about a powerful data recovery tool called Renee Undeleter.
Table of contents


Easy to use Recover data by 3 steps;
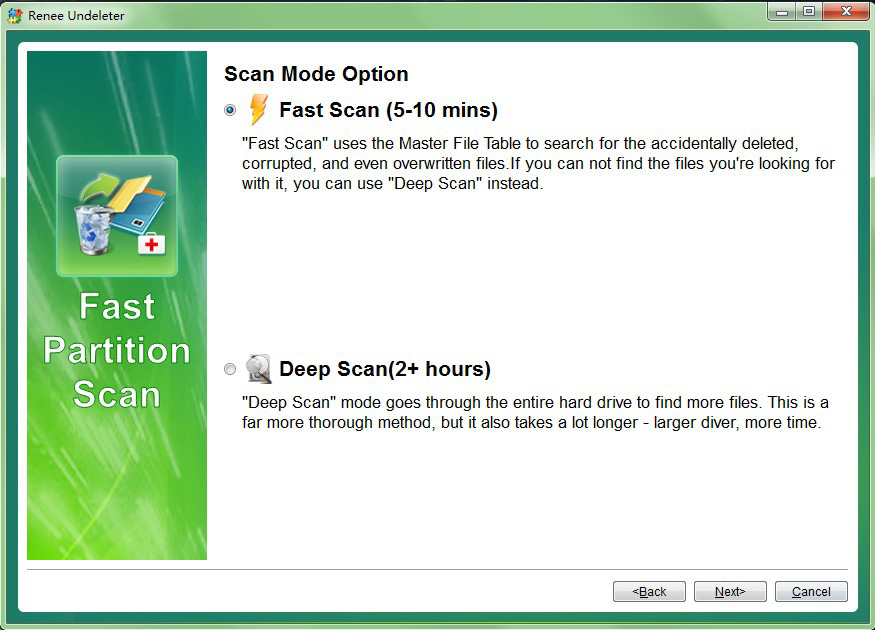
Multiple scan modes Fast partition scan, whole partition scan and whole disk scan;
Supported file types Image, video, audio, text, email and so on;
Image creation Create a partition image to read and back up data;
Supported devices SD card, SDHC, SDXC, USB flash drive, hard disk and computer.
Easy to use Recover data by 3 steps;
Multiple scan modes Fast partition/whole partition/whole disk scan;
Supported devices SD card/USB/hard disk.
Free TrialFree TrialFree Trial 800 people have downloaded!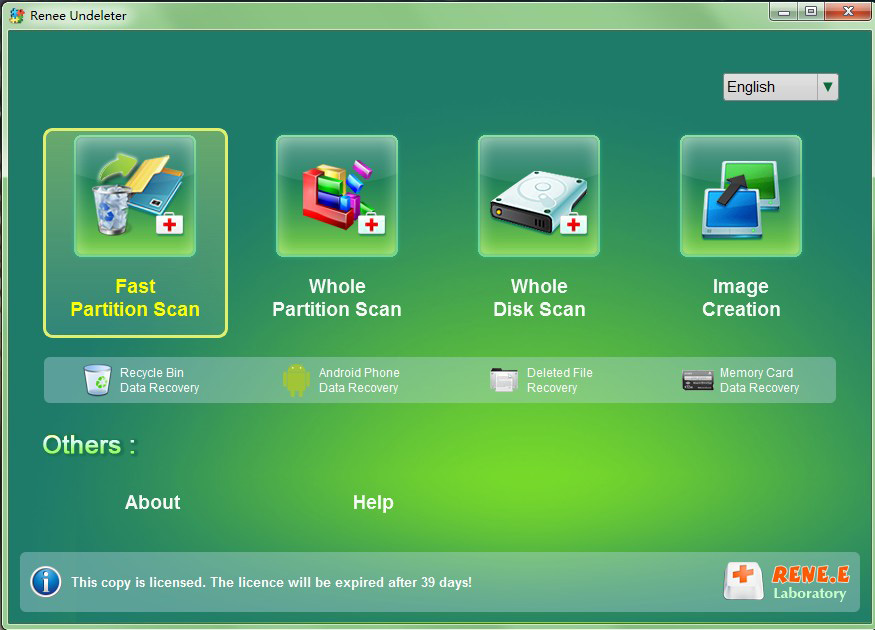
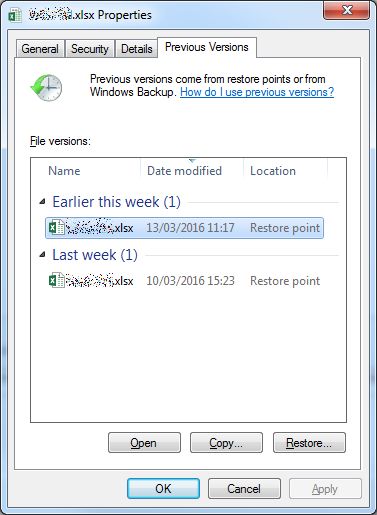
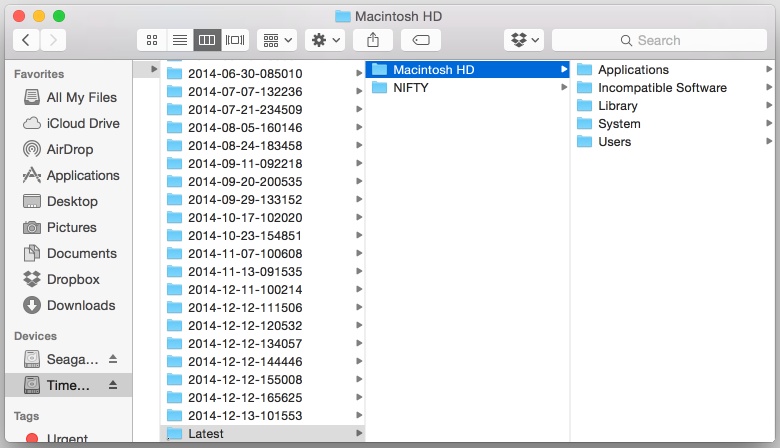
- Use the timeline on the right side to go back to a date when the photos were still available.
Easy to use Recover data by 3 steps;
Multiple scan modes Fast partition scan, whole partition scan and whole disk scan;
Supported file types Image, video, audio, text, email and so on;
Image creation Create a partition image to read and back up data;
Supported devices SD card, SDHC, SDXC, USB flash drive, hard disk and computer.
Easy to use Recover data by 3 steps;
Multiple scan modes Fast partition/whole partition/whole disk scan;
Supported devices SD card/USB/hard disk.
Free TrialFree TrialFree Trial 800 people have downloaded!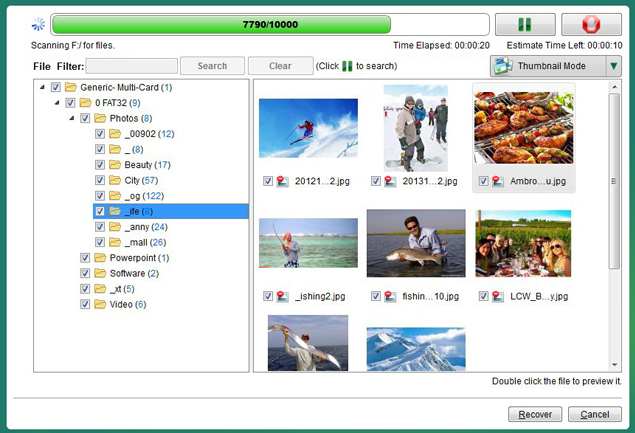
Step 2: Connect your iPhone or iPad to your computer using a USB cable.
Step 3: Launch the data recovery software and select the option to recover deleted data from iOS devices.
Step 4: The software will scan your device for any deleted files, including photos.
Step 5: Once the scan is complete, you will be able to preview the deleted photos. Select the ones you want to recover and click on the “Recover” button.
Step 6: The software will prompt you to choose a destination to save the recovered photos. Select a location on your computer and click “Recover” to save the photos.
Step 2: If you’re using iCloud Photos, go to the “Recently Deleted” folder. If you’re using Google Photos, go to the “Trash” folder.
Step 3: If your deleted photos are found in the folder, select the ones you want to recover and click on the “Recover” button.
Step 4: The photos will be restored to your device and saved in your Camera Roll or Gallery.
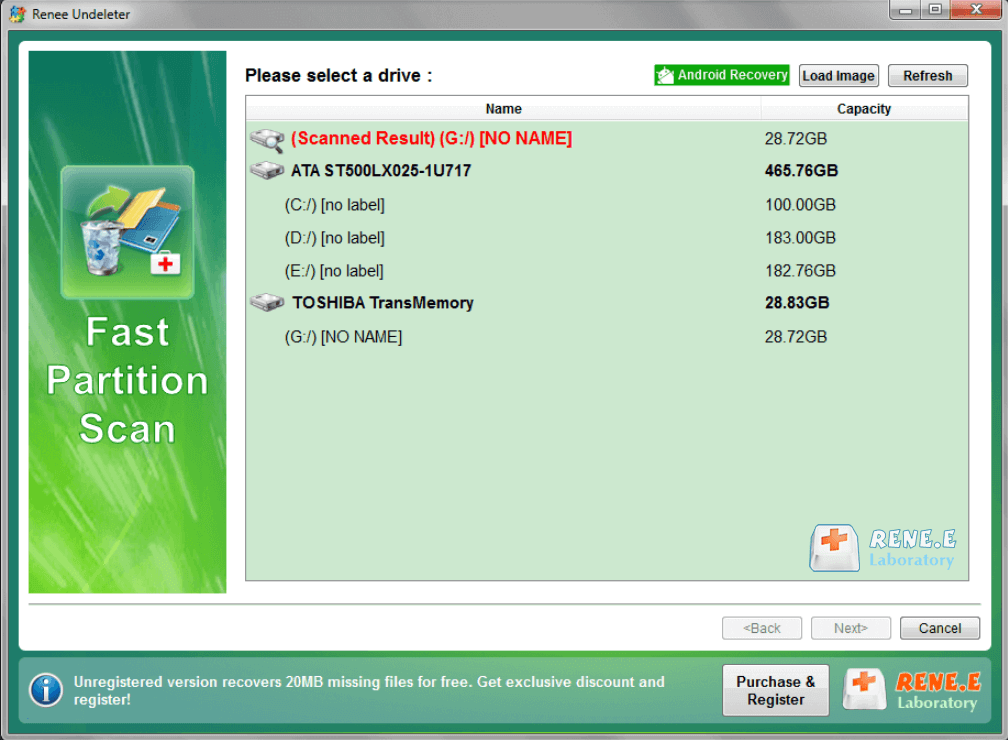
Step 2: After your device is connected, the app will scan it to find all existing and lost data. You can easily find the photos you want to recover by choosing the correct file types.
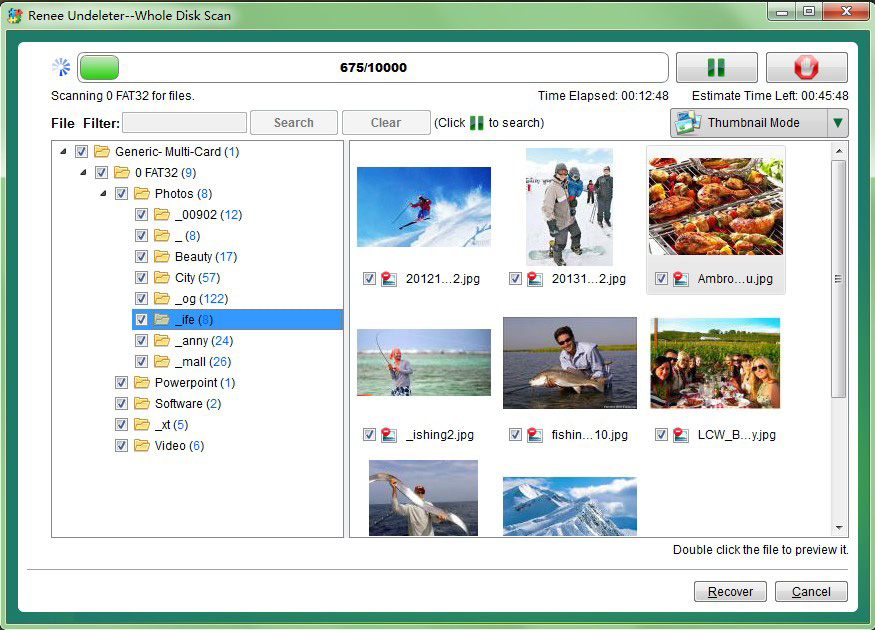
Step 3: Preview all found photos and select the ones you want to restore. Then click the “Recover” button to restore the selected data to your computer.
Step 2: Look for the “Trash” or “Deleted Items” folder. Your permanently deleted photos may still be stored here.
Step 3: Select the photos you want to recover and choose the option to restore them to your device.
Relate Links :
Gateway Laptop Factory Reset: How to Bypass a Forgotten Password on Windows 7

15-01-2024
Jennifer Thatcher : Explore different methods to factory reset a Gateway laptop without a password on Windows 7. From using recovery...
Solving Mouse Freezes Issues - Your Go-To Guide

22-02-2024
Amanda J. Brook : Learn how to troubleshoot mouse freeze issues on your computer with this informative article. Find solutions to ensure...
Recover Lost Photos from SD Card: Ultimate Guide
03-06-2024
Amanda J. Brook : Find the reasons why pictures disappeared from SD card and recovery techniques. Enhance storage and data transfer for...

