

Master the Art of Changing Your YouTube Channel Name

Summary
Discover expert tips on choosing a stellar YouTube channel name and effectively executing a name change for your channel.
Changing your YouTube channel name is a great way to give your channel a new look or update your branding. With a few simple steps, you can easily update your channel name and get started right away. In this article, we’ll walk you through the process of changing your YouTube channel name, along with some effective naming tips.
A YouTube channel is a user’s personal space on YouTube where they can upload videos, comment on other videos, and create playlists. In contrast, the YouTube channel name is the name that appears at the top of your YouTube channel page; and is used to identify your channel in search results.
Changing your YouTube channel name is a great way to get more attention and build a following for your videos. Methods as below:
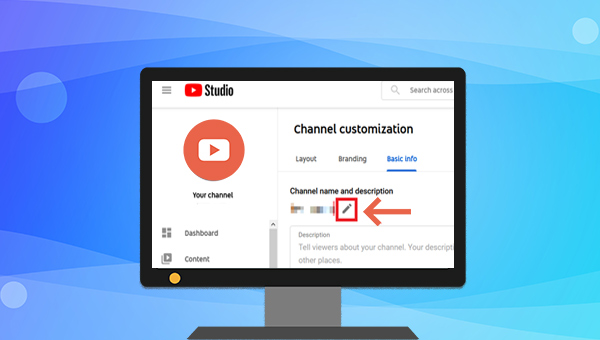
1. First, go to your YouTube account and click on your profile icon in the upper left corner of the screen.
2. Next, select the Channels tab and select the channel whose name you want to change.
3. On the Name tab, enter a new name for your channel and click the Save button.
4. Congratulations, your channel name has been changed.
There are a few tips to keep in mind when choosing a channel name. First, your channel name should be unique. If not, viewers may be confused about which channel to subscribe to. Second, it should be concise and easy to remember. In the end, it should reflect your channel’s content.
The above is the method of modifying the YouTube channel name and some naming skills. If you want to further edit the video before uploading to YouTube, you can use the software introduced below to do so.
1. What is Renee Video Editor Pro?
Renee Video Editor Pro It is a video recording and editing tool that integrates computer screen recording, video post-production and format conversion functions. Among them, the computer screen recording function can set the recording area and screen size, and can also set the watermark, cursor style, sound source and saved format, automatic recording plan, etc., whether it is online movies, meeting video records, or game screens, software Operation steps, etc., it can help you record and save to the computer with one click.In addition, this software can further improve and optimize the video content during video post-production, such as editing or merging video clips, cropping video screens, rotating or flipping videos, adding various types of opening/ending animations, and transition effects. Switch between different filter styles, dub videos, add music or remove original sound effects, import or create exclusive subtitles, and more. After the video editing is complete, you can choose to convert the video to various formats you need. This software supports most video and audio formats, such as MXF, AVI, MKV, MP4, MOV, M2TS, M4V, AAC, AC3 and other formats, and supports free conversion between video and audio formats.

Convert formats Supports batch conversion of all formats, such as MP4, MP3, WAV, WMV, RMVB, etc.
Customize the settings Frequency, High Bit Rate, Block Video/Audio Channel, etc.
Easy to use Just 3 simple steps to complete the conversion quickly.
Multifunction Edit the video et record the screen.
Free to try Free (non commercial use only).
Convert formats Supports batch conversion of all formats, such as MP4, MP3, WAV, WMV, RMVB, etc.
Customize the settings Frequency, High Bit Rate, Block Video/Audio Channel, etc.
Easy to use Just 3 simple steps to complete the conversion quickly.
2. How to edit video with Renee Video Editor Pro?
The editing function of Renee Video Editor Pro is also very easy to operate. Whether you are a novice user or an expert editor, this editing software can meet your editing needs. The specific operation steps of using the editing software are as follows:Step 1: After downloading and installing, run Renee Video Editor Pro and select the (Video Editing Tools) option.

Step 2: Next, find the (Add File) button and import the video file to be edited into Renee Video Editor Pro.
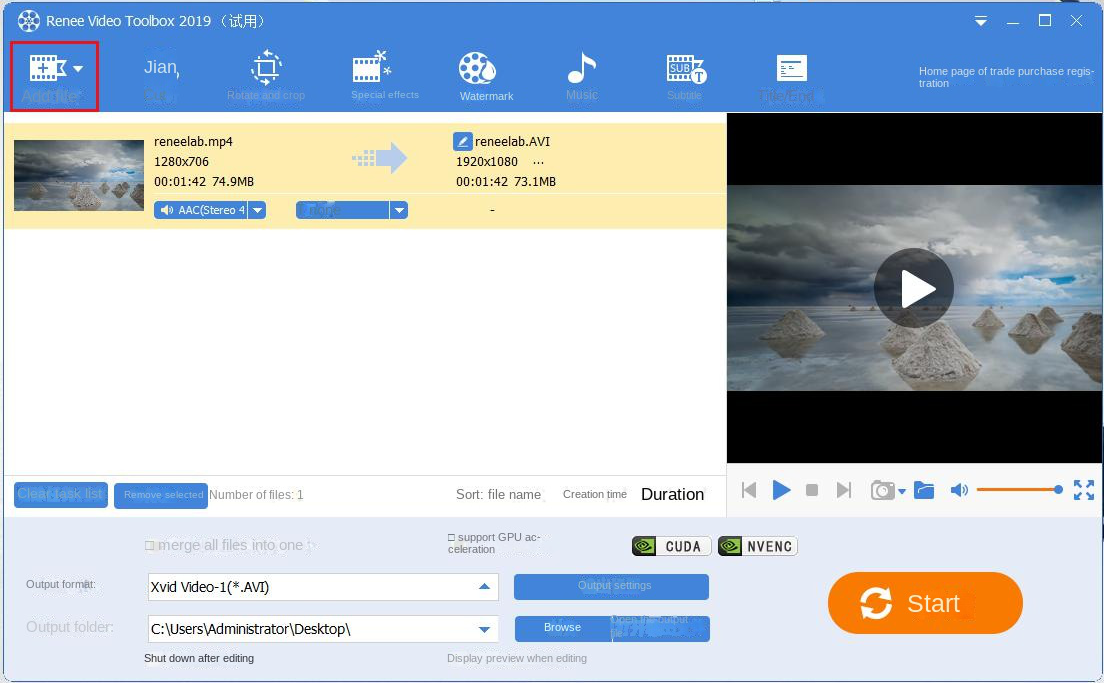
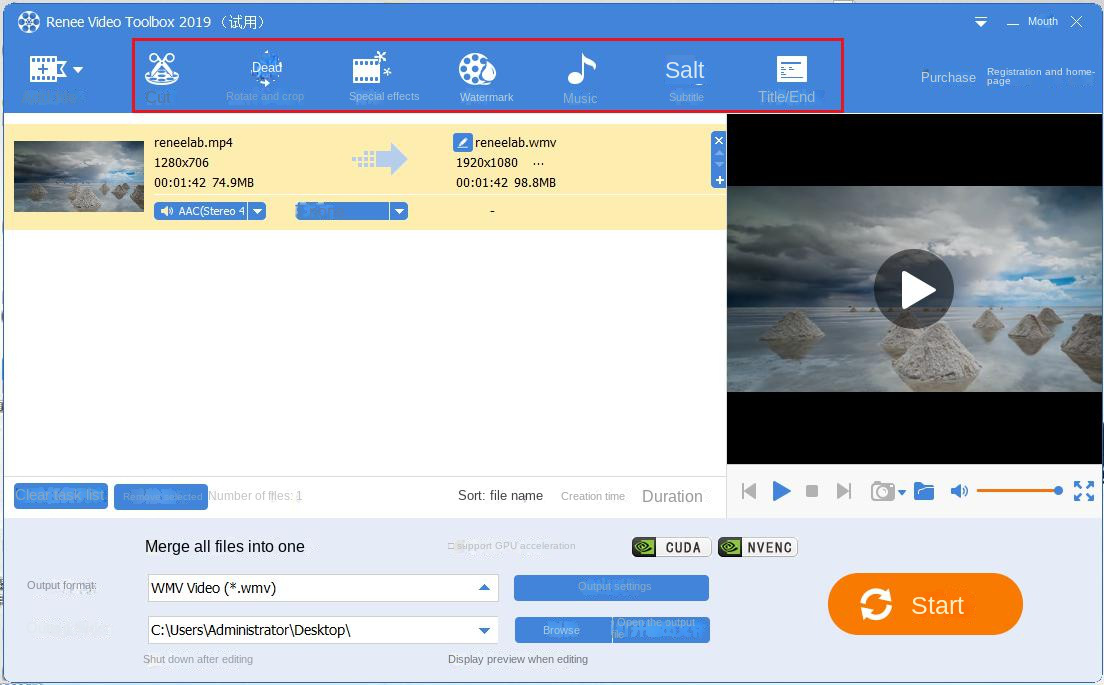
Step 3: After the video is imported, the edit button on the top menu bar will be activated. At this time, you can edit the imported video according to your editing needs, such as video cutting, rotation and cropping, adding filter effects, exclusive watermark, independent music, Various personalized editing operations such as additional subtitles, self-made opening/closing titles, etc.
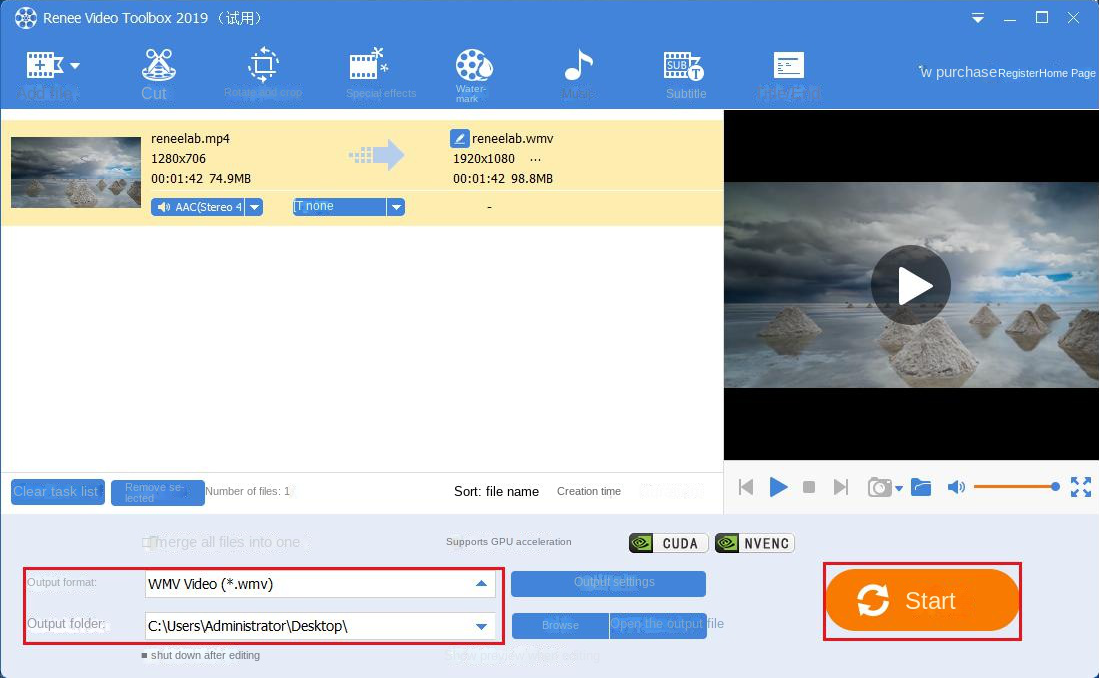
Step 4: After all editing settings are completed, select the output format in (Output Format), select the location to save the video in (Output Folder), and then click the (Start) button to save the edited video The file is saved to the set location, which is very fast and convenient.
Relate Links :
Expert Tips to Edit FLV Video and Enhance Your Videos
11-07-2023
Amanda J. Brook : Learn how to edit FLV video format without losing quality. Discover the method in this article, ideal for...
Best Video Editing Software: Master the Art of Editing All Types of Videos
05-07-2023
Amanda J. Brook : This comprehensive article is your key to mastering video editing. From software selection to essential techniques, it offers...
Make Sound Effects for Videos With The Best Video Editing Software
04-07-2023
Amanda J. Brook : Gain a comprehensive understanding of video sound effects, their role in enhancing perception, and how to effectively apply...
Effortlessly Edit Your Videos with Online Video Trimmer

28-04-2024
Jennifer Thatcher : Learn how to edit videos easily online or locally with a video editor. Cut out unnecessary clips to...

