I. How to fix Windows error code 0x80070490?
If you encounter the error code 0×80070490 while updating Windows, start by verifying if there is at least 25GB of free space reserved on the C drive. Additionally, disconnect any external devices from your computer before attempting the update. If the issue persists, please read on for further solutions.
1. Check whether Windows Update and other related services are running normally
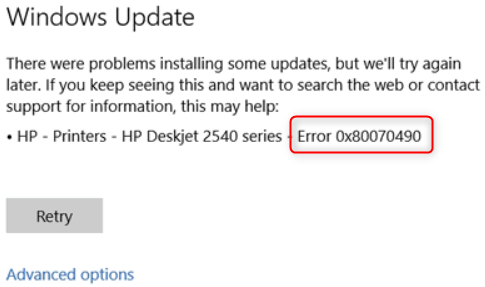
The Windows Update service is responsible for managing Windows updates and other related processes. If you encounter Windows error code 0×80070490, one of the first steps to troubleshoot is to check if essential services, like Windows Update, are operating properly.
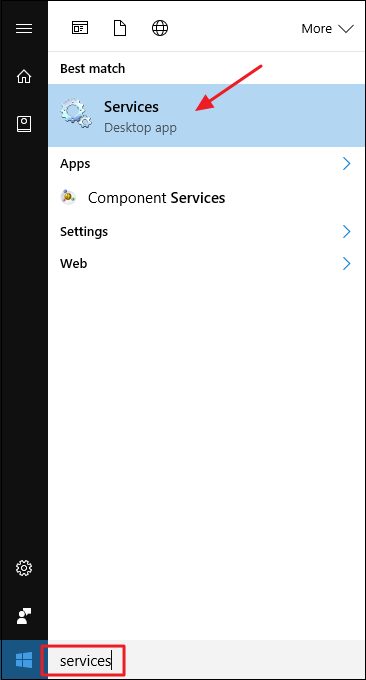
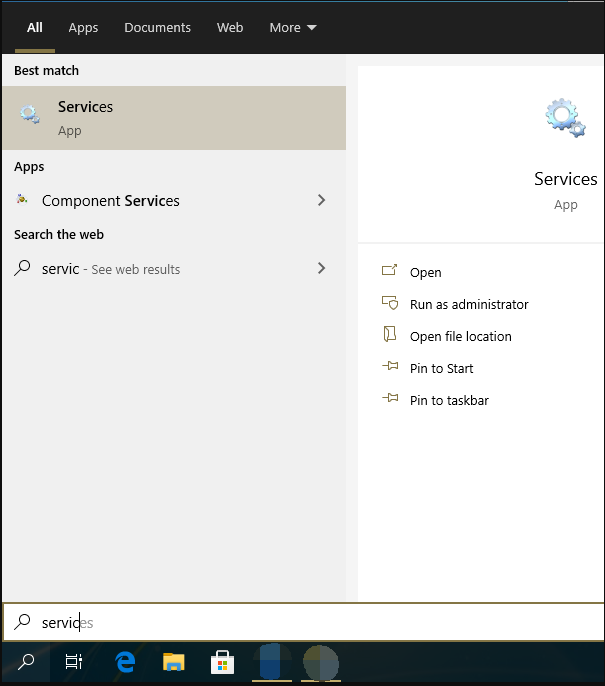
Step 1: Enter (service) in the search box on the left side of the taskbar and click the (service) application in the search results.
Step 2: Find the (Windows Update) option in the service list, double-click it to open the “Windows Update Properties” interface, change the startup type to (automatic).
If the service status is (stopped), then click the (start ) button. Finally, click (Apply) and (OK).
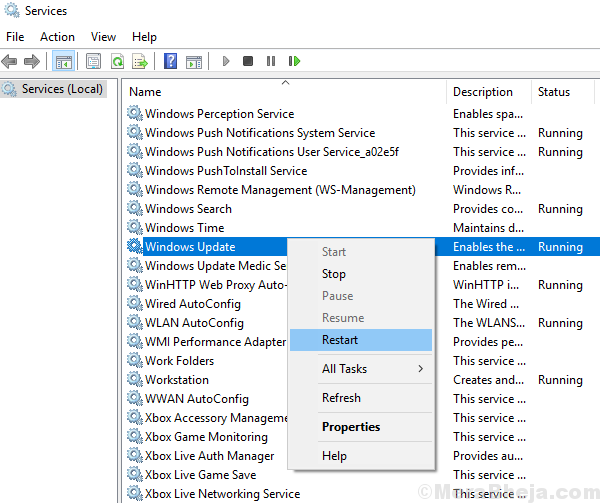
Step 3: In the Services interface, right-click on (Windows Update) and select the (Restart) option.
Step 4: Then make sure that the following services are also in the normal startup state. Then try performing a Windows update again to see if the problem is resolved.
● Background Intelligent Transfer Service
The Background Intelligent Transfer Service (BITS) is a service that utilizes idle network bandwidth to transfer files in the background. Without this service, applications that rely on BITS (such as Windows Update or MSN Explorer) will not have the ability to automatically download programs and other data.
Cryptographic Services offers three management services: Catalog Database Service, which verifies the authenticity of Windows files and enables installation of new programs; Protected Root Service, which manages trusted root certification authority certificates on this computer; and Auto Root Certificates Update service, which handles tasks like retrieving root certificates and enabling SSL from Windows Update. If this service is stopped, the aforementioned management services will not operate correctly. If it is disabled, any services that rely on it will fail to start.
Windows Installer is responsible for managing applications distributed as Windows Installer packages, including the addition, modification, and removal of such applications. Disabling this service will prevent any other dependent services from starting.
2. Uninstall third-party software
If your computer has downloaded and installed third-party software, such as system optimization tools, online banking plugins, or anti-virus programs, it is recommended to uninstall them before attempting to update Windows. This simple step may resolve any issues you are experiencing. To uninstall, right-click the (Start) menu, select (Apps and Features), and then choose the third-party software from the list of applications to uninstall.
3. Run the Windows Update Troubleshooter
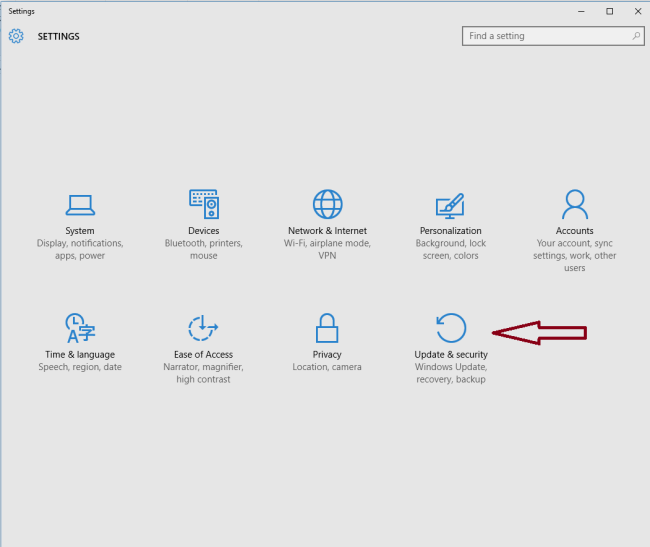
The Windows Update Troubleshooter is a built-in tool in the Windows system designed to assist users in troubleshooting and resolving issues that may arise during the system update process. Follow these steps to run the troubleshooter:Step 1: Start your computer and simultaneously press the (Windows+I) keys on your keyboard to access the settings interface. Next, click on the (Update and Security) option.
Step 1: Run the computer, press the (Windows+I) key on the keyboard at the same time to open the setting interface. Then click on the (Update & security) option.
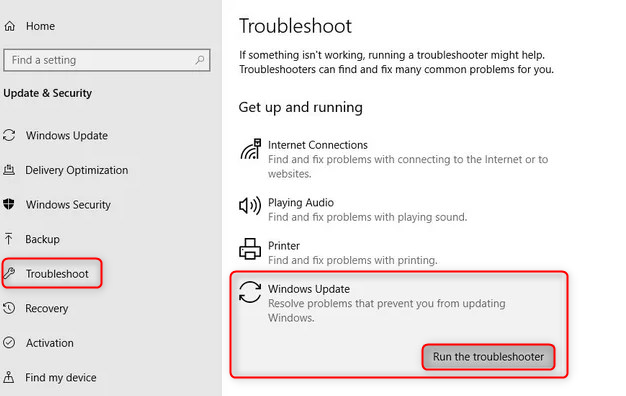
Step 2: Find (Troubleshoot) on the left, then click on the (Windows Update) option on the right. Click the (Run the troubleshooter) button.
Wait a few moments after troubleshooting and see if the problem is resolved.
4. Run DISM and SFC commands
DISM is a tool created by Microsoft for managing images. It is commonly utilized to inspect and fix system image files, as well as identify and remove registry items. Additionally, the System File Checker (SFC) is capable of locating and repairing damaged or missing system files within the system files directory. In the event that the 0×80070490 error is a result of system file corruption, attempting to run both DISM and SFC commands to scan and repair may prove to be beneficial.
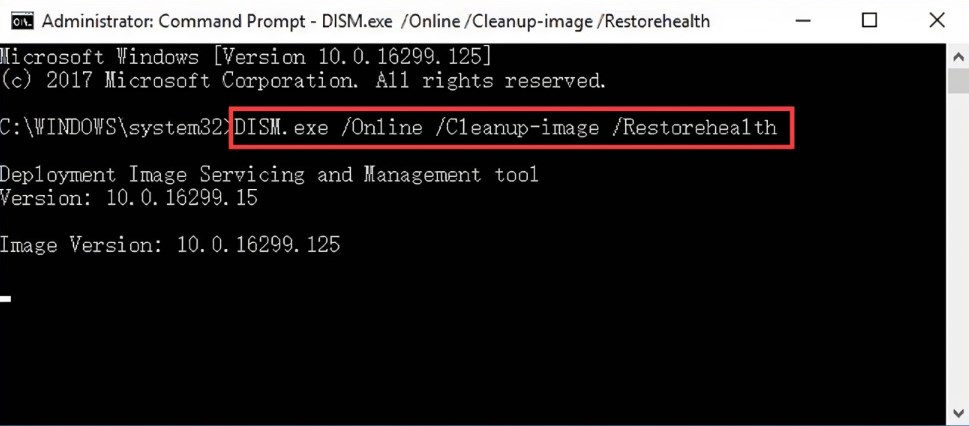
Step 1: Enter (cmd) in the search box, right-click the search result, and select (Run as administrator) to open the command prompt window.
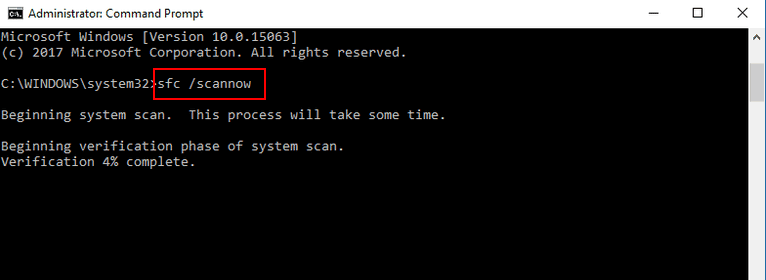
Step 2: In the command prompt window that opens, paste the (DISM.exe /Online /Cleanup-image /Restorehealth) command into it and press (Enter). Then type (sfc /scannow) and press (Enter).
Step 3: The process may take a while, so please be patient and wait for it to finish. Once it is done, try running the Windows Update again to see if the issue has been resolved.
If you encounter the message “Windows Resource Protection cannot perform the requested operation” after running (sfc /scannow), you can click here to find a solution.
5. Disable Windows update service and delete update temporary files
To help fix the Windows Update error 0×80070490, try disabling the Windows Update service and deleting the update temporary files. Then, re-enable the Windows Update service. Follow these steps to do so:
Step 1: Enter (service) in the search box on the left side of the taskbar and click the (service) application in the search results.
Step 2: Next, select the (Windows Update) option and select the (Stop) button.
Step 3: Go to the desktop and locate the icon for the “This Computer” folder. Double-click on it to open. Then, navigate to the path C:\Windows\SoftwareDistribution and delete all the files within the DataStore and Download folders. Afterward, rename the SoftwareDistribution folder to SoftwareDistribution.old.
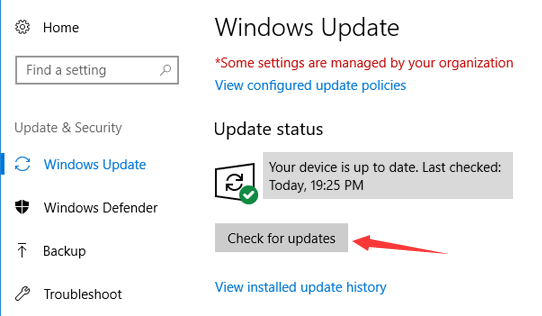
Step 4: Follow steps 1 and 2 to restart the Windows Update service. Then click (Check for updates) option in (Settings)-(Update and Security)-(Windows Update).
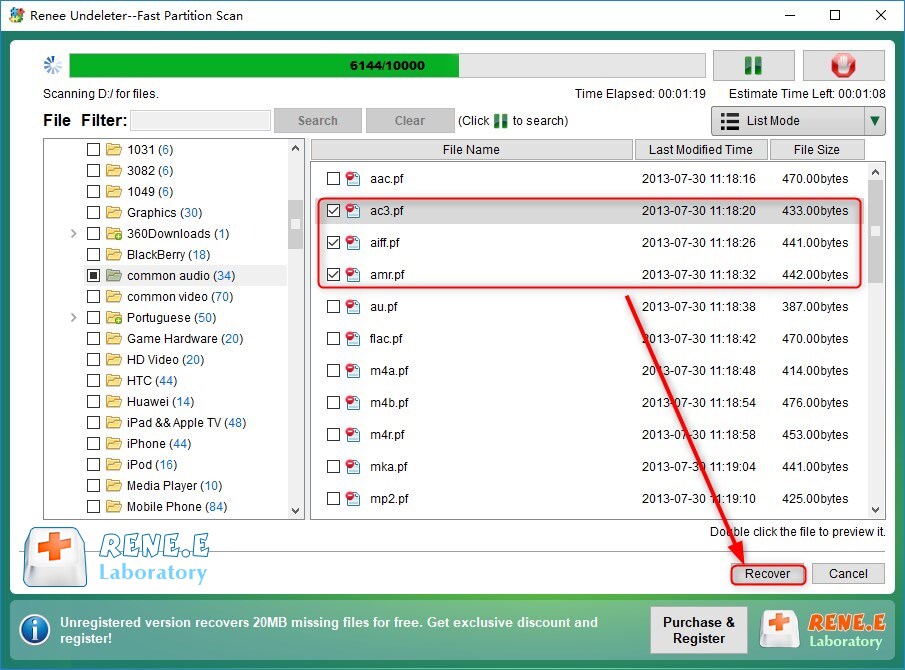
The above is the method of fixing the 0×80070490 error. If you find that important data in the computer is lost after you fix the problem, you can continue to refer to the following methods for data recovery.