

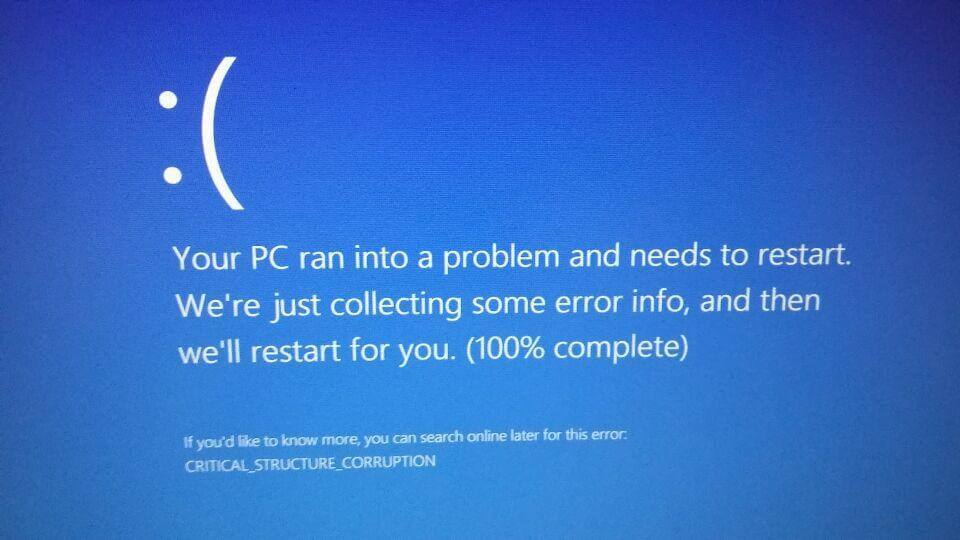
Ultimate Guide to Fix the error CRITICAL_STRUCTURE_CORRUPTION

Summary
Learn how to analyze and fix the "CRITICAL_STRUCTURE_CORRUPTION" blue screen error on your Windows system. Also discover how to transfer or restore data to avoid loss.

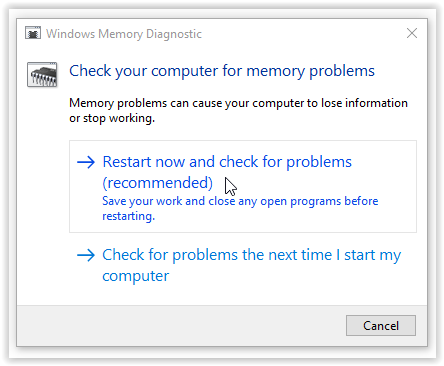
mdsched.exe, and hit Enter to access the Windows Memory Diagnostic Tool.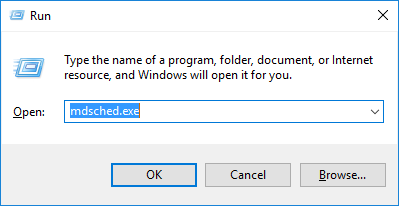


SFC /scannow, then press Enter. The System File Checker will scan and repair any corrupted system files. Once completed, reboot your computer to check if the issue is fixed.
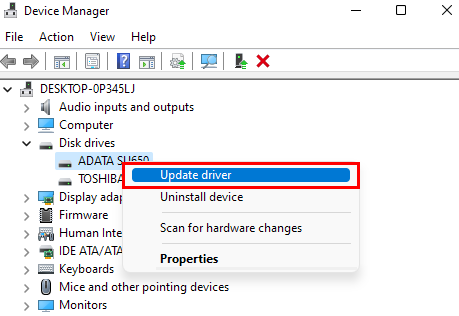
devmgmt.msc and click the OK button to access Device Manager.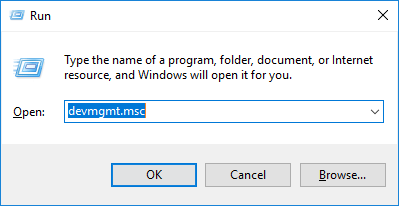

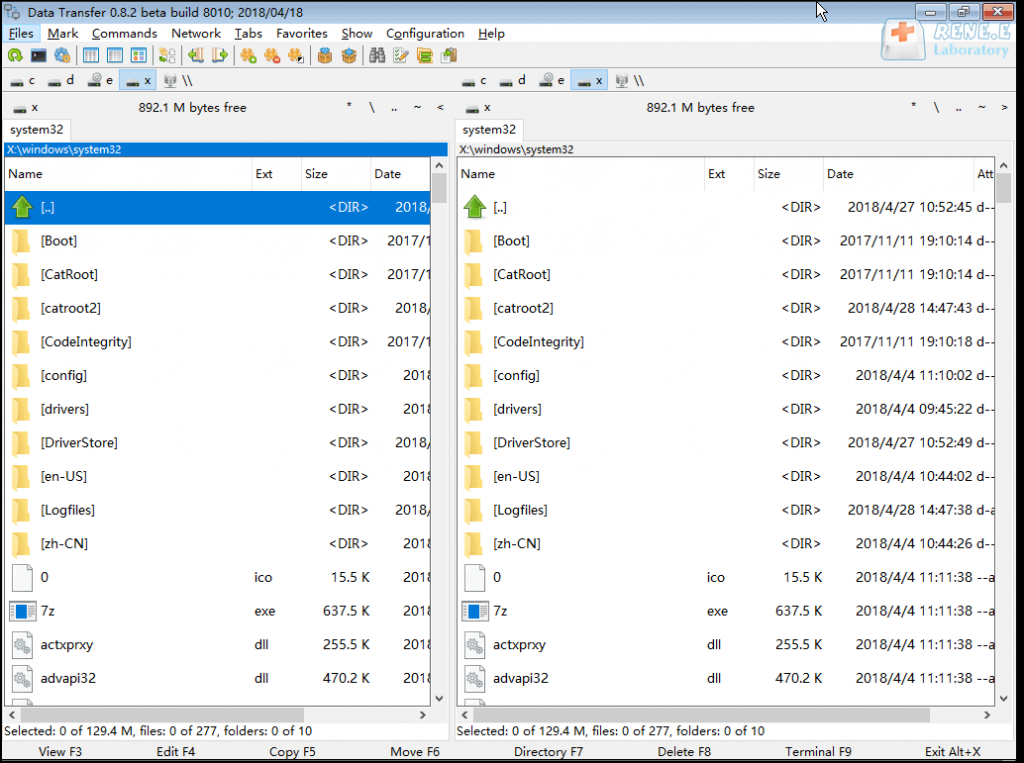
Easy to use 3 steps to transfer the files.
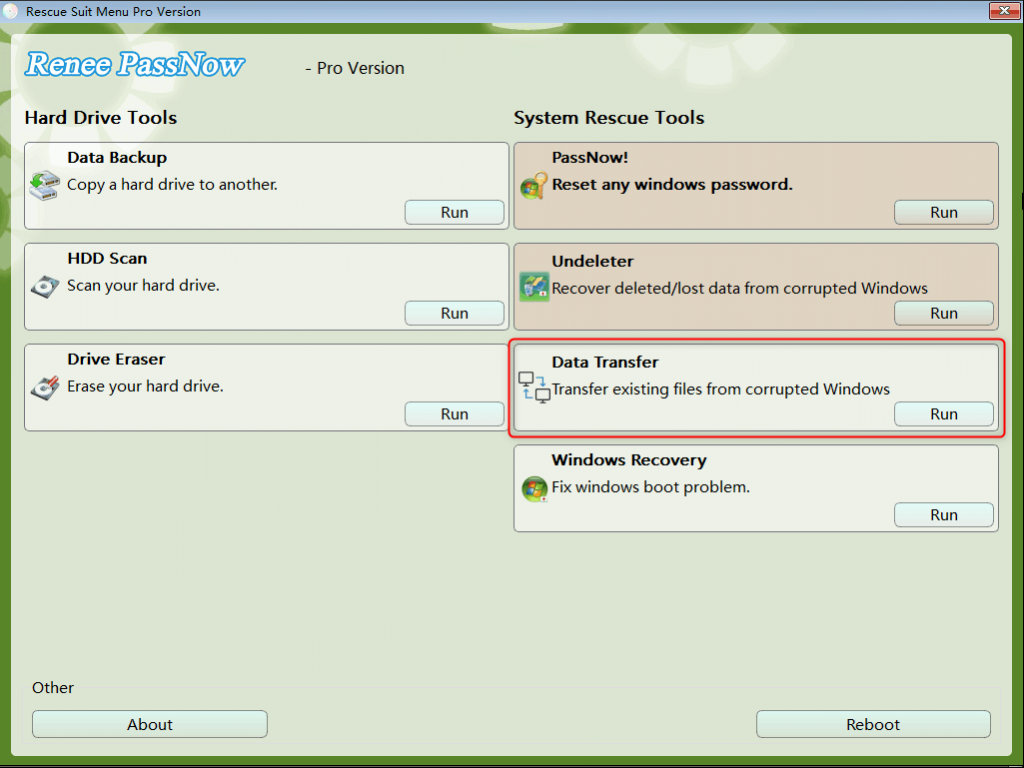
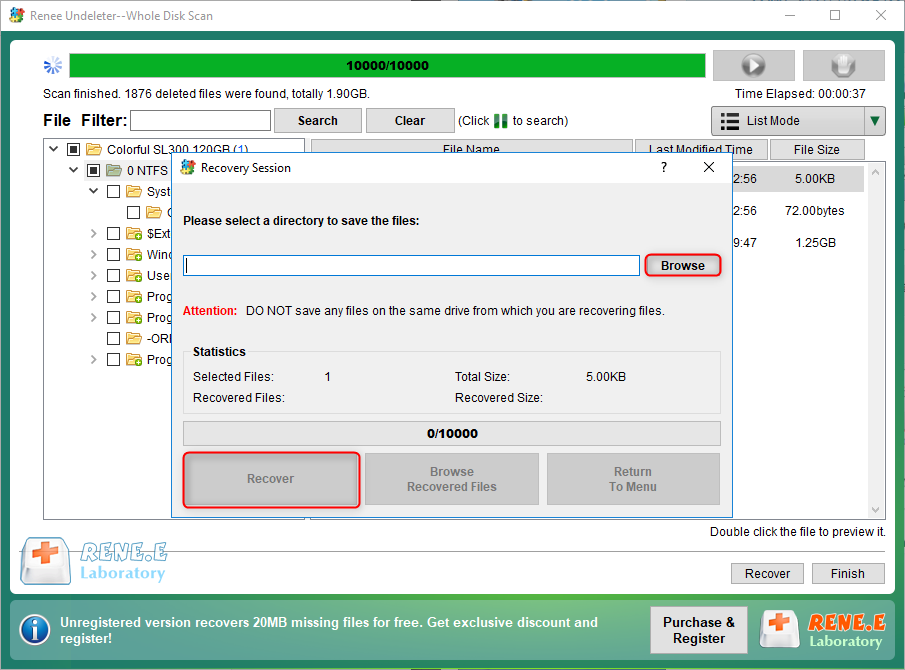
Transfer the files Transfer the important files of the computer without system.
Preview the files Preview the files while transferring the data.
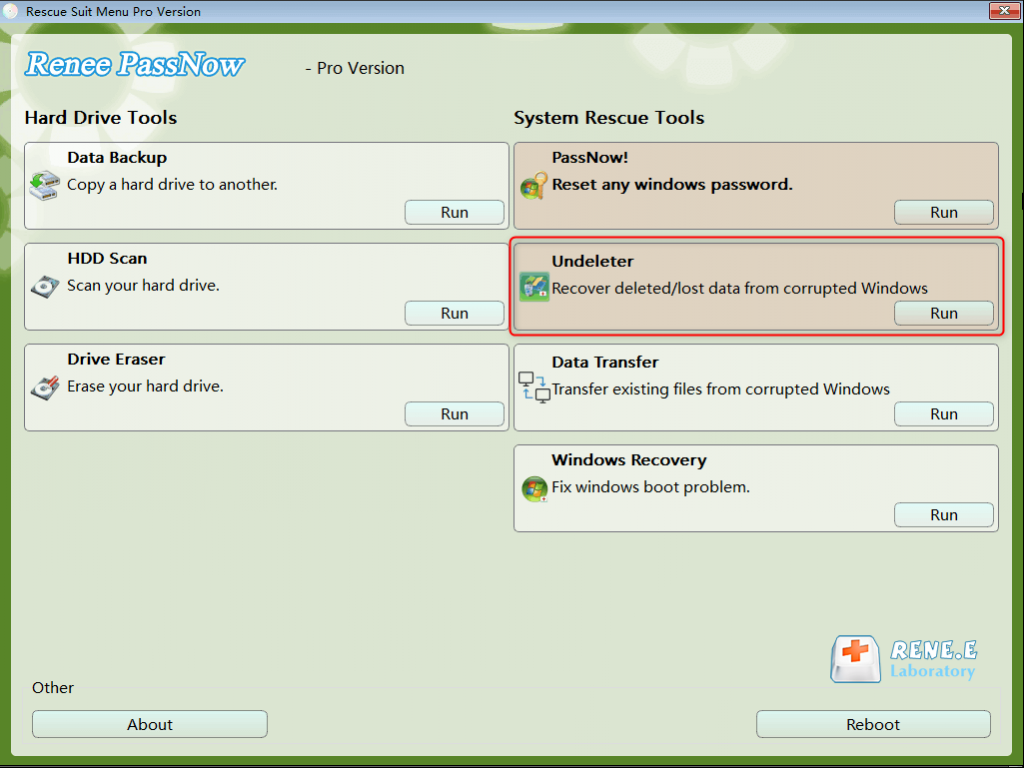
Multifuctional Data recovery, Windows password reset, bootable problem recovery can be run without system.
Highly compatible Windows 10/8.1/8/7/XP/Vista. Also supports UEFI boot mode.
Easy to use 3 steps to transfer the files.
Transfer the files Transfer the important files of the computer without system.
Preview the files Preview the files while transferring the data.
Free TrialFree TrialNow 2000 people have downloaded!

To prevent data corruption, safely eject the USB drive after recovery by using the Remove Hardware Safely option, before undertaking any additional operations on your computer, such as maintenance, hard drive replacement, or system reinstallation.
Relate Links :
How to fix the error PFN_LIST_CORRUPT in just a few steps?

10-01-2024
Jennifer Thatcher : Learn about PFN_LIST_CORRUPT, a type of blue screen error, and its possible causes. Get common solutions to resolve...
What to do when it appear stop code system_thread_exception_not_handled?

12-03-2024
Amanda J. Brook : Resolve the stop code system_thread_exception_not_handled (bcmwl63a.sys) on Windows system with this article's conventional repair methods. Besides, you can...
Troubleshoot the Error Code 2000-0151 on Your Hard Disk
16-07-2024
Ashley S. Miller : Our comprehensive article covers the causes and practical solutions to tackle the error code 2000-0151. Safeguard your important...
Easy Solutions to Fix BAD_POOL_CALLER Blue Screen Error on Windows 10
26-01-2024
Jennifer Thatcher : By following these methods, you can easily fix the BAD_POOL_CALLER error on Windows 10 and avoid future occurrence...

