

Can we delete Windows memory dump file?

Summary
Learn about the Windows memory dump file and whether it can be deleted. Also, discover how to recover lost data in case of accidental deletion. Recommended for its knowledge points.
Table of contents


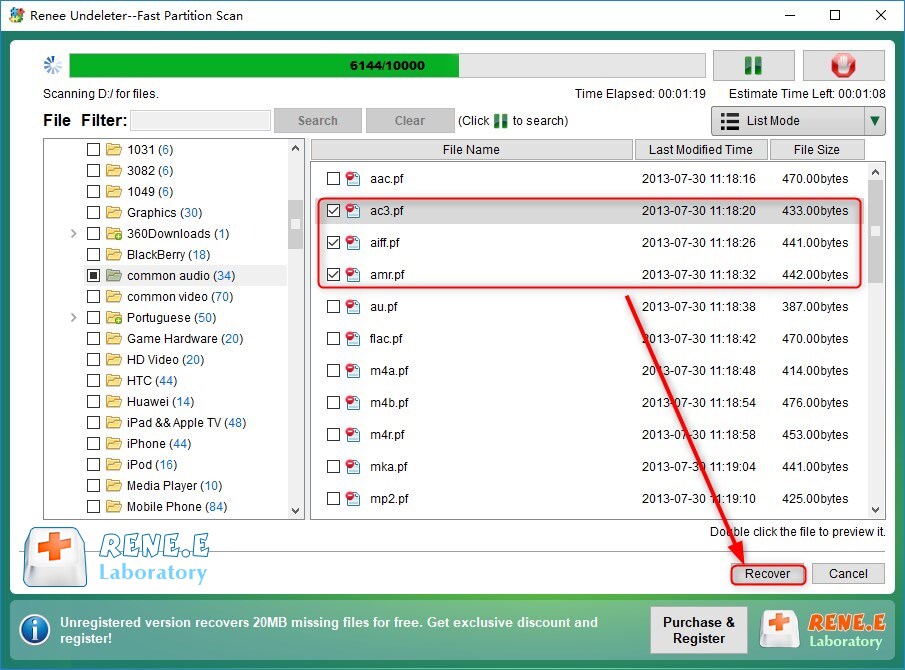
Easy to use Recover data by 3 steps;
Multiple scan modes Fast partition scan, whole partition scan and whole disk scan;
Supported file types Image, video, audio, text, email and so on;
Image creation Create a partition image to read and back up data;
Supported devices SD card, SDHC, SDXC, USB flash drive, hard disk and computer.
Easy to use Recover data by 3 steps;
Multiple scan modes Fast partition/whole partition/whole disk scan;
Supported devices SD card/USB/hard disk.
Free TrialFree TrialFree Trial 800 people have downloaded!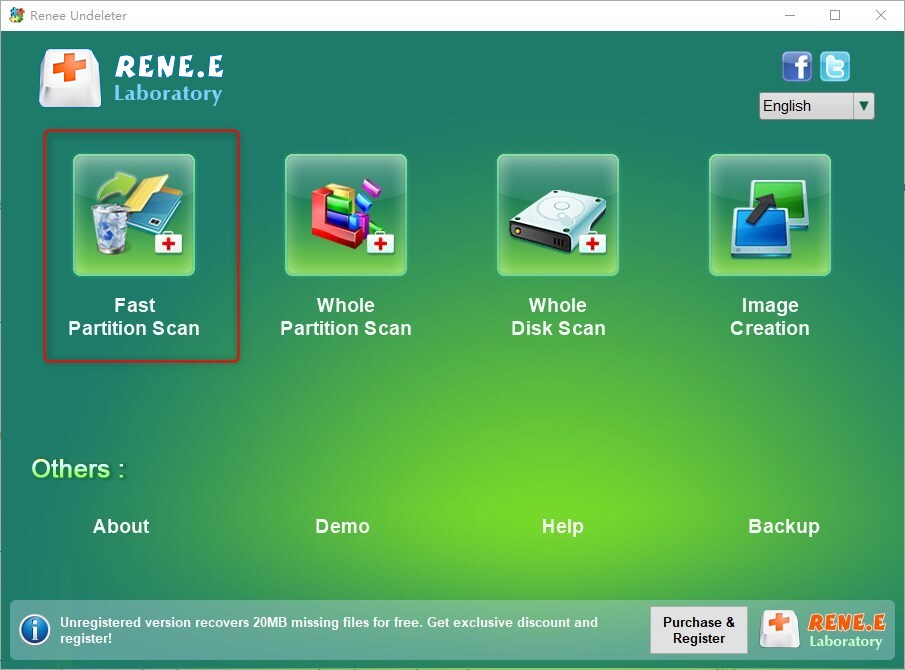
Fast Partition Scan – Quickly retrieve files lost due to accidental deletion or emptying the recycle bin.
Whole Partition Scan – Quickly recover files lost due to inaccessible or formatted partitions.
Whole Disk Scan – Analyze and get partition information and perform a full scan of the entire partition.
Image Creation – You can create a mirror image for a partition to back up the current partition state.

It should be noted that “Fast Scan” only scans the first 30GB of the remaining space of the selected disk. If the desired file is not found after scanning, you can use “Deep Scan” to try to scan the hard disk partition again. It will take more time, but more file data can be scanned.

Relate Links :
Ultimate Guide for the NETIO.SYS Blue Screen Error on Windows
08-12-2023
Amanda J. Brook : Resolve the NETIO.SYS blue screen error with our article guide. Before the reparation, we recommend you to transfer...
Ultimate Guide to Fix the error CRITICAL_STRUCTURE_CORRUPTION

12-03-2024
Ashley S. Miller : Learn how to analyze and fix the "CRITICAL_STRUCTURE_CORRUPTION" blue screen error on your Windows system. Also discover how...
Step-by-Step Guide to Resolve the Error Code 0x80080005 Easily
22-01-2024
Ashley S. Miller : Resolve Windows update errors caused by the error code 0x80080005 with our recommended solutions. Recover lost files with...
Resolve 0xc1900107 Error Code: Easy Steps for a Smooth Upgrade

17-05-2024
Jennifer Thatcher : To resolve error code 0xc1900107 during a Windows upgrade, utilize suggested solutions and deploy specified data recovery methods...

