

How to Format a Hard Drive?

Summary
We can format the hard drive to clear the data when it’s been used for a long time. In addition, the new hard drive should be formatted before it’s put into use. In this essay, we will talk about how to format a hard drive.

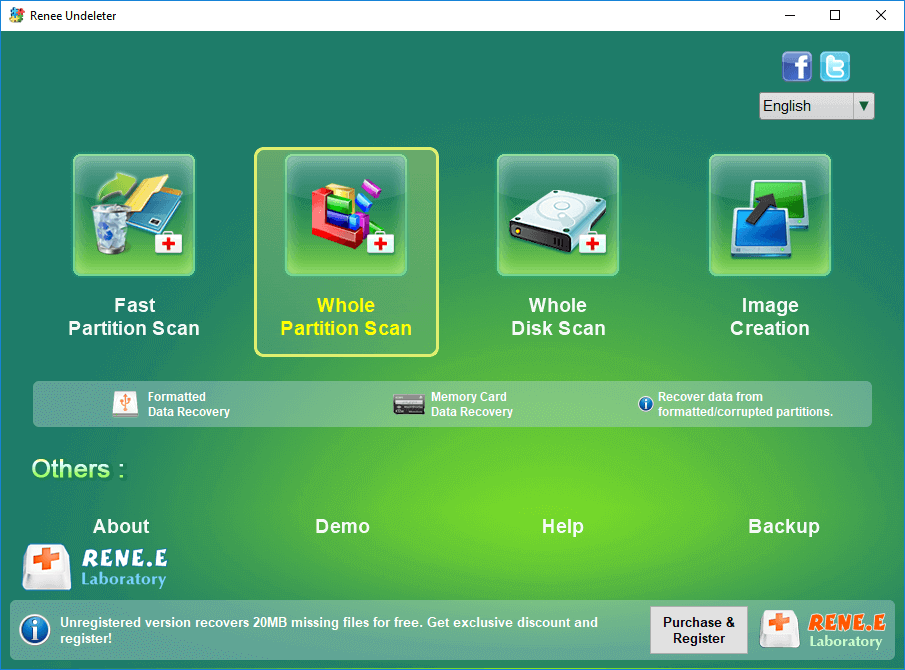
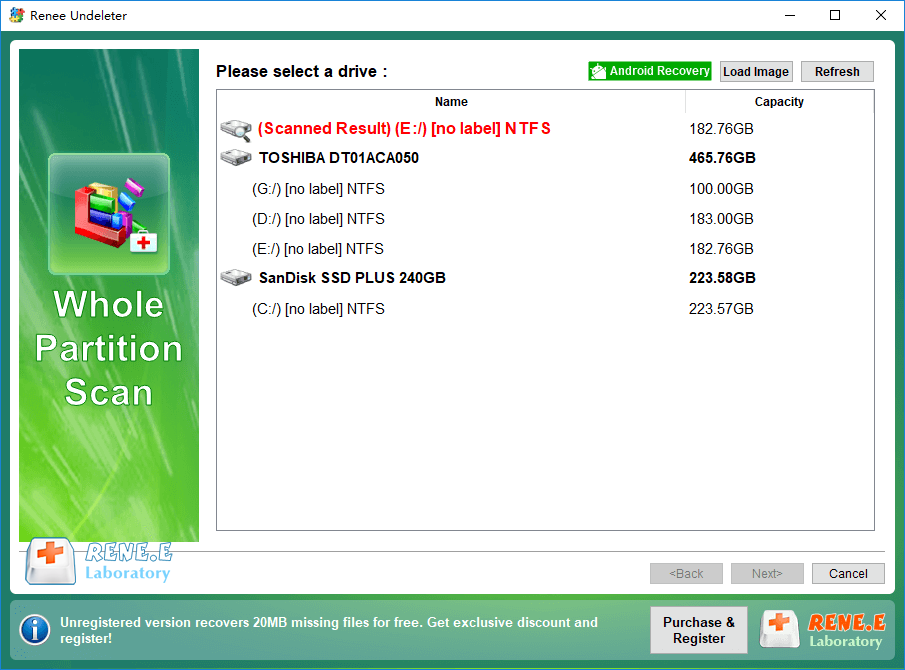
Easy to use Recover data by 3 steps;
Multiple scan modes Fast partition scan, whole partition scan and whole disk scan;
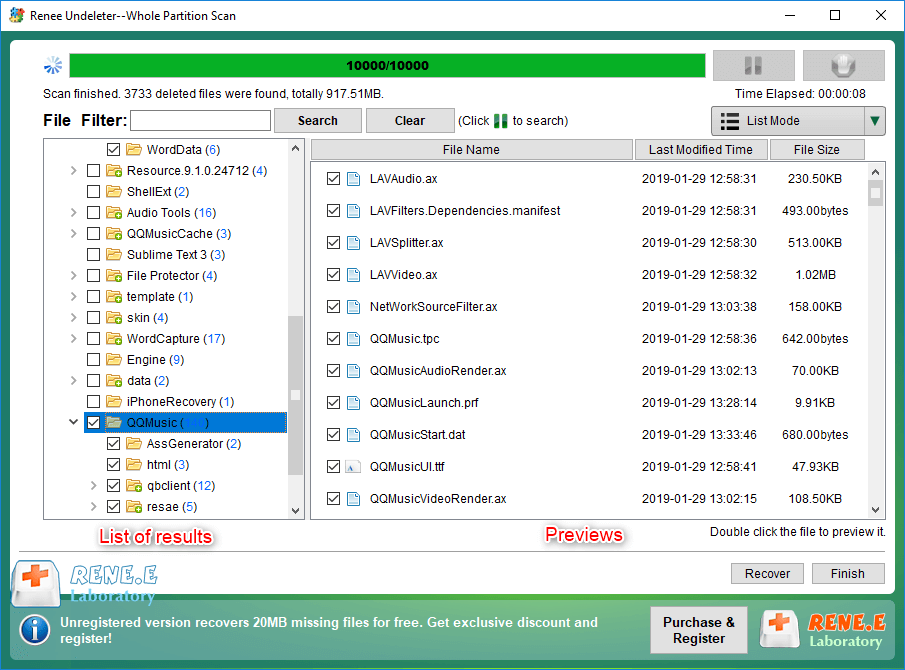
Supported file types Image, video, audio, text, email and so on;
Image creation Create a partition image to read and back up data;
Supported devices SD card, SDHC, SDXC, USB flash drive, hard disk and computer.
Easy to use Recover data by 3 steps;
Multiple scan modes Fast partition/whole partition/whole disk scan;
Supported devices SD card/USB/hard disk.
Free TrialFree TrialFree Trial 800 people have downloaded!FAT32: FAT32 is an old but still popular Windows file system. Now, it is mainly used in mobile storage devices with low capacity. If the hard drive is over 1TB, it should be in the NTFS file system. Besides, some digital cameras, game consoles and set-top boxed merely FAT32, but not NTFS.
NTFS: NTFS is the best Windows file system, given to performance and data security. But it is not compatible with all operating systems. Mac OSX and Linux can read the NTFS partitions, but they cannot modify the inside data. Besides, it is not available in the flash drives.
exFat: exFAT is the file system used for flash drives in Windows. It is the supplement for FAT32 which doesn’t support flash drives. It supports a file up to 16EB and a volume up to 24ZB.
HFS +: HFS + is the advanced version of HFS on Mac OS. Ahead of the release of APFS, HFS+ is the default file system on Mac OS. It is suitable for the mechanical hard disk and the hard drive holding the old Mac OS.
APFS: APFS is the specific file system for Mac OS High Sierra (10.13) and the later versions. This file system emphasize on flash drives and SSD. Of course, it can be used for hybrid hard drives and mechanical hard drives.
Ext2/Ext3/Ext4: On Linux, Ext2/Ext3/Ext4 is the commonly used file systems. Ext2 doesn’t have journaling feature. Therefore, the data will be lost as the system gets crashed. Then, as this feature is added into Ext3, the file system can be quickly recovered even the system is suddenly off power. Ext4 is the latest file system with outstanding performance improvement. It is the default file system on Linux now.
Easy to use Recover by 3 steps.
Multiple scan modes Fast partition scan, whole partition scan and whole disk scan.
Supported file types Image, video, audio, text, email, etc.
Image creation Create partition image to speed up data backup.
Supported devices SD card, SDHC, SDXC, USB flash drive, hard disk, computer, etc.
Easy to use Recover by 3 steps.
Multiple scan modes Fast partition/whole partition/whole disk scan.
Supported devices SD card/USB/hard disk, etc.
Relate Links :
Fix Windows Error " The File or Directory is Corrupted and Unreadable"

31-12-2019
John Weaver : Sometimes, Windows prompts the error “the file or directory is corrupted and unreadable” when you plugged a USB...
Unable to Get Access to SD Card? How to Format SD Card by Force?

05-12-2019
Ashley S. Miller : When you are unable to get access to the SD card or you cannot write data into the...

