author avatar
    Technology Manager of Test Dept.
 

Summary
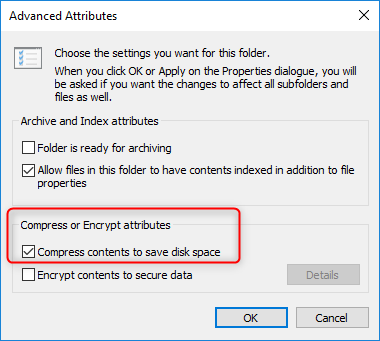
When disk space is not enough, we can remove useless file from the disk to free up disk space. Besides, we can also compress this drive to save disk space that was occupied by the files, which will not influence the normal use of data access. But how can we compress the disk? Different compression methods will be provided in this passage.


Recover Deleted Files from SD Card/Hard Disk

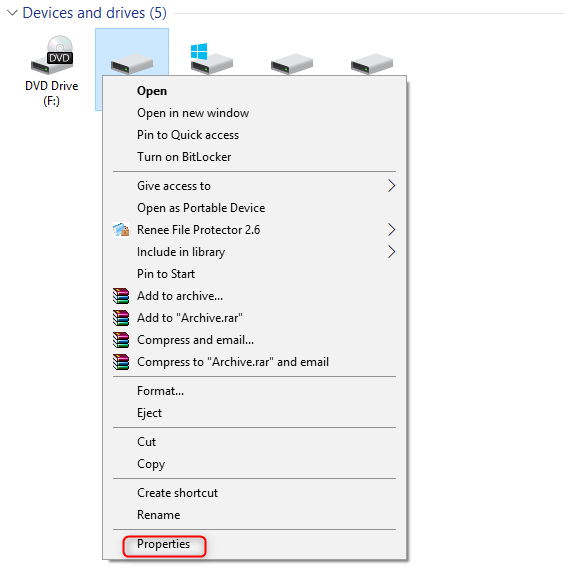
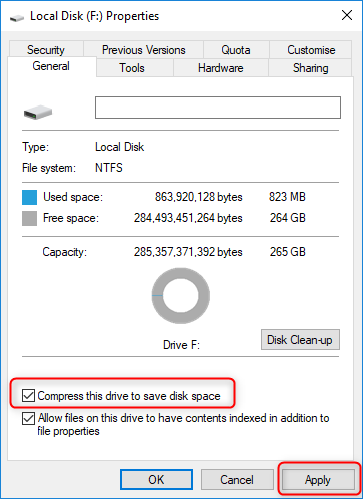
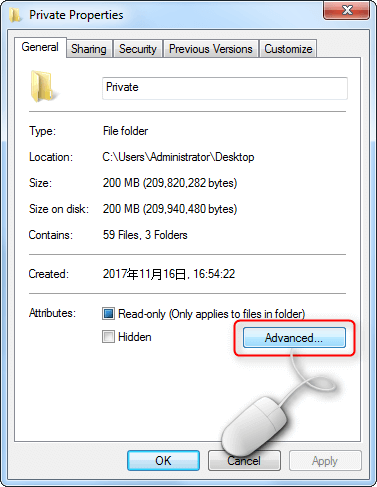
Part 1: Compress Disk with NTFS File System

NTFS file system that Windows uses has a built-in compression function which just needs to go through simple steps to compress disk, folders and files. Before you follow the steps below, please have a check of your file system and make sure it is NTFS. If not, please move to other methods.
Step 1: Right-click the disk you want to compress and select “Properties” from the menu.
right click at properties
Hot Topic - ADsRenee Becca – Professional, Reliable Tools for Data Backup and Recovery

Quick Back up files at up to 3,000MB/min.

Overall Support system backup, disk/partition backup, file backup and disk clone.

Intelligent Automatically analyze the data differences between the source files and the backup files and save disk space by backing up incremental/differential data.

Convenient Support VSS, allowing to freely view web pages during the backup of the operating system.

Highly compatible Support various files and storage devices.

Quick Back up at up to 3,000MB/min

Overall System/partition/disk backup

Incremental/differential technology Save disk space

Free TrialFree TrialNow 2000 people have downloaded!
Step 2: Check whether the file system is NTFS in the pop-up Properties window.
check file system in disk properties
Step 3: Please check the item “Compress this drive to save disk space” after assuring the file system is NTFS. Then click “Apply”.
compress the drive to save disk space
Step 4: Please check the second option which says “Apply changes to this folder, subfolders and files” in the pop up window.
apply changes to the folder
Step 5: Click “OK”. And click “Continue” in the following pop up window. Then enter the account name and password. (If you do not have administrator, please create one or connect the administrator for privilege.)
continue to change the drive attributes as administrator
Step 6: The process of compressing all files in the hard drive will be time-consuming. Please wait until the process finishes.
compressing the disk or the drive
Step 7: If you think the compression process is time consuming, you can compress files or folders which take lots of disk space rather than compressing whole disk.
Step 8: Find out the files or folders you want to compress and then right click them and select “Properties” from the menu. And then go to “Advanced”.
click advanced in properties of target folder
Step 9: Please check the selection “Compress contents to save disk space” and then “OK”.
compress content to save disk space
Step 10: Click “Apply” after return to “Properties” window and please select “Apply changes to this folder, subfolders and files”. Finally, click “OK”.
how to apply changes to the folder
Step 11: If you do not want to compress the data, please go through the steps above again but do not check the items “Compress this drive to save disk space” or “Compress contents to save disk space”.
Suitable for: Compress file which are rarely used or uncompressed. Besides, the CPU of the computer should have a good performance.
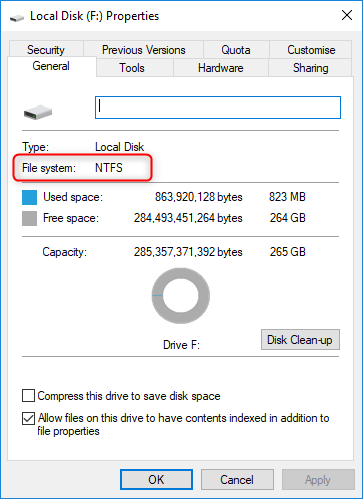
Not suitable for: Compressing Windows system files or other files of software. Besides, it the CPU of the computer is poor, disk / file compression is not recommend. NTFS compression may lower the computer performance and lead to other errors. What’s more, the compression result sometimes is not effective for some files in compressed format like videos and music.

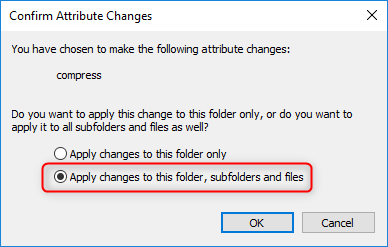
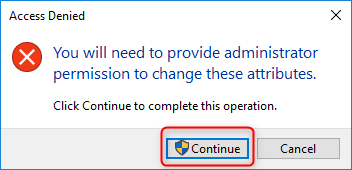
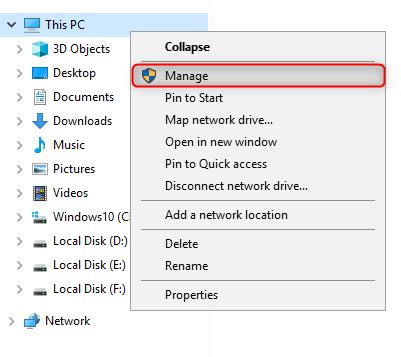
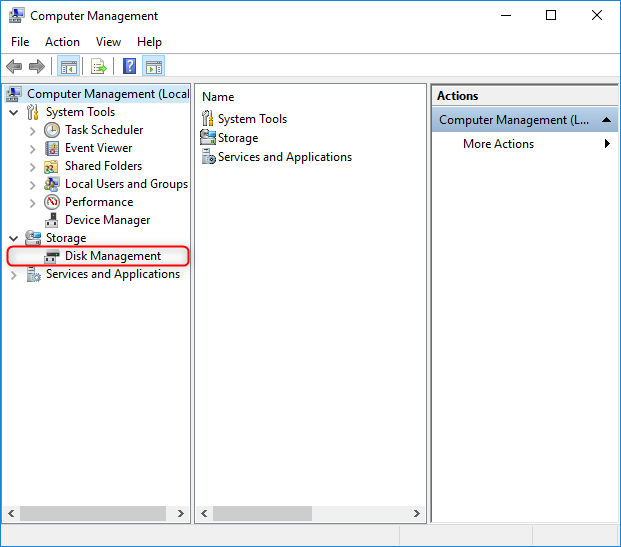
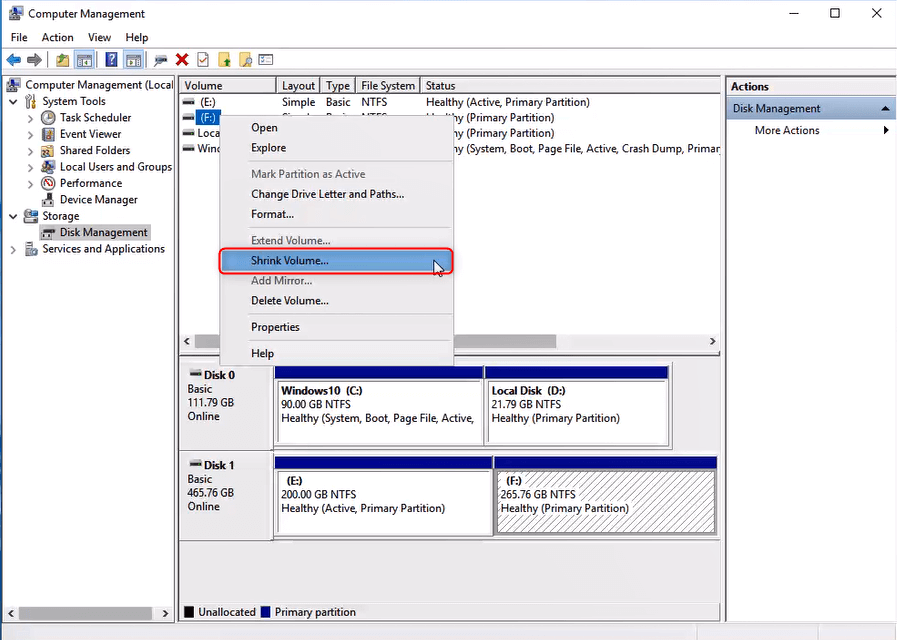
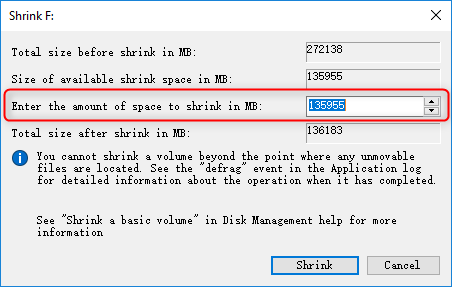
Part 2: Compress Disk with Disk Management

① Right-click “This PC” and then click “Manage”.
click this pc to select manage
② Go to “Disk Management” in the pop-up Computer Management window.
select disk management in windows
③ Please right click the disk you want to compress and then select “Shrink Volume” in the menu.
shrink volume in disk management
④ Enter the disk space you want to compress according to your needs. After that, please click “Shrink”.
enter the amount of space to shrink in MB

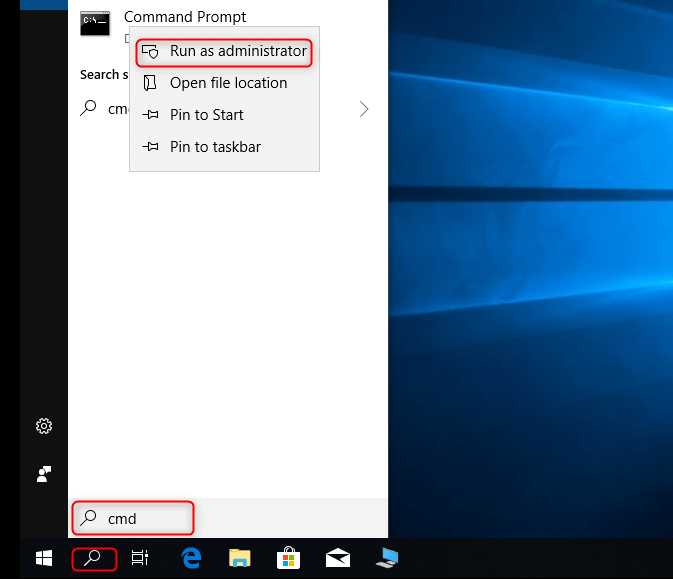
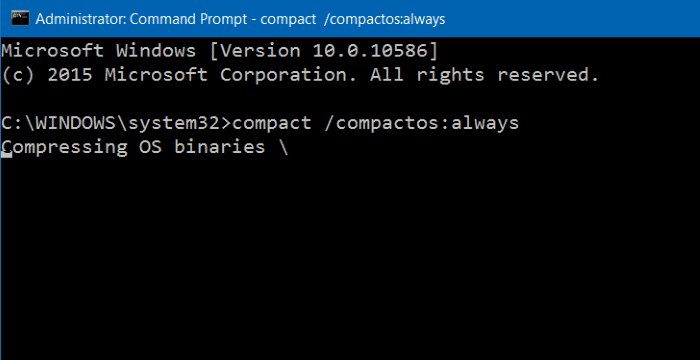
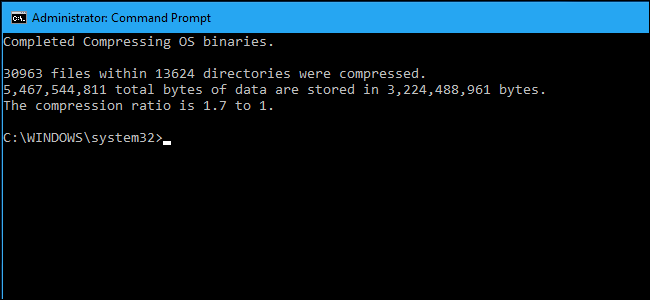
Part 3: Compress Disk via Tool Compact (Process with Command Prompt)

① Type in “cmd” in the search box of Windows. Select “Command Prompt” in the result. Right-click it and select “Run as administrator”.
enable command prompt
② Type in command “compact /compactos:always” and press Enter to process.
compact compactosalways in command prompt
③ After command processed, Windows will compress the files and folders in the system disk automatically.
④ The number of folders and files will be listed after compression finishes.
compression ratio in command prompt
If you do not want to compress the disk anymore, just open command prompt window and type in the command “compact /compactos:never” and press “Enter” to process.
In order to prevent data lost disaster, it is recommended to create backup for important data before compressing disk. Renee Becca is worth to try if you want to backup your Windows, files and disk. Advanced incremental / differential backup technology will save your precious time and disk space.

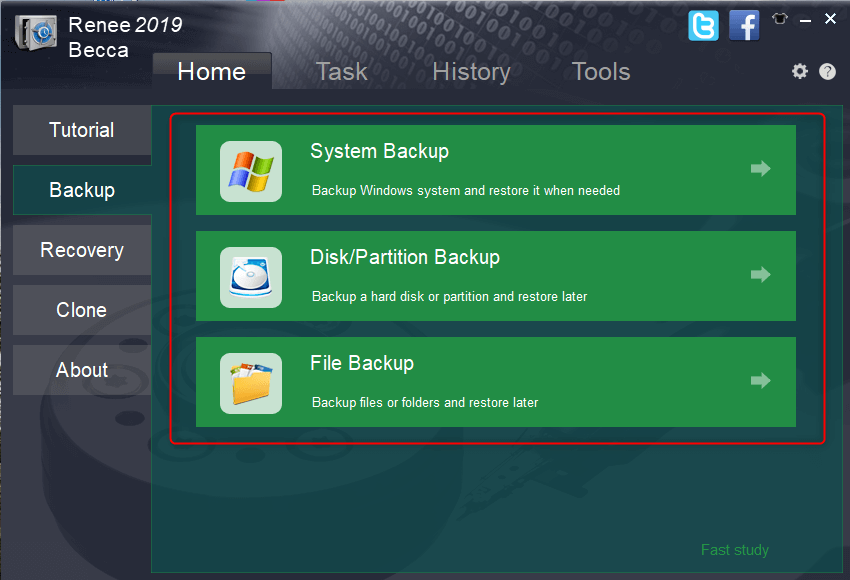
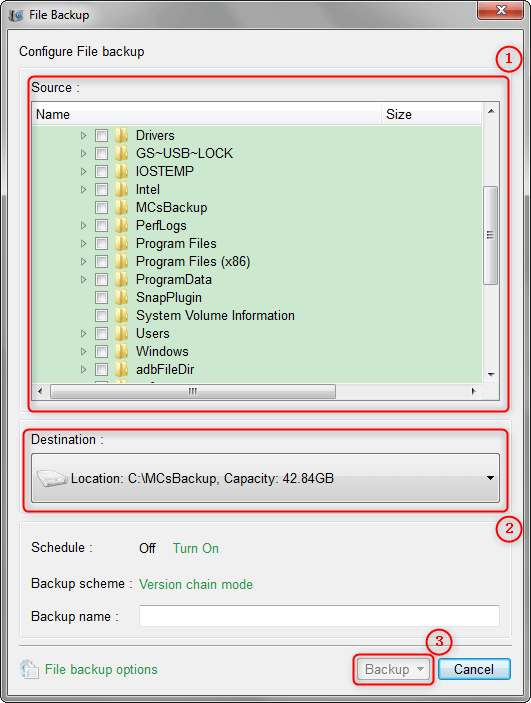
Create Backup for System or Files with Renee Becca Beforehand

Powerful Backup & Restore Software –Renee Becca

  • Provides different backup optionsRenee Becca can backup system, disk, partitions, files and even clone disk for users. Fulfill your different needs.
  • Effective backup algorithm – Adopted the advanced algorithm, the backup speed of Renee Becca can reach 3000MB/Min. Save your precious time.
  • Advanced incremental / differential backup technology – Renee Becca can define the differences between the source backup files and original file and only backup the different parts, which will greatly save disk space for you.
  • Run without Windows – If Windows system gets corrupted or fails to run, unique rescue USB / CD can help you restore lost data and system in non-Windows environment. Supports different Windows versions.
  • Supports VSS Volume shadow copy technology – The VSS volume shadow copy technology which is adopted in Renee Becca frees you from the poor computer performance when creating system backup.
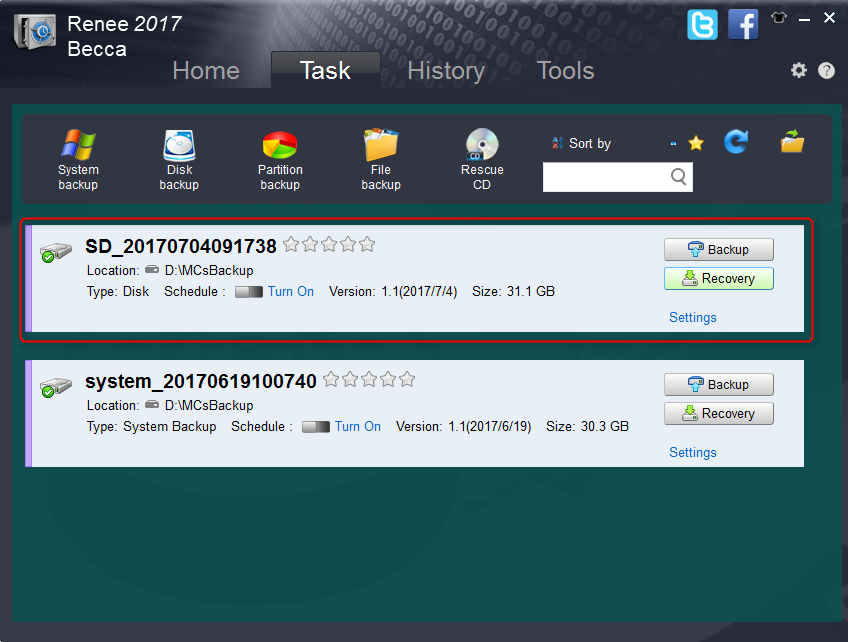
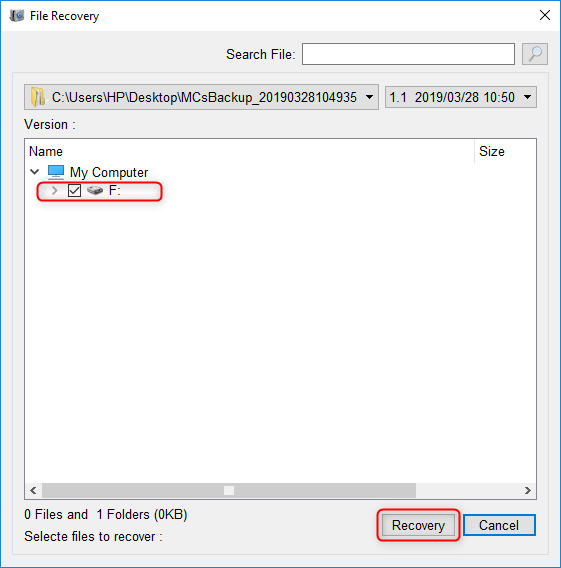
  • Check files inside the backup image – Users can check the files inside the backup image created by Renee Becca, which can improve the recovery efficiency.
How to Create Backup with Renee Becca:
① Download and install Renee Becca.
press to the download button
② Go to “Backup” in the main interface after launching Renee Becca.
backup in renee undeleter
③ Please select the target option accordingly: System Backup, Disk / Partition Backup or File Backup.
three functions in renee becca backup
④ Here we take file backup as an example. Click “File Backup”.
⑤ Select the disk which you save the target important files in. You can select entire hard disk or just the target file(s).
backup files
⑥ Click “Backup” now. Then the backup will be shown in the Task tab. Click “Recovery” after backup finish if necessary.
restore the backup
⑦ Finally, please select the destination you want to restore the files to and click “Recovery”.
recover file in renee becca