author avatar
    Senior Product Manager
 

Summary
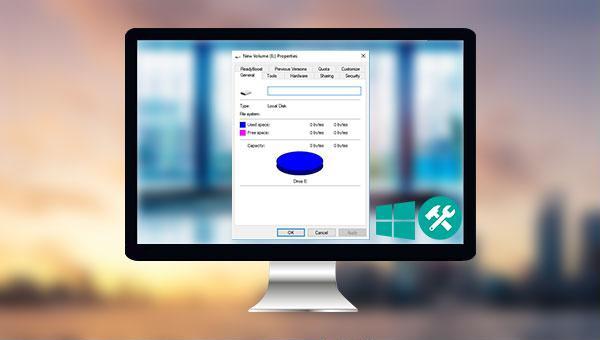
Learn how to fix the "hard drive shows 0 bytes" problem in Windows 10/8/7 with simple and effective solutions. Regain access to your data quickly.


hard drive shows 0 bytes

I. What are the reasons why the hard disk partition shows 0 bytes?

The reasons why the hard disk partition is displayed as 0 bytes may be as follows:
hard disk partition info
●The hard disk is ejected abnormally
●Power fluctuation or failure during hard disk use
● Virus or malware attack
●The hard disk formatting operation is interrupted suddenly
●Bad sector or file system error
The above are some potential causes of a fault. If a fault does occur, the crucial data on the hard disk may be at risk of being lost. To prevent this, it is advised that you first restore the important data on the hard disk before addressing the fault. A reliable solution for this is to use professional data recovery software, such as Renee Undeleter. This software is compatible with both Windows and Mac systems and is user-friendly and efficient. The trial version can scan the hard disk for data and also allows for previewing files to check for any damage.

II. How to use Renee Undeleter to recover data from hard disk?

1. What is Renee Undeleter?

Renee Undeleter is a software specially used to restore various data files. When you accidentally delete important files, empty the recycle bin, or format the disk/storage, you can use this tool to retrieve the lost data. The software covers four functional modules, including file recovery, format recovery, partition recovery and image creation. Therefore, it can help you solve all possible data loss problems that may occur during system use in an all-around way, which is very convenient.
Hot Topic - ADsRenee Undeleter – Simple & Powerful Software for Data Recovery

Easy to use Recover data by 3 steps;

Multiple scan modes Fast partition scan, whole partition scan and whole disk scan;

Supported file types Image, video, audio, text, email and so on;

Image creation Create a partition image to read and back up data;

Supported devices SD card, SDHC, SDXC, USB flash drive, hard disk and computer.

Easy to use Recover data by 3 steps;

Multiple scan modes Fast partition/whole partition/whole disk scan;

Supported devices SD card/USB/hard disk.

Free TrialFree TrialFree Trial 800 people have downloaded!

2. How to recover hard disk data with Renee Undeleter?

Restoring data with Renee Undeleter is very simple, the steps are as follows:
Step 1: Download, install and run Renee Undeleter, select the (Whole Disk Scan) option on the main interface.
Note: Do not install on the disk that needs to restore data, so as not to cause data overwriting.
select whole disk scan to scan disk in renee undeleter
Data recovery function introduction:
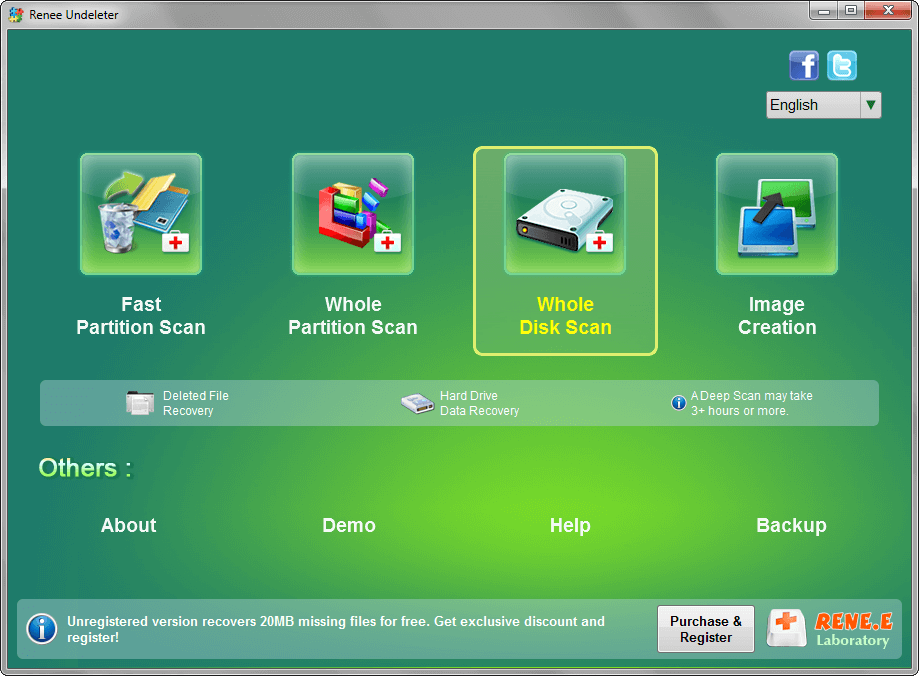
Fast Partition Scan – Quickly retrieve files lost due to accidental deletion or emptying the recycle bin.
Whole Partition Scan – Quickly recover files lost due to inaccessible or formatted partitions.
Whole Disk Scan – Analyze and get partition information and perform a full scan of the entire partition.
Image Creation – You can create a mirror image for a partition to back up the current partition state.
Step 2: Next, select the hard disk to be scanned, and click (Next). Select (default setting) on the advanced setting interface.
select a disk to recover in renee undeleter
Step 3: After that, the software will analyze the hard disk device.

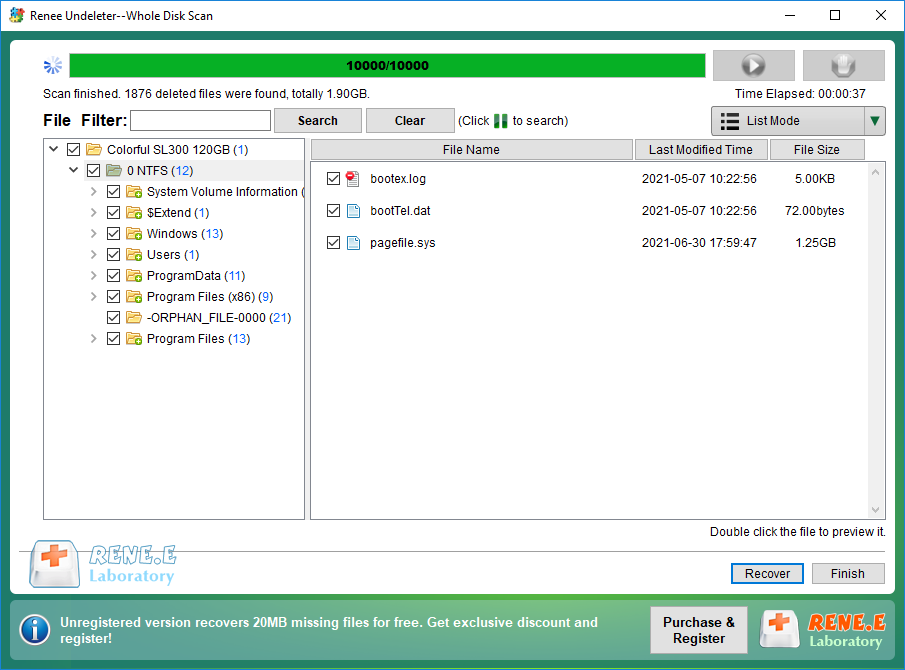
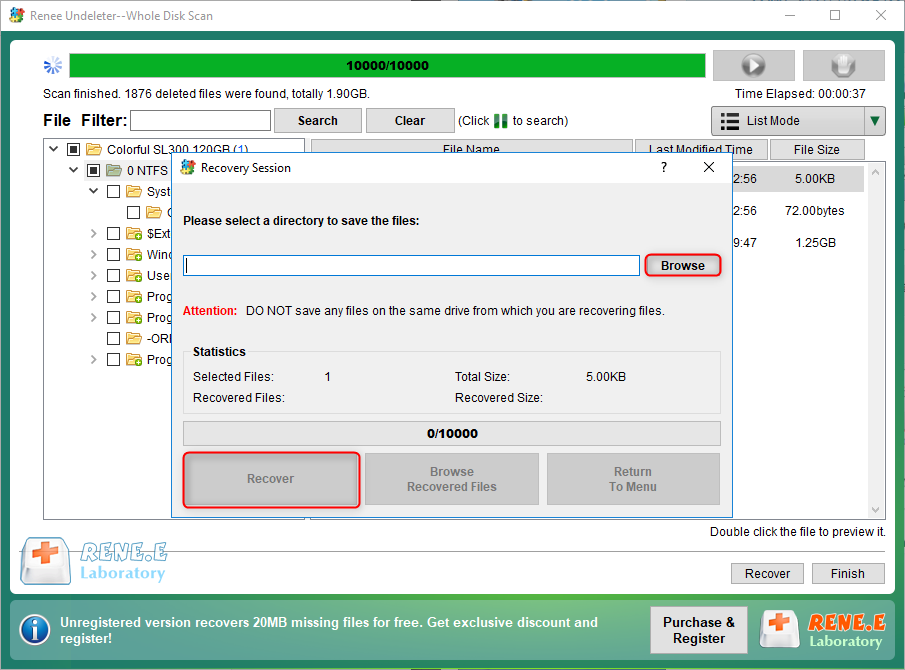
After analyzing, a prompt window may appear asking you to choose the partition you want to scan. You can select the specific partition based on your requirements. If you choose not to select one, all partitions will be scanned, resulting in a longer process. Once the scan is complete, you can preview the files in the right-hand preview window. From there, you can select the files you wish to recover and click the (Recover) button in the bottom right corner to restore them.

select taget files to recover with renee undeleter
Step 4: Next, select the target folder, click (Browse) to select another disk to save the recovered files, and then click the (Recover) button to start the file recovery, you just need to wait patiently.
recover files from whole disk scan with renee undeleter
After the data recovery is complete, you can safely solve the problem of 0 bytes on the hard disk. Let’s continue to look at the repair method.

III. How to fix the problem of 0 bytes in the hard disk?

1. Change the drive letter

When your hard disk partition shows 0 bytes, it may be caused by a wrong drive letter, you can add or change the drive letter in the following way, the specific operation steps are as follows:
Step 1: Start the computer, type (computer management) in the “search box” in the lower left corner, and then click on it.
computer management
Step 2: Next, click (Disk Management) on the left window, if you see a drive without letters, please check whether it is the faulty hard drive.
disk management
Step 3: Right-click and select the (Change Drive Letter and Paths…) option.
change drive letter in disk management
Step 4: Next click (Add) to add a drive letter to the hard drive.
add a drive letter
Step 5: After that, check (Assign the following drive letter) and select a letter, then click (OK).
Assign drive letter

2. Run the Chkdsk program

Chkdsk can help you repair file systems that have been corrupted due to bad sectors in the drive. To execute the Chkdsk utility on the hard drive, follow these steps:
Step 1: Connect the hard disk to the computer, directly search (cmd) in the search box in the lower left corner, and select (run as administrator) to open the command prompt tool.
run as administrator
Step 2: In the opened command prompt window, enter the command chkdsk X: /r /f, and press (Enter) to repair hard disk errors. After the hard disk failure is repaired, check whether the hard disk is still displayed as 0 bytes.

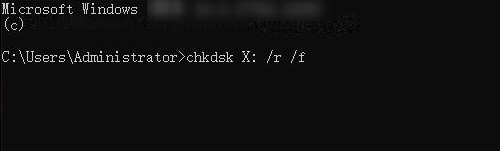
Note: X refers to the hard drive letter; /r and /f are chkdsk repair parameters

run chkdsk

3. Format the hard disk to NTFS file system

The operation of formatting the faulty hard disk can repair various faults of the device and make it work normally again. The steps of formatting the hard disk are as follows:
Step 1: Connect the hard disk to the computer, and then press the (Windows+X) keys on the keyboard at the same time. Then in the pop-up list, select the (Disk Management) option.
open windows disk management
Step 2: Next, find the hard disk that needs to be formatted, right-click on it, and select the (Format) option.
format USB flash drive
Step 3: Select the required file system: FAT32, NTFS or exFAT, please select NTFS here. Check (Perform a quick format), click (OK), and follow the instructions to complete the formatting process. After formatting, the hard disk failure can be repaired.
quick Format