III. How to repair hard disk bad sectors
1. Check and fix hard drive errors in Windows 10/8/7 with Windows built-in tools
You can try using Windows built-in tools to check and fix hard drive errors. Please do the following in Windows 10, 8 or 7:
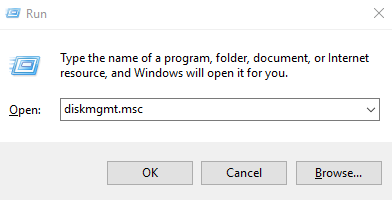
Step 1: Please press the (Windows + R) key, enter (diskmgmt.msc) in the pop-up input box, and then click (OK).
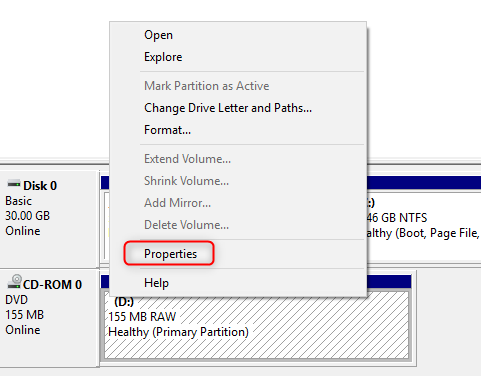
Step 2: Right-click the target hard disk partition, and then select (Properties) on the menu.
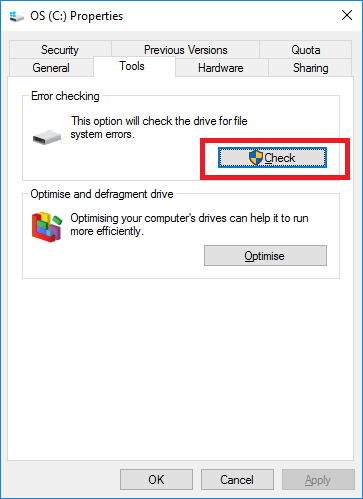
Step 3: Select (Check) in the (Tools) column.
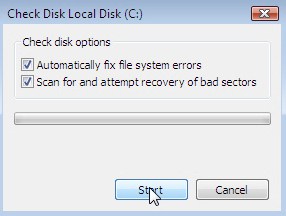
Step 4: If your system is Windows 7 or Windows 8, please check (Automatically fix file system errors) and (Scan for and attempt recovery of bad sectors), and Windows10 automatically repairs all errors by default.
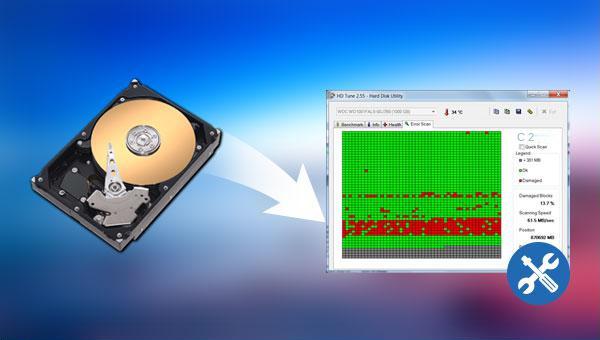
The function of hard disk error scanning is mainly to mark the space where bad sectors appear as unusable at the file system level, so as to prevent file data from being written into these unstable data storage spaces. If you use hard disk scanning software such as HDD-Scan to detect, these bad sectors will still be displayed.
Low-level formatting is to re-clear the contents of the disk, restore the factory state, divide cylinders and tracks, and then divide the tracks into several sectors, and each sector is divided into identification part ID, interval area GAP and data area DATA, etc. During the partitioning process, if a storage location is unstorable or unstable, the low-level format will omit the location, so that the Windows operating system or software such as HDD-Scan can no longer access the location.
Kind tipsLow-level formatting is a lossy operation, which has a certain negative impact on the life of the hard disk. Therefore, if it is not necessary, please try not to low-level format the hard disk.
The following takes the HDD LLF Low Level Format Tool as an example to introduce the steps of low-level formatting, download link: http://www.drfreeware.org/HDDLLF.4.40.exe
Step 1: Download and run the software, click the hard drive you want to low-level format, and click (Continue) in the lower right corner.
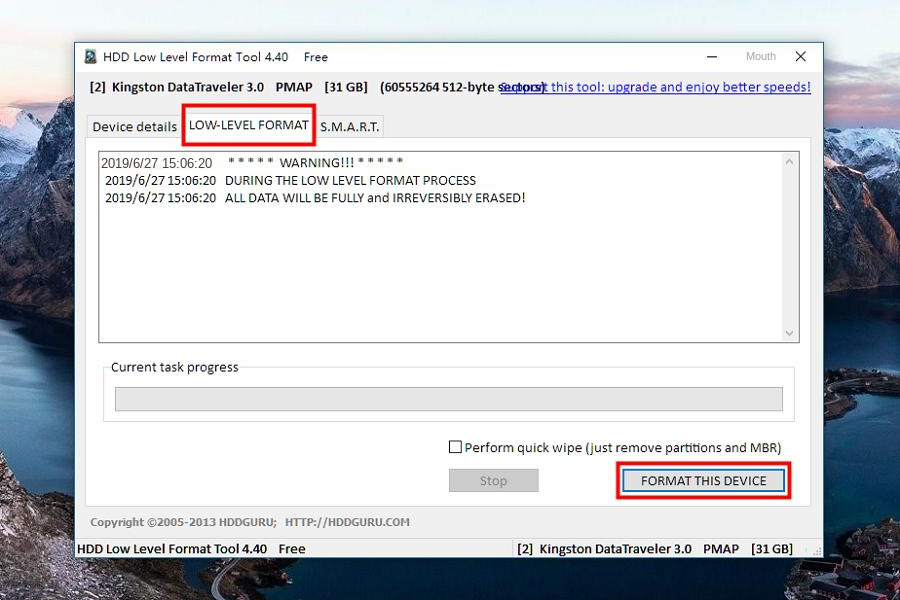
Step 2: After entering the operation interface, select (LOW-LEVEL FORMAT) (low-level format) at the top, and then click (FORMAT THIS DEVICE) (format this device) in the lower right corner.
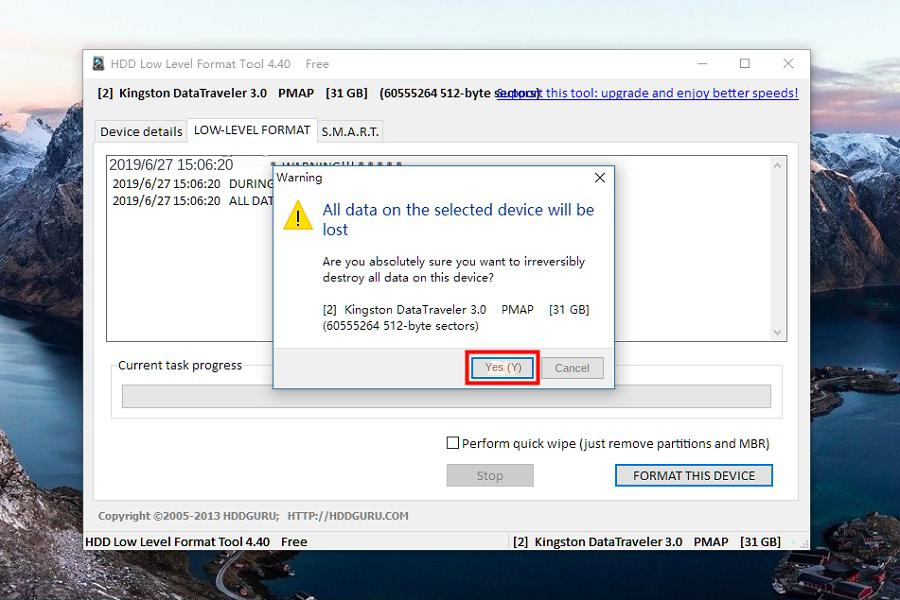
Step 3: At this point, a prompt box will pop up, reminding you that if you format this device, all the information in the hard disk will be cleared (please make a data backup in advance), click (Yes), and then wait for a while.
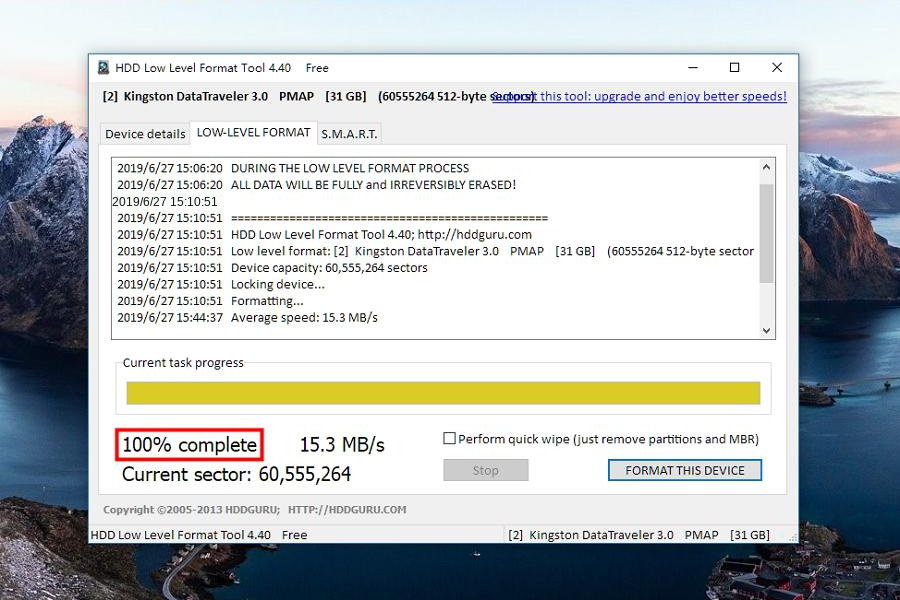
Step 4: In the subsequent window, you can see the progress information of formatting, when the progress bar reaches 100%, it proves that your hard disk has been successfully low-level formatted.
3. 0 track damage fault repair
The phenomenon of track 0 damage is that the hard disk cannot be started, and “No bootable device” is displayed, as shown in the figure below.
And when it is formatted in other systems, it shows “invalid medium or track 0 damaged – the disk cannot be used”.
The main reason for this phenomenon is that the first track (track 0) of the disk is damaged and cannot be read or written. Track 0 damage is also a kind of bad track, but because the position of track 0 is very important, it will be more troublesome to deal with. Because the master boot record area (MBR) of the hard disk is on track 0, a disk without an MBR cannot be started, nor can it be partitioned and formatted.
Because the disk with track 0 damage loses the partition table, we cannot use chkdsk, HDD-Scan or the disk scanning tool that comes with Windows to repair and isolate the bad track. We can only first pass the partition table with the function of rebuilding
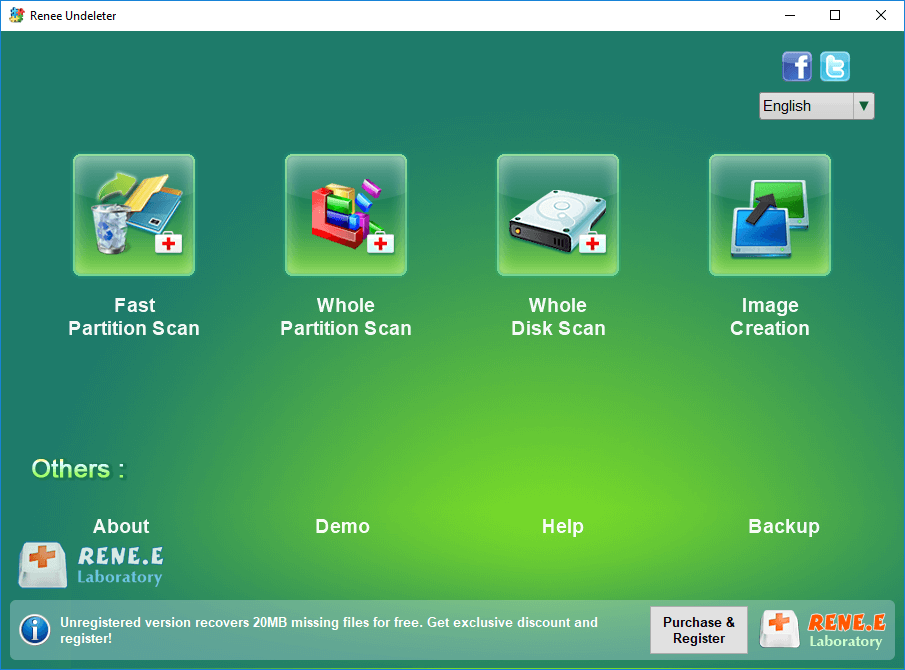
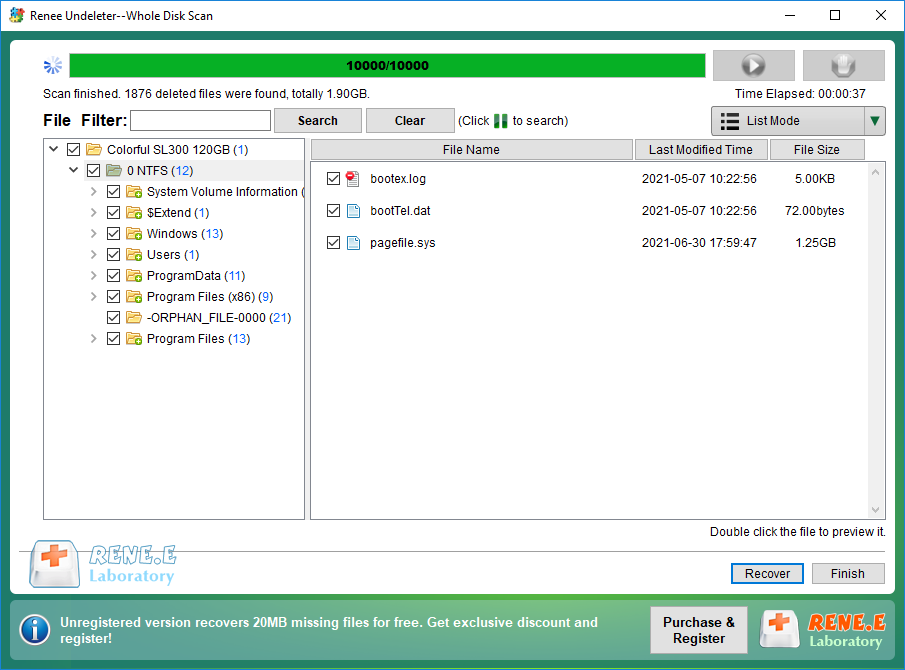
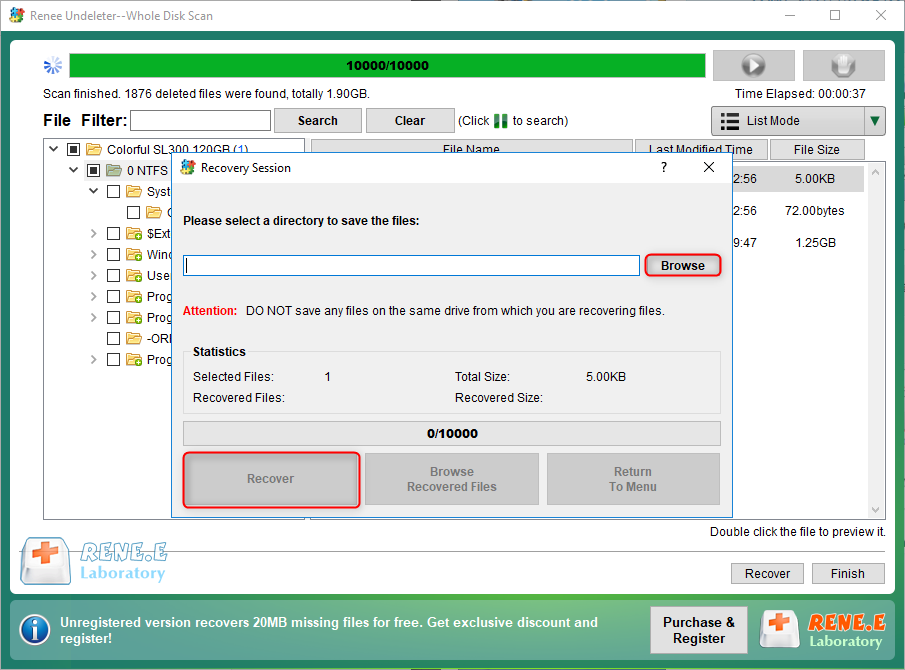
data recovery software Extract important data from the disk with damaged track 0, and finally, use special tools to modify the core information of the mechanical hard disk to change track 1 to track 0 before using it, so as to truly repair the hard disk. The specific operation steps are as follows:
Step 1: Remove the hard disk from the host and transfer it to another host that works normally.
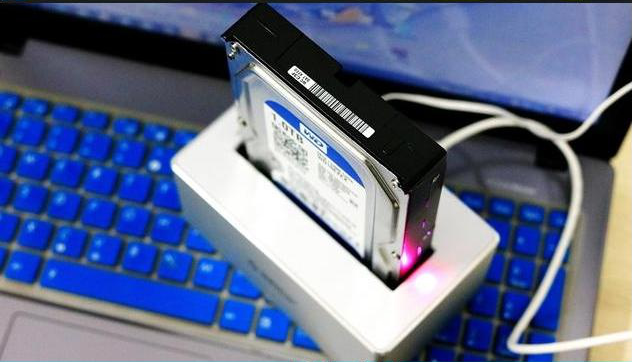
We can directly connect the disassembled hard disk to other hosts, or put it into a hard disk box and transfer it to another host through the USB interface. If you choose to use a hard disk box to connect the damaged hard disk to other hosts through the USB interface, please choose a good quality hard disk box, because the next operation may last for several hours, or even 1-2 days.
Step 2: Use PCTOOLS or Disk Manager to repair track 0.
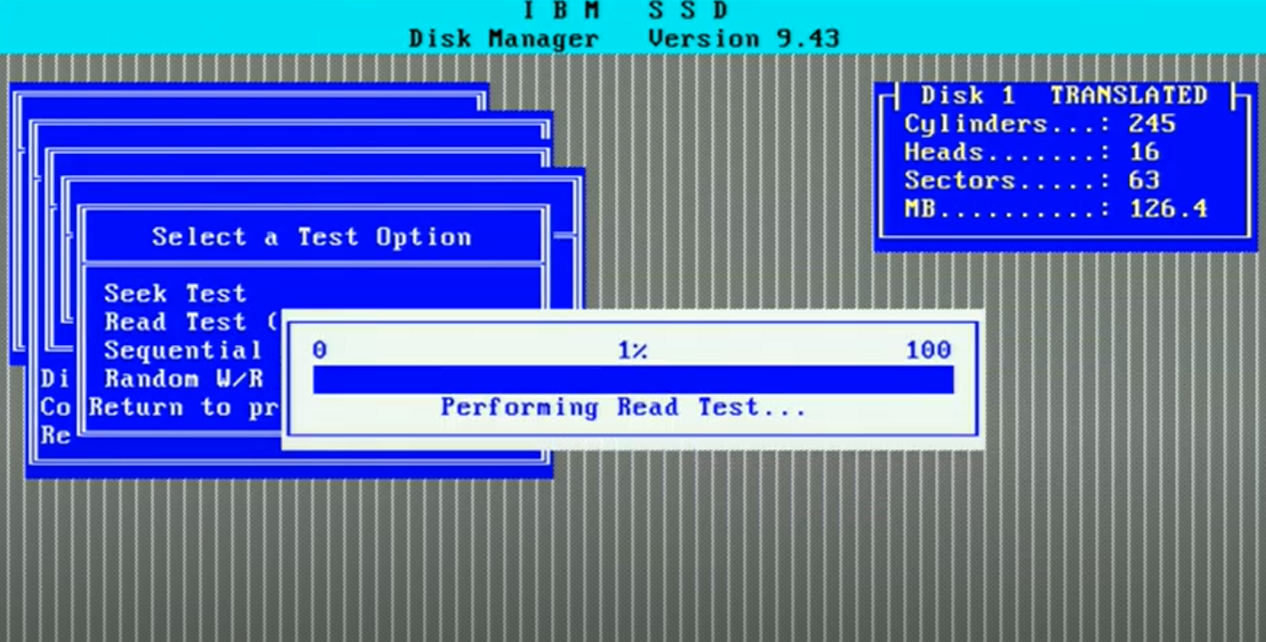
If you want to repair the hard disk, then you need some special tools to modify the underlying management information of the hard disk. Here, we recommend using Disk Manager produced by IBM for repair.
1) Press the key combination (ALT+M) on the main screen to enter the advanced management mode;
2) Select (Edit/ViewParations) menu (the upper right corner of the screen will display the setting parameters of the hard disk in BIOS);
3) Press (Del) or (Delete) to delete all partitions;
4) Press the (Insert) or (Ins) key to create a new partition, please select the partition format (FAT12, FAT16, FAT32, etc.) according to your requirements;
5) After selecting the partition format, select the (Cylinders) mode, change (0) in (0, XXXX) to (1), that is, use track 1 as track 0 (note: XXXX indicates the track at the end of the partition, and you can change the value according to your needs).
6) After saving the partition information, just format the hard disk.
Kind tipsEven if the hard disk is repaired successfully, we recommend not to use it as a storage disk for important data to avoid data loss in the future.