

How to partition a hard drive easily on Windows or Mac?

Summary
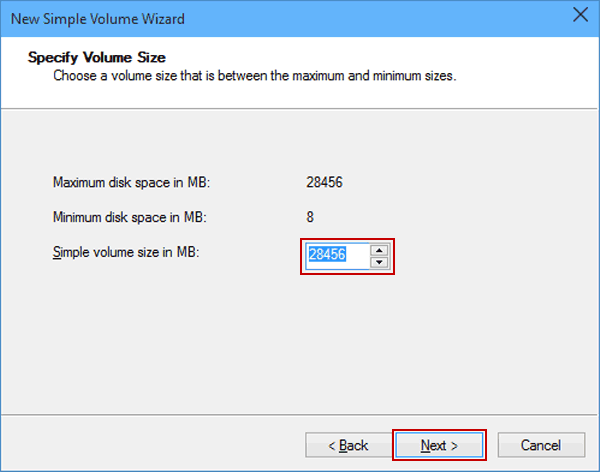
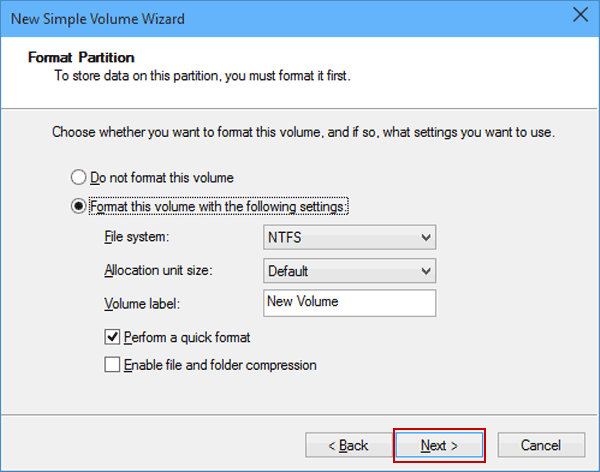
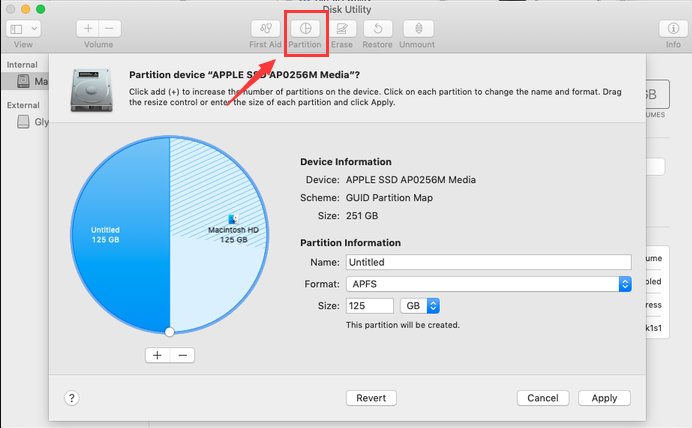
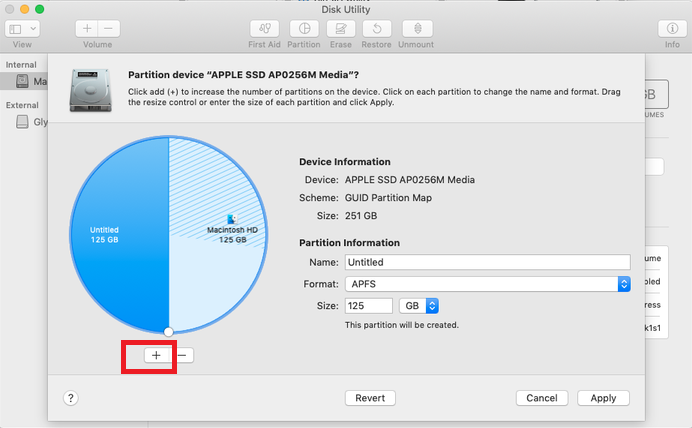
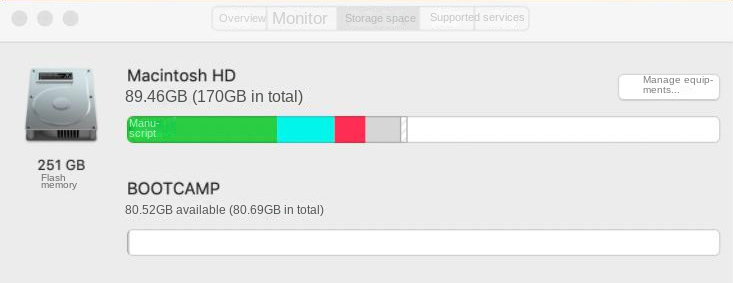
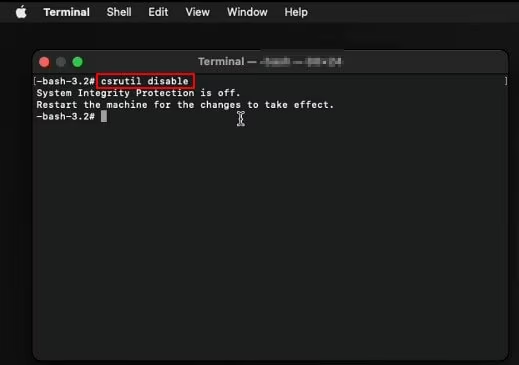
Discover the straightforward process of hard drive partitioning for both Windows and macOS, complete with practical steps to guide you through the entire procedure. Additionally, for those instances when you need to retrieve accidentally deleted files, the article introduces the use of Renee Undeleter—a reliable data recovery tool to help you restore lost data with ease.
Table of contents

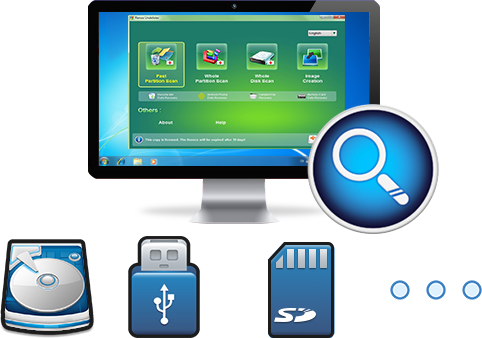
Easy to use Recover data by 3 steps;
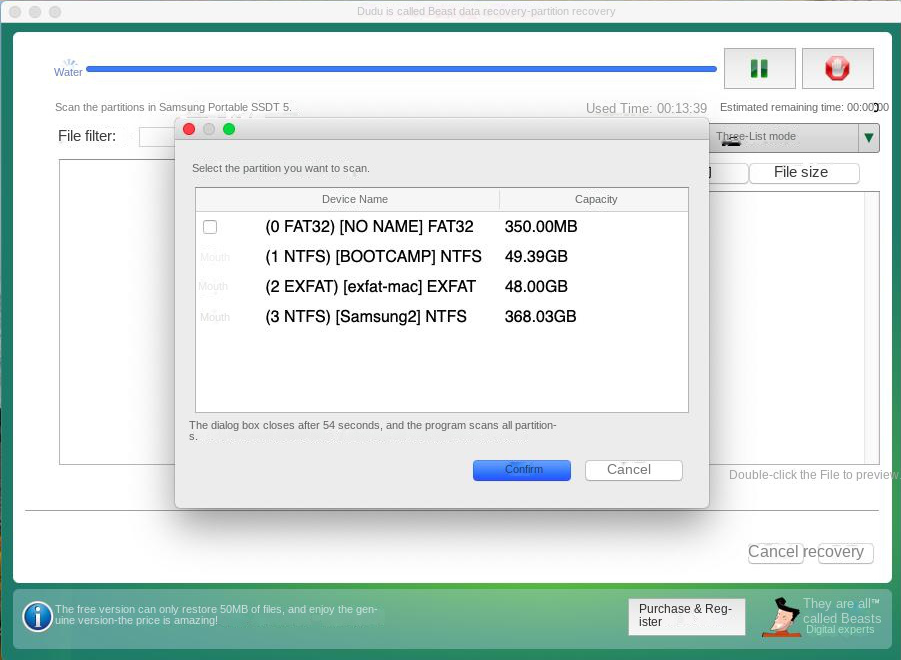
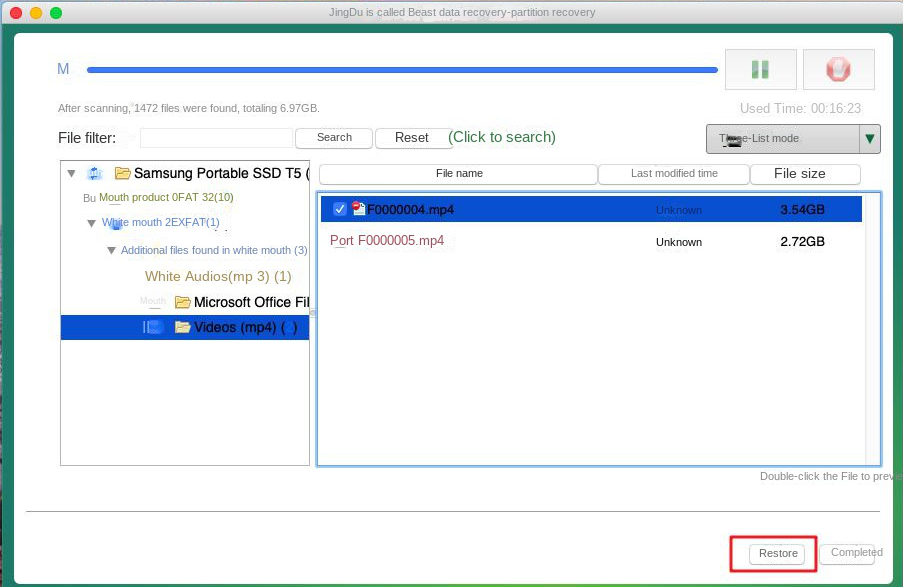
Multiple scan modes Fast partition scan, whole partition scan and whole disk scan;
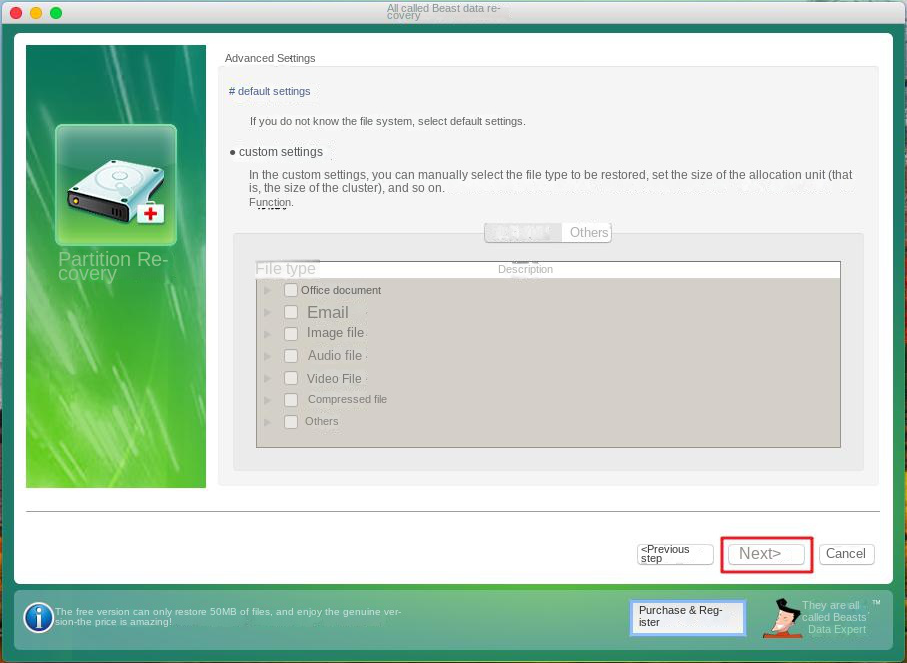
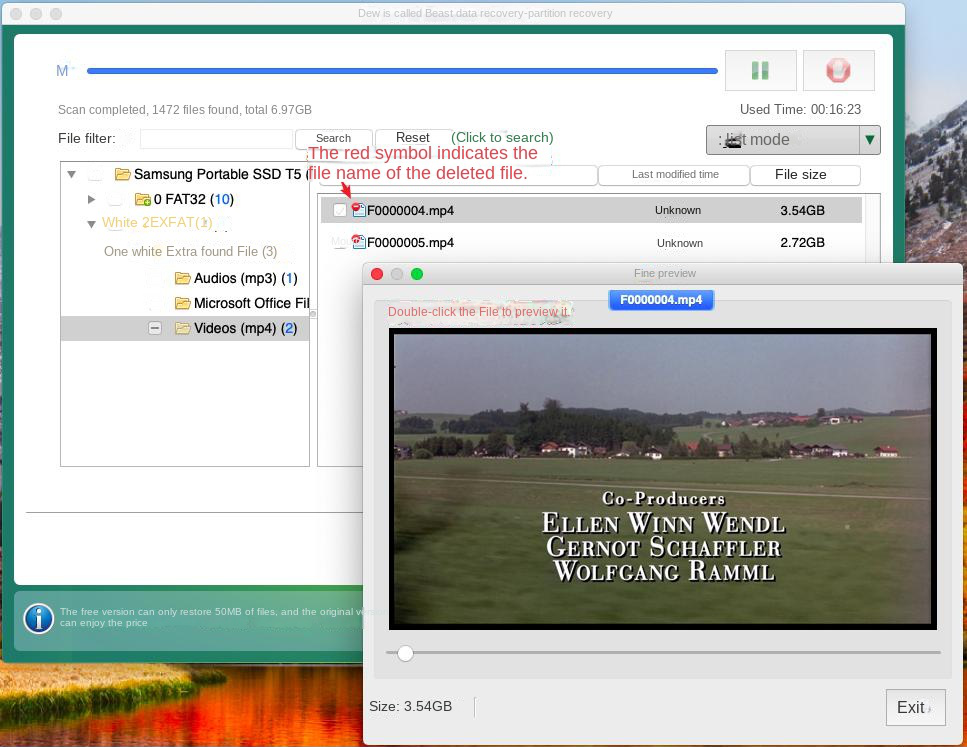
Supported file types Image, video, audio, text, email and so on;
Image creation Create a partition image to read and back up data;
Supported devices SD card, SDHC, SDXC, USB flash drive, hard disk and computer.
Easy to use Recover data by 3 steps;
Multiple scan modes Fast partition/whole partition/whole disk scan;
Supported devices SD card/USB/hard disk.
Free TrialFree TrialFree Trial 800 people have downloaded!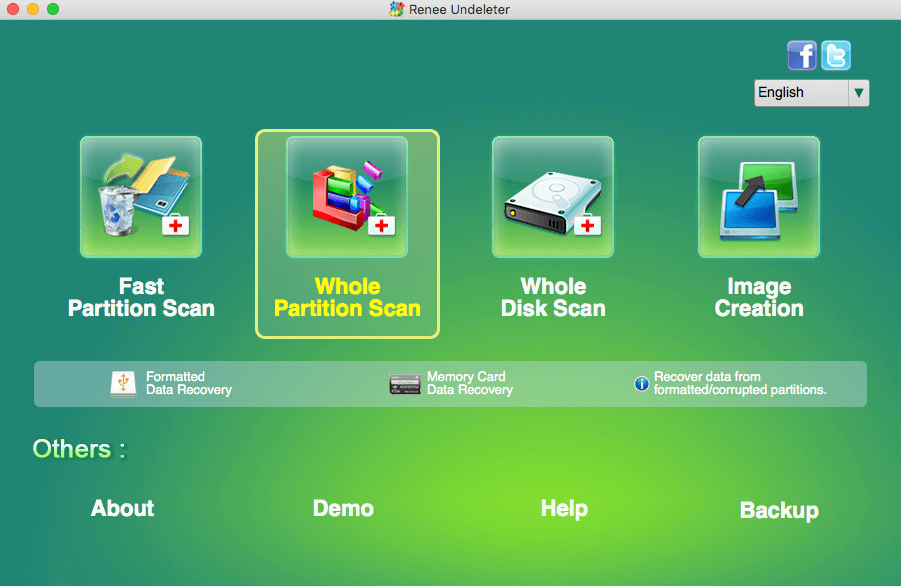
File Recovery: Quickly retrieve files lost due to accidental deletion or emptying the recycle bin.
Format Recovery: Quickly recover files lost due to inaccessible or formatted partitions.
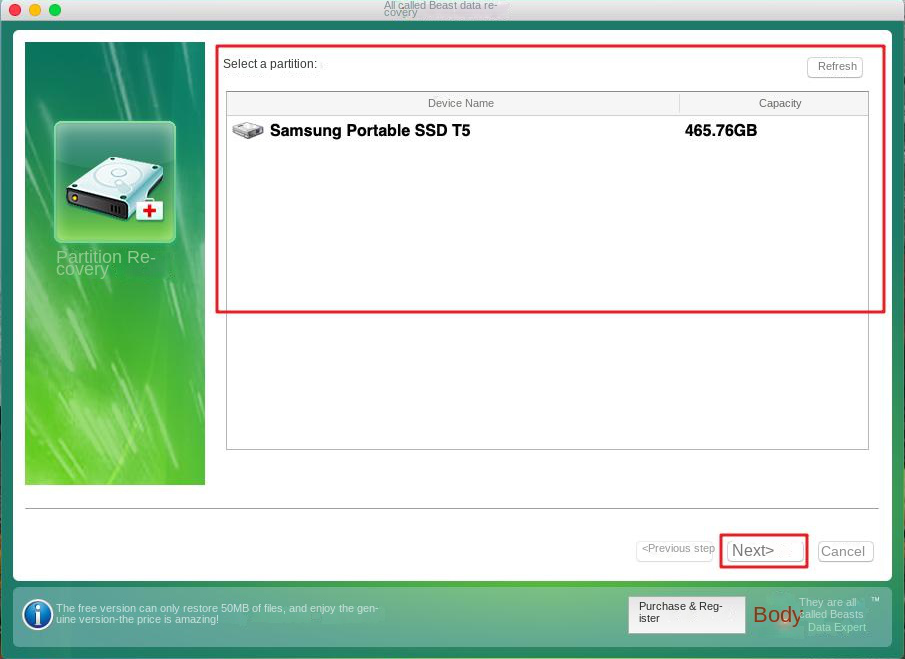
Partition Recovery: It can analyze and obtain partition information, and fully scan the entire disk partition.
Create mirror image: You can create a mirror image for a partition to back up the current partition state.
Relate Links :
How to Fix When Files on SD Card Not Showing up on Android?
27-12-2021
Amanda J. Brook : Sometimes, the SD card files are not showing up on Android. How can we solve the problem? In...
How to Fix GoPro SD Card Error?

14-09-2024
Ashley S. Miller : Some people meet with the GoPro SD card errors, such as “NO SD” and “SD ERR”. In this...
Solutions to SD Card Unexpectedly Removed on Android

24-12-2021
Jennifer Thatcher : Some Android users complain that they always receive the notification saying that the SD is unexpectedly removed. In...
How to Fix Corrupted SD Card on Android?

16-12-2021
John Weaver : SD card is used in various devices, phones, cameras and video games. How to fix the corrupted SD...

