

Recover Data from Your Mac External Hard Drive with These Simple Steps

Summary
Learn how to recover data from your external hard drive on your Mac, from simple methods like checking the Trash to utilizing professional data recovery software. Protect your valuable files and safeguard against future data loss with these tips.
Table of contents
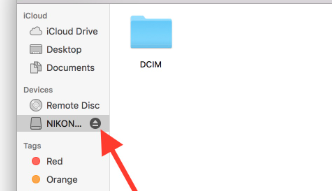
.Trash on the external hard drive, which is the trash bin of the external hard drive. These files are not moved to the trash bin of the Mac system. Therefore, if you want to completely delete these files, you need to empty the trash while the external hard drive is connected.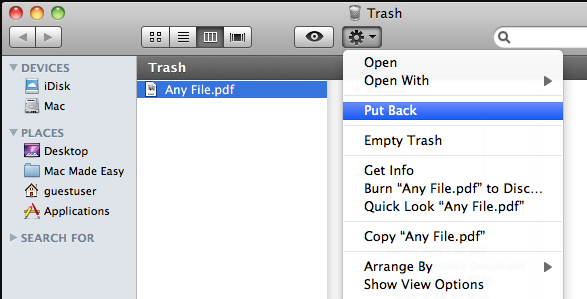

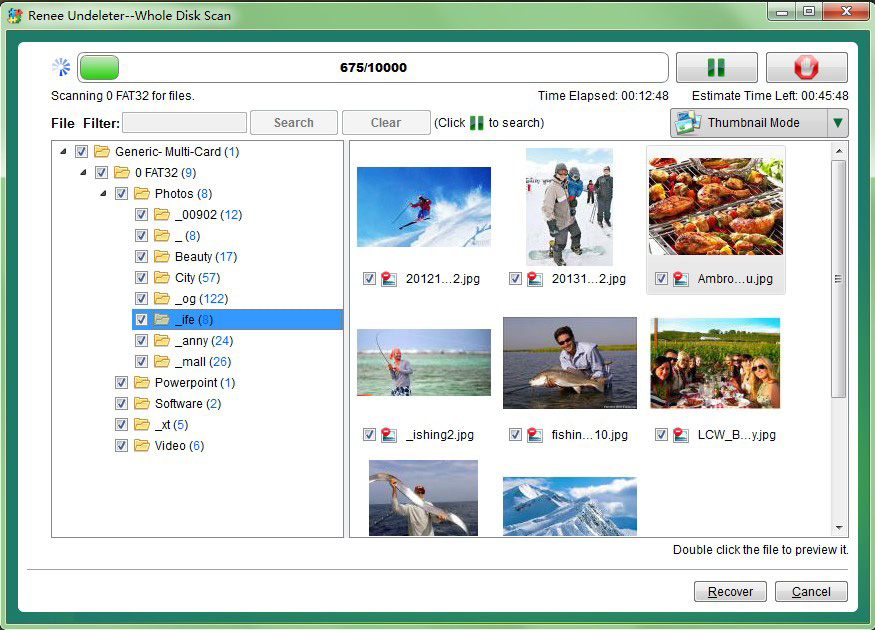
Easy to use Recover data by 3 steps;
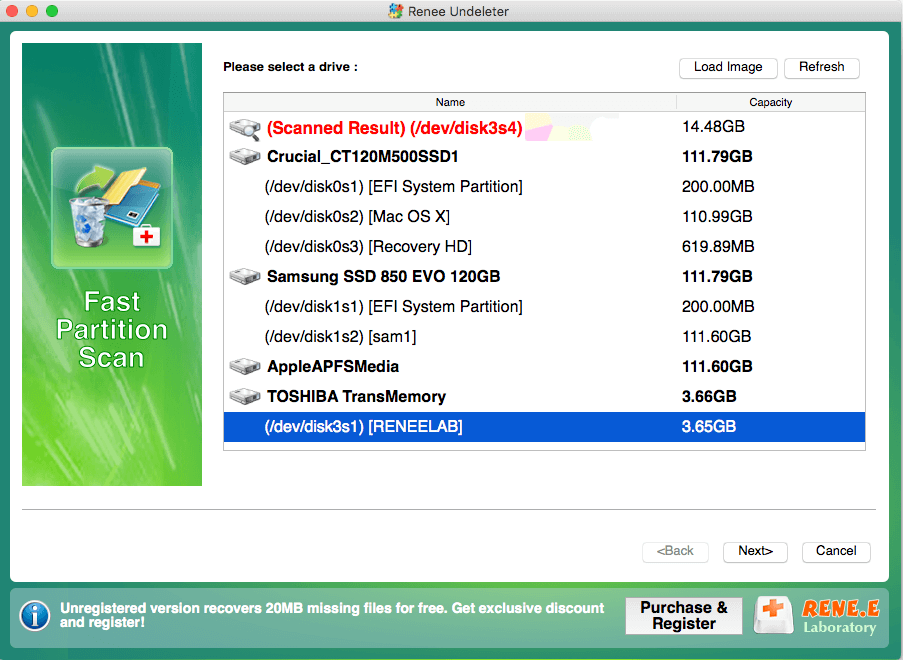
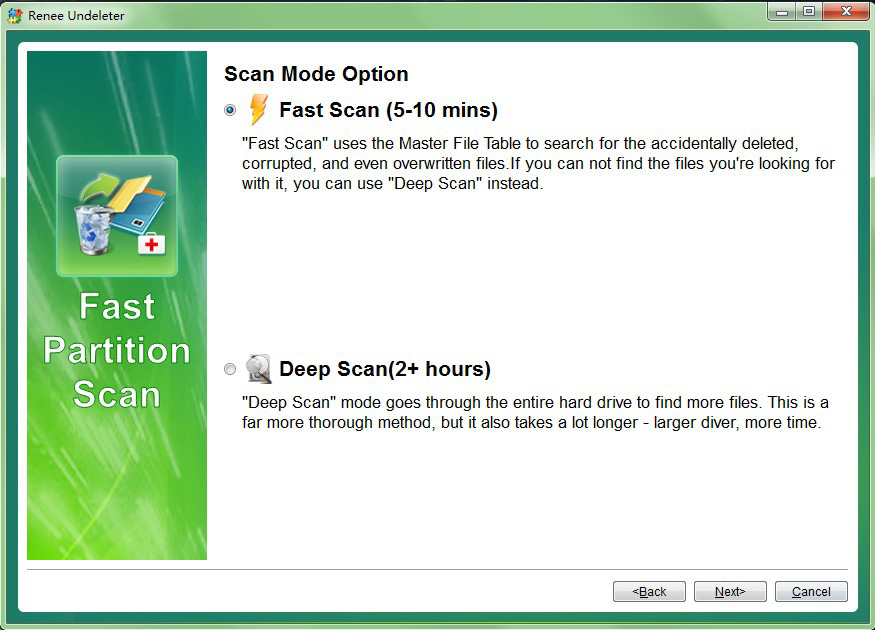
Multiple scan modes Fast partition scan, whole partition scan and whole disk scan;
Supported file types Image, video, audio, text, email and so on;
Image creation Create a partition image to read and back up data;
Supported devices SD card, SDHC, SDXC, USB flash drive, hard disk and computer.
Easy to use Recover data by 3 steps;
Multiple scan modes Fast partition/whole partition/whole disk scan;
Supported devices SD card/USB/hard disk.
Free TrialFree TrialFree Trial 800 people have downloaded!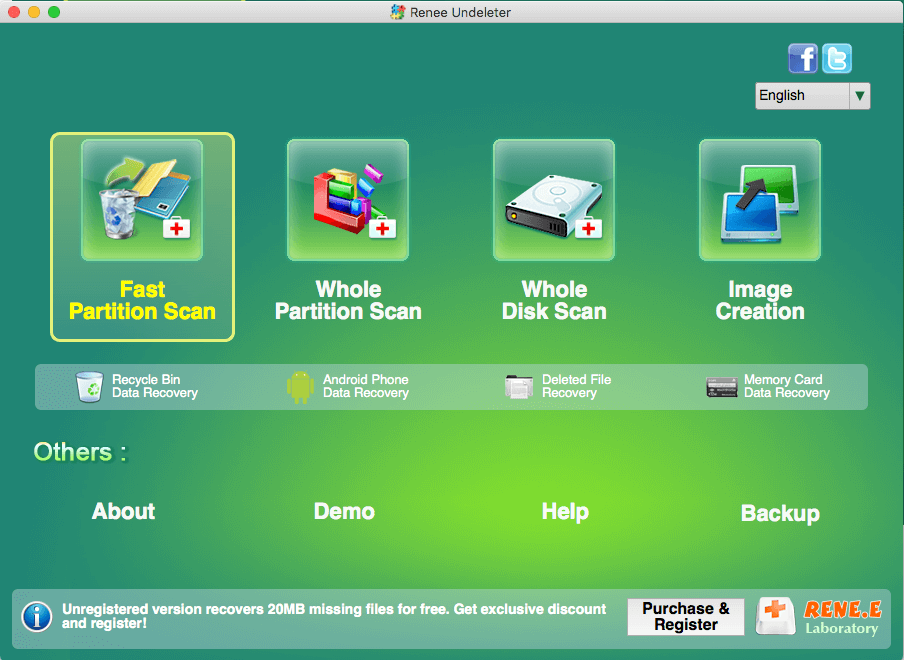
Relate Links :
External Hard Drive Is Not Mounting on a Mac: How to Fix and Recover Data

20-06-2024
John Weaver : Learn how to fix the issue of external hard drive not mounting mac and prevent potential data loss...
How to Recover Deleted Photos from Your Hard Disk

17-11-2023
Amanda J. Brook : Uncover your precious memories and restore deleted photos from your hard disk with these simple methods. From using...
Recovering Data from a Crashed Hard Drive: A Complete Guide
29-08-2024
Ashley S. Miller : Learn how to recover data from a crashed hard drive with our comprehensive guide. We'll show you how...
The Ultimate Guide to Recovering Your Forgotten Laptop Password
10-10-2023
John Weaver : Having trouble accessing your laptop because you've forgotten your password? Don't stress, we've got you covered with this...

