V. How to edit YouTube videos
In addition to making looping YouTube video needs, if you have other editing needs (such as cutting/adding special effects/adding music, etc.), you can continue to use Renee Video Editor Pro for editing. Here are some of the more common video editing methods.
If you are dissatisfied with the clips in the recorded video files, you can use the “cut function” in Renee Video Editor Pro to remove them. The specific operation steps are as follows:
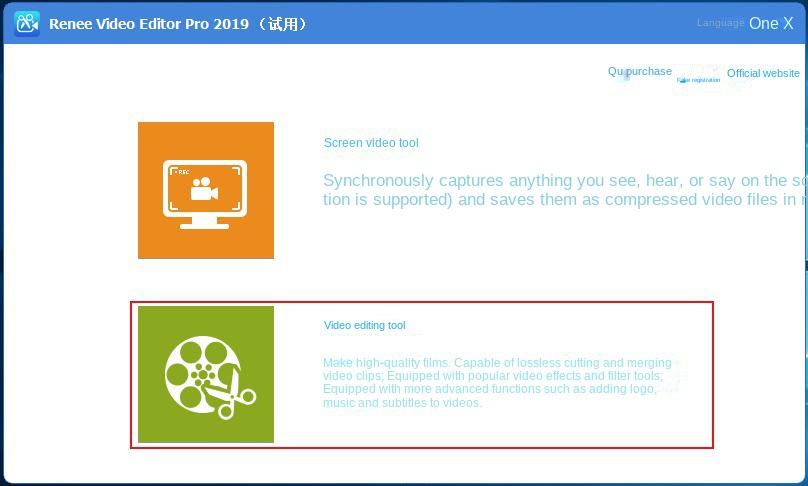
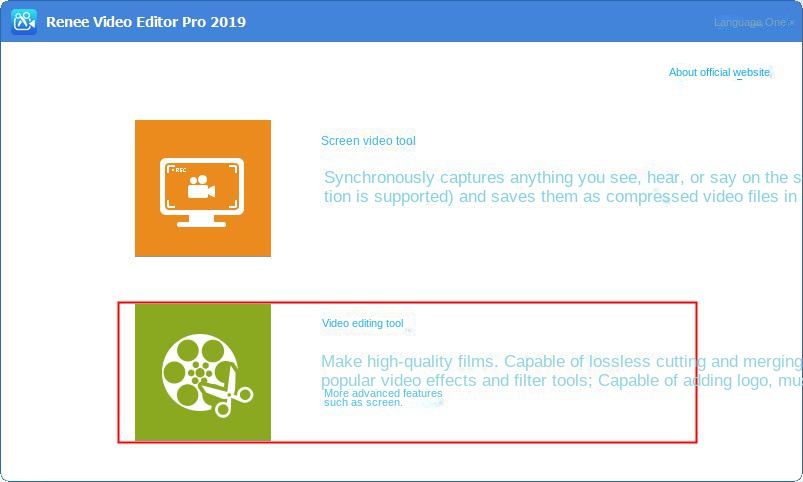
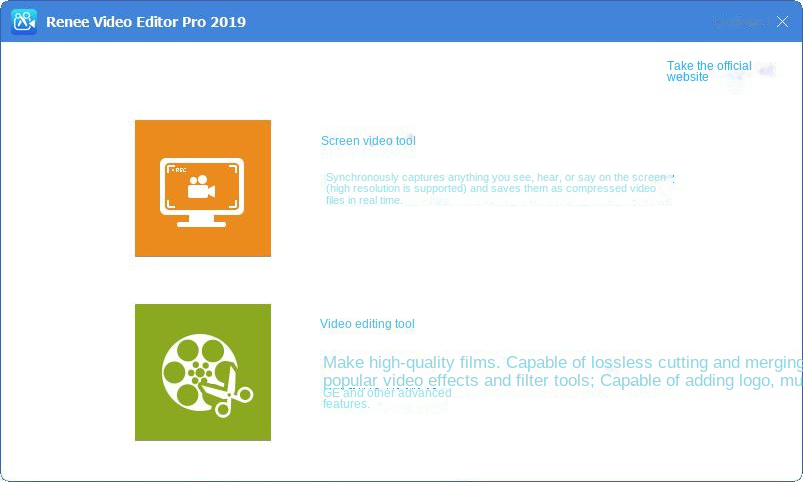
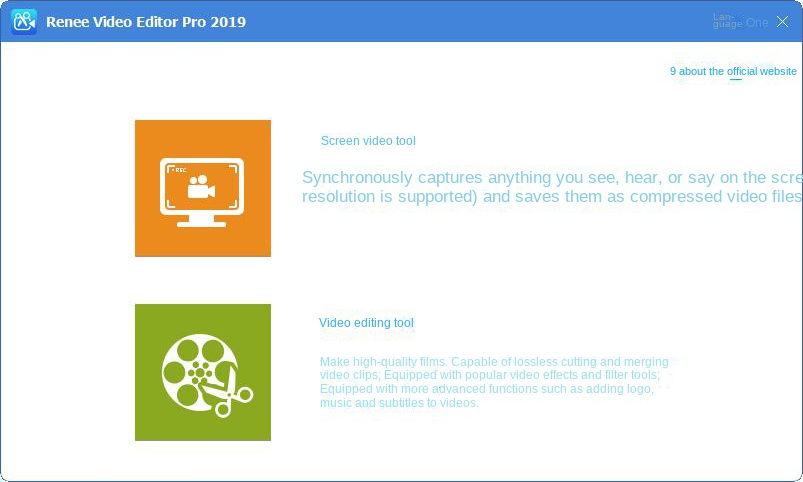
① Download and install Renee Video Editor Pro, then open the software and select (Video Editing Tool).
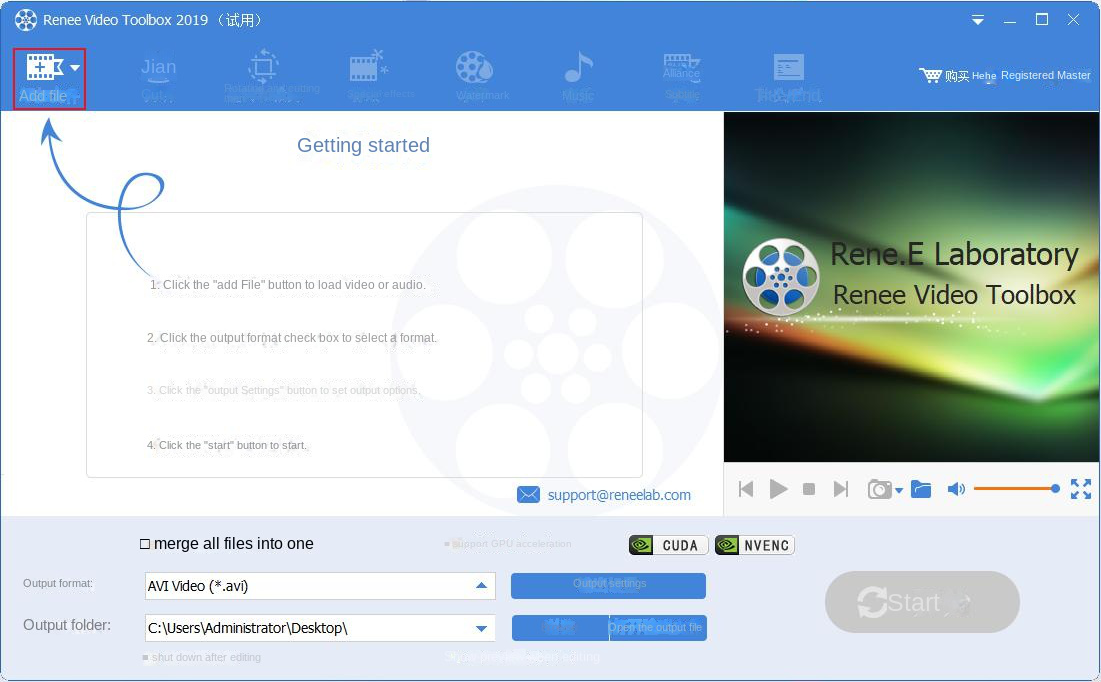
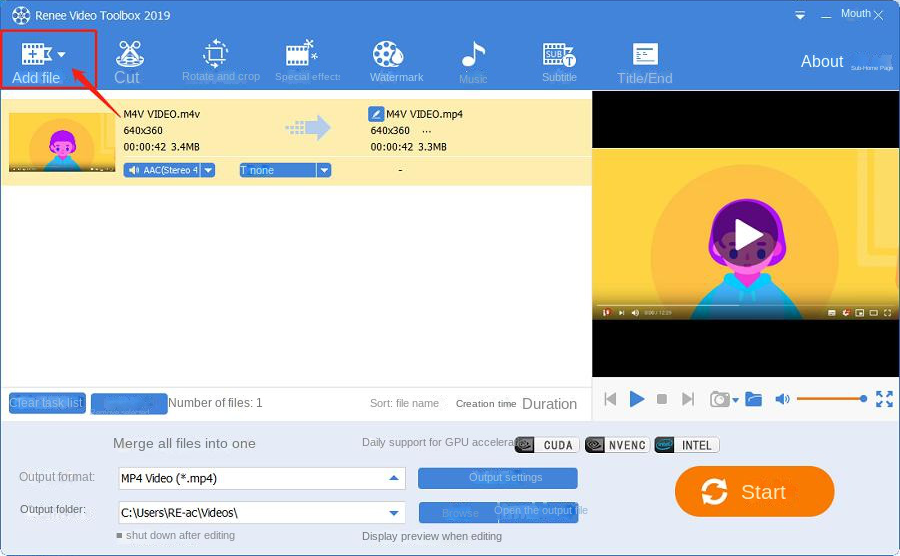
② After entering the video editing interface, click (Add File) to import the video.
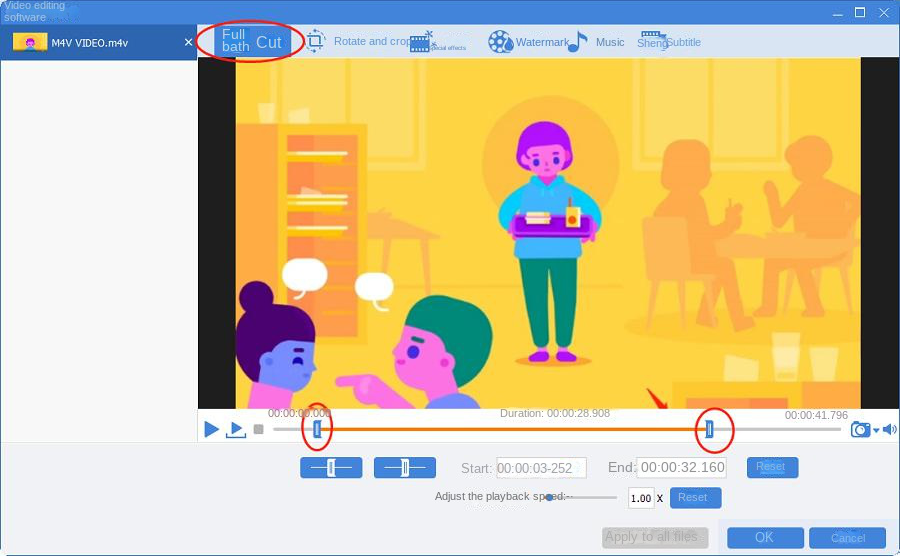
③ Click (Cut) to enter the cut page, where you can manually drag the slider to set the start and end time of the video. After setting, click (OK) > (Start) to export it.
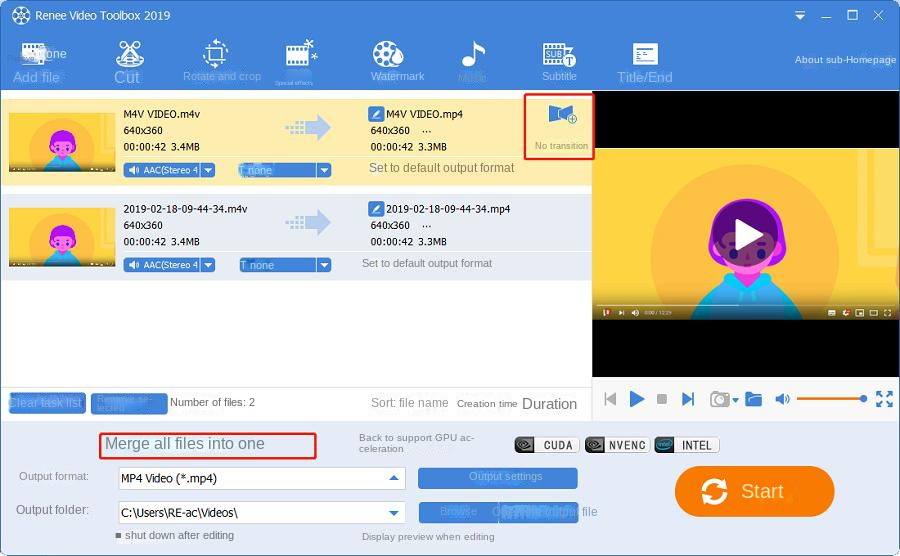
With Renee Video Editor Pro, you can also quickly merge multiple video files, and it supports merging between videos in different formats. The specific operation steps are as follows:
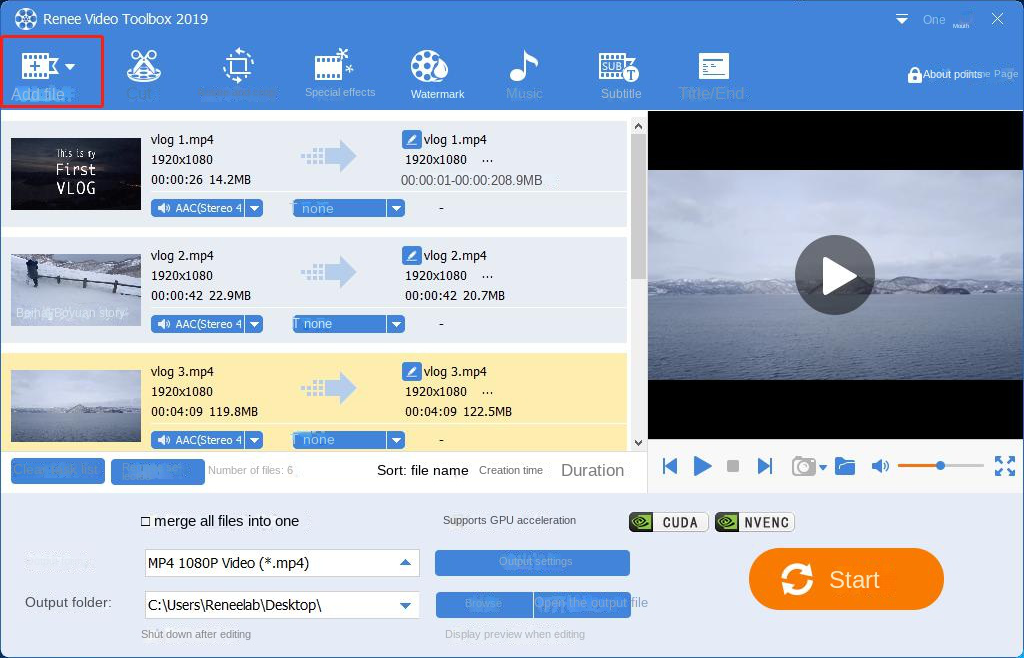
① Download and install Renee Video Editor Pro, then open the software and select (Video Editing Tool).
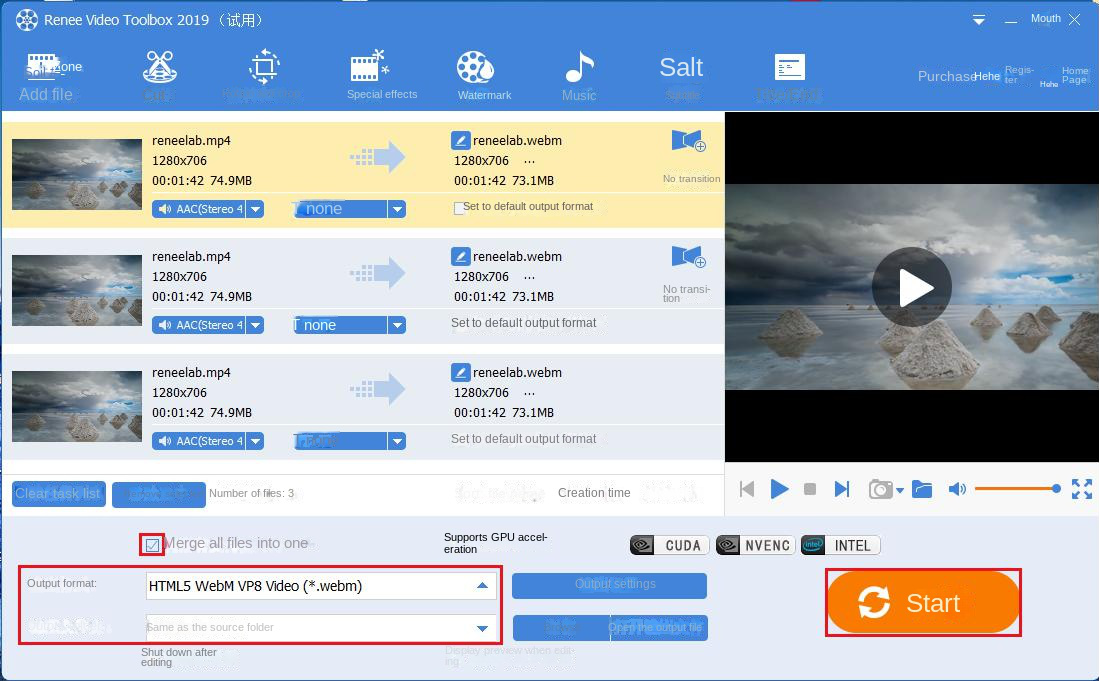
② After entering the video editing interface, click (Add Files) to import the video files to be merged. Then check the (Merge all files into one) option to merge all imported files into one file.
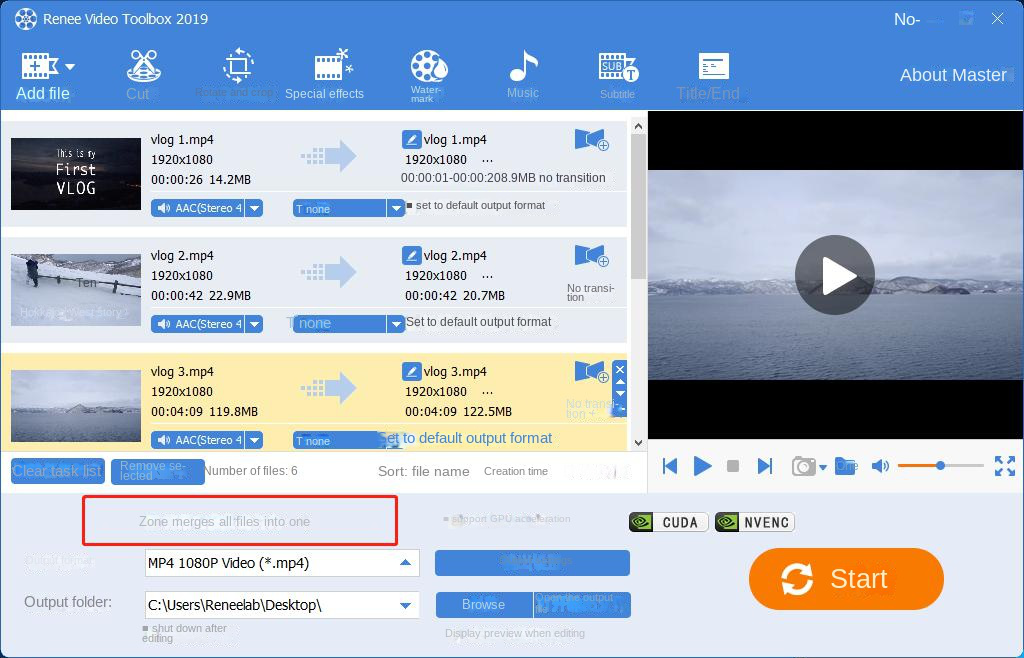
Optional operation: You can also add some transition effects between the merged videos, click the (+) sign in the “No Transition” after the video, and choose to add your favorite transition effects.
③ After completing the above operations, select the required file format in the output format column, and then click the (Start) button to save.
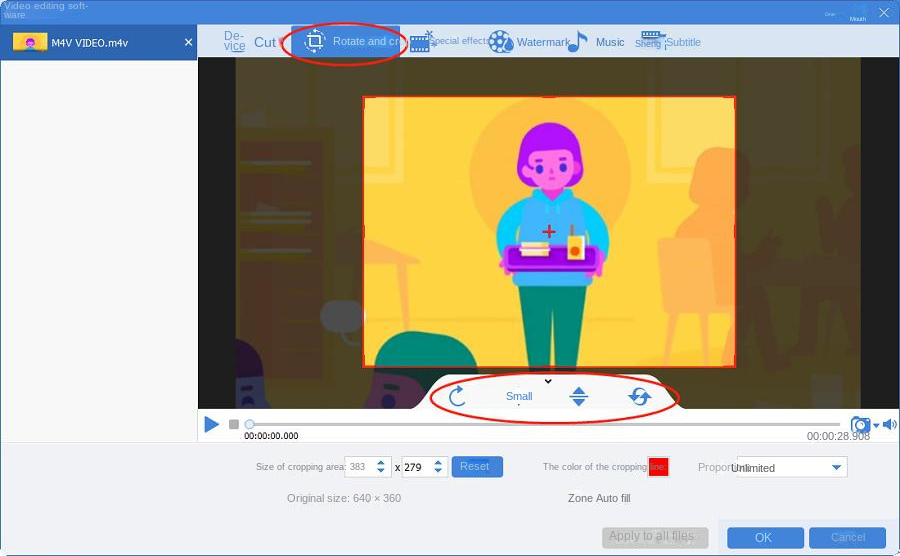
3 , crop/flip/rotate video files
The specific operation steps are as follows:
① Open the software, click (Video Editing Tools) > (Add Files) to import video files.
② Click (Rotate and Crop), and after entering the page, you can choose (rotate 90 degrees to the right), (mirror left and right) and (mirror up and down) according to your preferences. In addition, you can also manually adjust the size of the video cropping area.
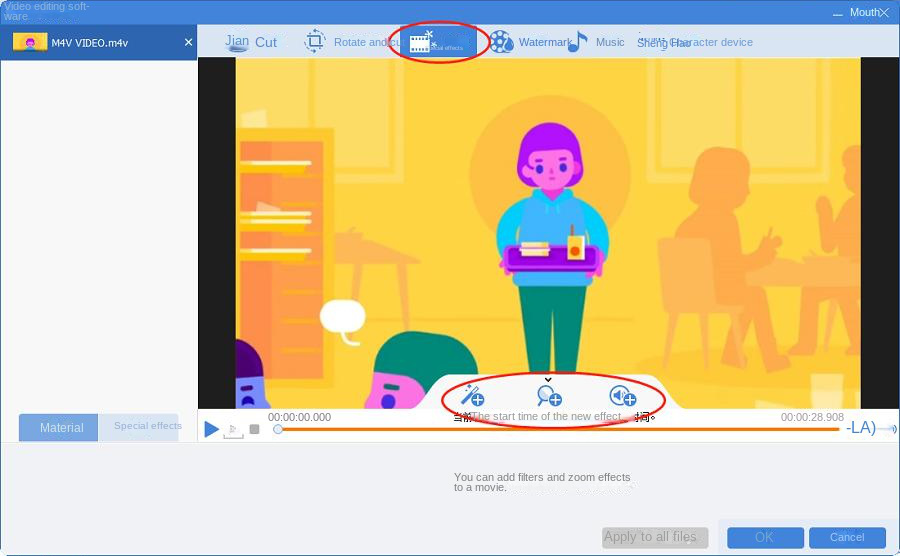
The specific operation steps are as follows:
① Download and open Renee Video Editor Pro, select (Video Editing Tool).
② After entering the video editing interface, click (Add File) to import video files.
③ Click (Special Effects), and you can choose (Add Filter Effects), (Add Zoom Effects) and (Add Volume Effects) under the video.
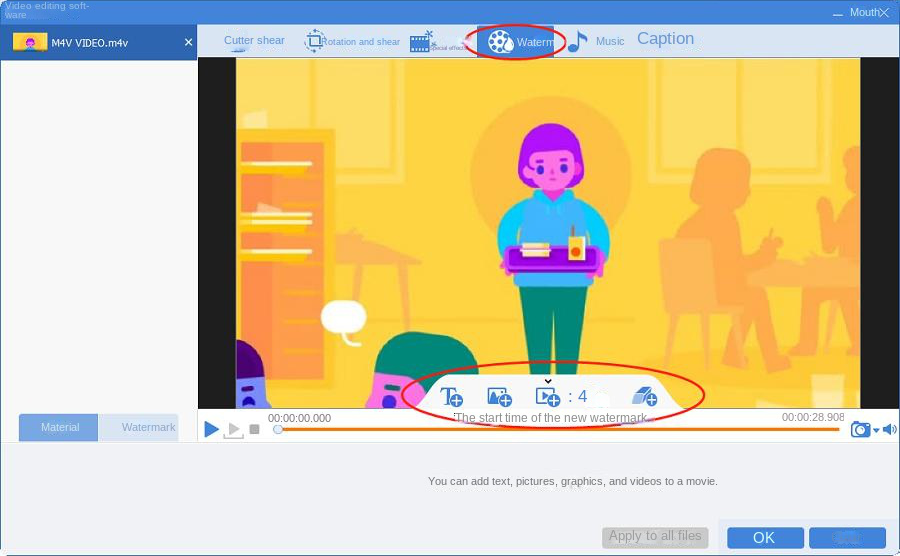
Sometimes in order to prevent the video from being stolen or altered, we need to add our own exclusive watermark to the video. The specific operation steps are as follows:
① Download and open Renee Video Editor Pro, select (Video Editing Tool).
② After entering the video editing interface, click (Add File) to import video files.
③ After entering the (Watermark) editing page, you can choose (Add Text Watermark), (Add Image Watermark), (Add Video Watermark), (Add Graphic Watermark), or (Remove Watermark).
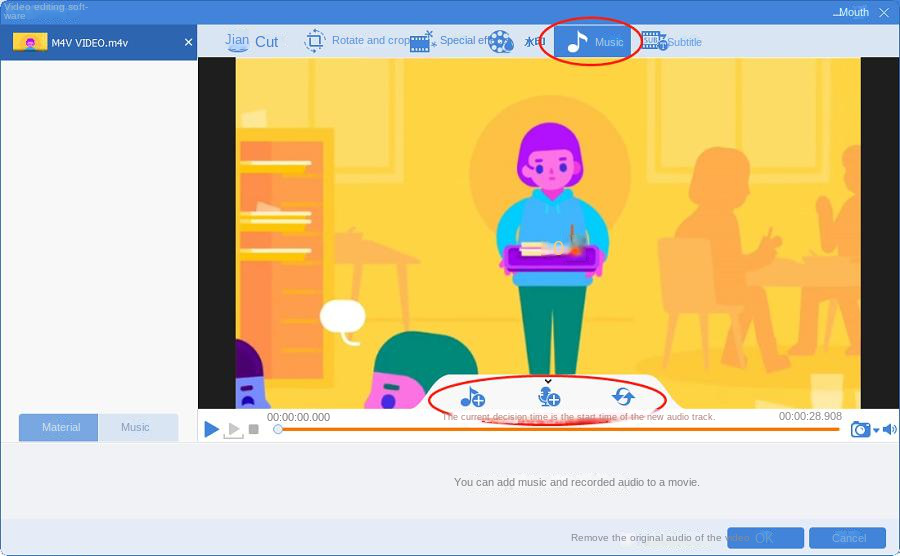
6 , add background music to the video
In video production, we often add background music to the video, which can better enhance the atmosphere. The specific operation steps are as follows:
① Download and open Renee Video Editor Pro, select (Video Editing Tool).
② After entering the video editing interface, click (Add File) to import video files.
③ Click (Music), and after entering the editing interface, you can choose (Add Audio to Video) to import audio files, or choose (Add Sound to Video) to dub the video. If you are not satisfied with the added audio or sound, you can click (Reset) . In addition to adding audio and dubbing, you can also check (remove video original audio) in the lower right corner to mute the video.
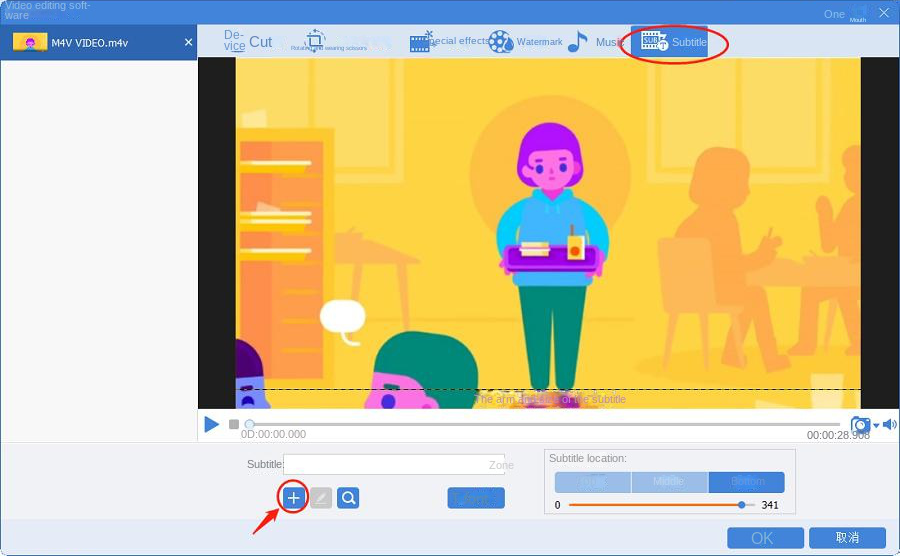
7 , add subtitles to the video
The specific operation steps are as follows:
① Download and open Renee Video Editor Pro, select (Video Editing Tool).
② After entering the video editing interface, click (Add File) to import video files.
③ Click (Subtitle), select the position of the subtitle, and then click (+) in the lower left corner. If there is a corresponding subtitle file for the video, please select (Load Subtitle File); if there is no corresponding subtitle file, please select (Create Subtitle File).
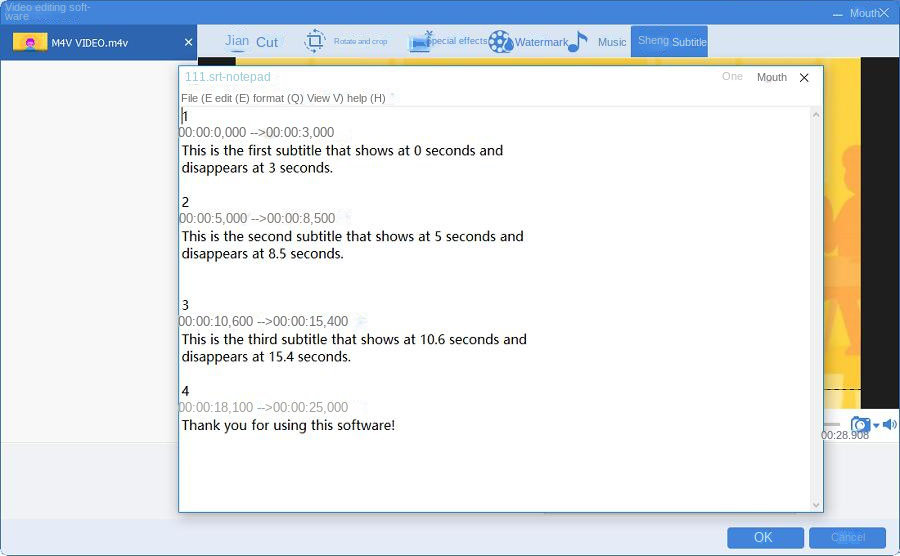
④ After creating the subtitle file, you can edit the subtitle in the pop-up “Notepad”. The subtitle display time corresponds to the video time. You only need to arrange the time, then delete the English subtitle below and replace it with the upper subtitle. After adding subtitles, you can choose the appropriate subtitle color, font and effect, and click (OK) to save the settings. After completing the above operations, select the required file format in the output format column of the main editing interface, and then click the (Start) button to export the video.
Come and download Renee Video Editor Pro to edit video files!