

Recover Data After Accidentally Erasing Mac Hard Drive in Disk Utility

Summary
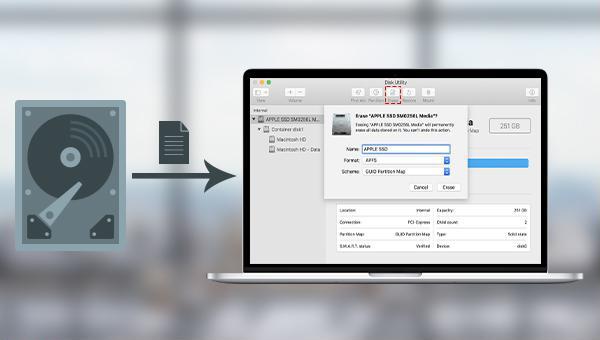
Accidentally erased hard drive on mac? Recover Mac hard drive data efficiently using Disk Utility. Discover a simple, practical method in this article.
Table of contents
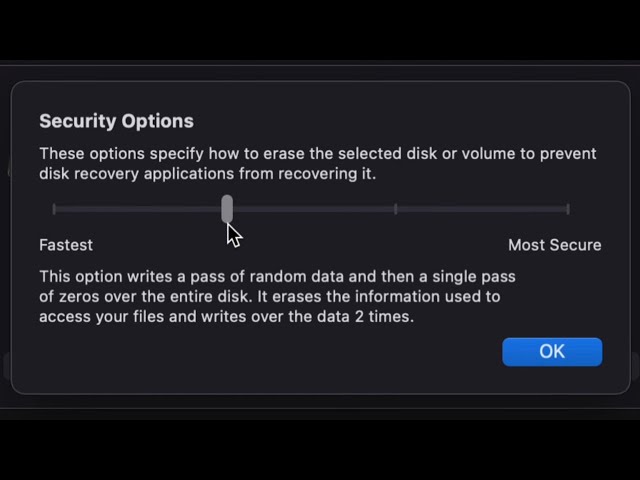
- Security Option 1 (Fastest): Does not securely erase files. A disk recovery application may recover these files.
- Security Option 2: Writes random data once before zero-filling the entire disk. Erases access information and overwrites data twice.
- Security Option 3: DOE-compliant 3-pass secure erase. Writes random data twice and overwrites the disk once with known data.
- Security Option 4 (Most Secure): Complies with DOD 5220-22M standard for secure erasure. Erases access information and overwrites data seven times.

Easy to use Recover data by 3 steps;
Multiple scan modes Fast partition scan, whole partition scan and whole disk scan;
Supported file types Image, video, audio, text, email and so on;
Image creation Create a partition image to read and back up data;
Supported devices SD card, SDHC, SDXC, USB flash drive, hard disk and computer.
Easy to use Recover data by 3 steps;
Multiple scan modes Fast partition/whole partition/whole disk scan;
Supported devices SD card/USB/hard disk.
Free TrialFree TrialFree Trial 800 people have downloaded!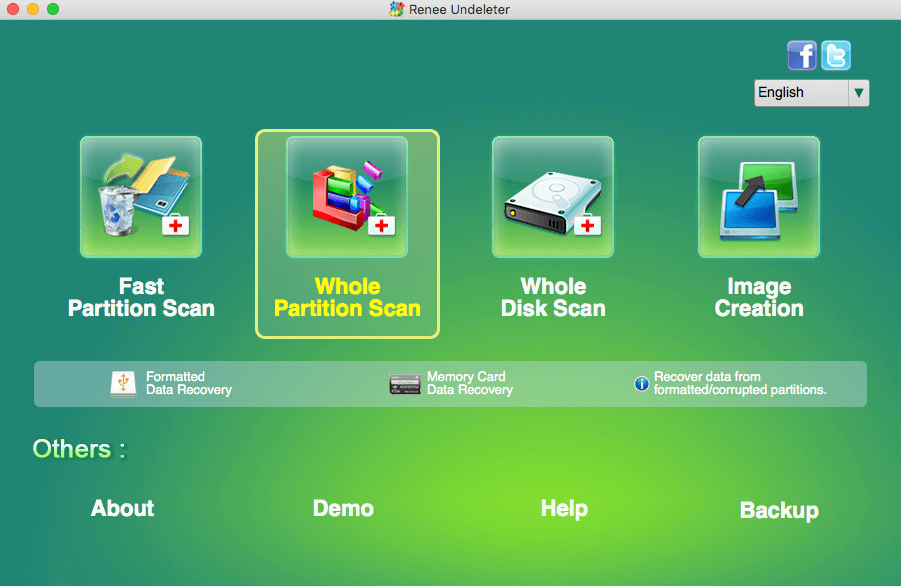
- Fast Partition Scan – Quickly retrieve files lost due to accidental deletion or emptying the recycle bin.
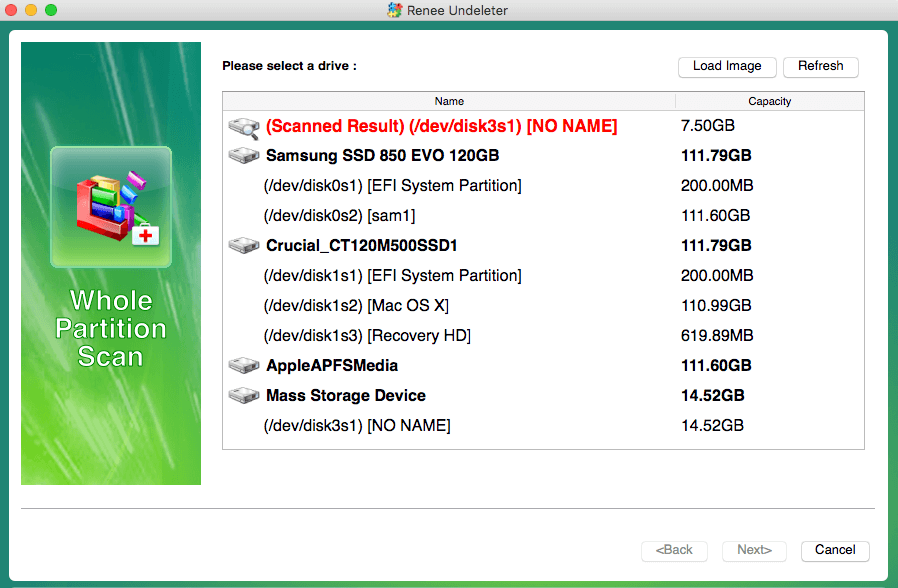
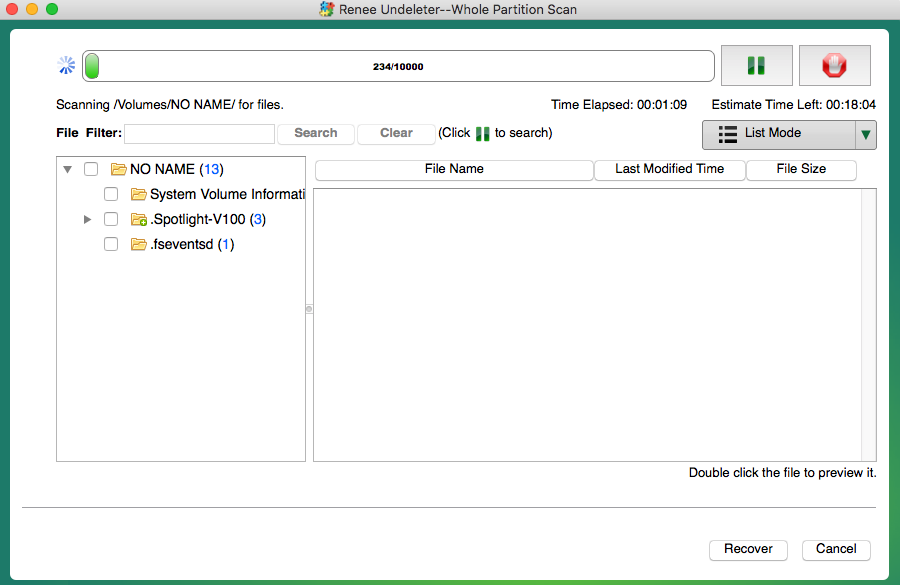
- Whole Partition Scan – Recover files from inaccessible or formatted partitions.
- Whole Disk Scan – Analyze partition information and fully scan the entire disk.
- Image Creation – Create an image of a partition to back up its current state.
Relate Links :
Clone a Hard Drive with Bad Sectors Like a Pro: Diagnosis, Safe Cloning, and Data Rescue

16-05-2026
John Weaver : This guide covers technical approaches to clone hard drive with bad sectors, including pre-cloning diagnostics with chkdsk, intelligent...
How To Fix Unallocated External Hard Drive without Losing Data?
27-12-2023
John Weaver : Learn how to fix unallocated external hard drive without losing data and recover important data using the methods...
Maximize Your Hard Drive: Quick Fix for Full Capacity Access

21-02-2024
Amanda J. Brook : Understand and resolve your computer's failure to show your mobile hard drive's full capacity, and learn efficient data...
Hard Drive Won't Power Up - How To Fix and Recover Data
15-01-2024
Ashley S. Miller : Learn how to analyze and solve hard drive wont power up issues and restore lost data with the...

