

Recover Deleted Mac Files: Easy MacOS Hard Drive Recovery Guide

Summary
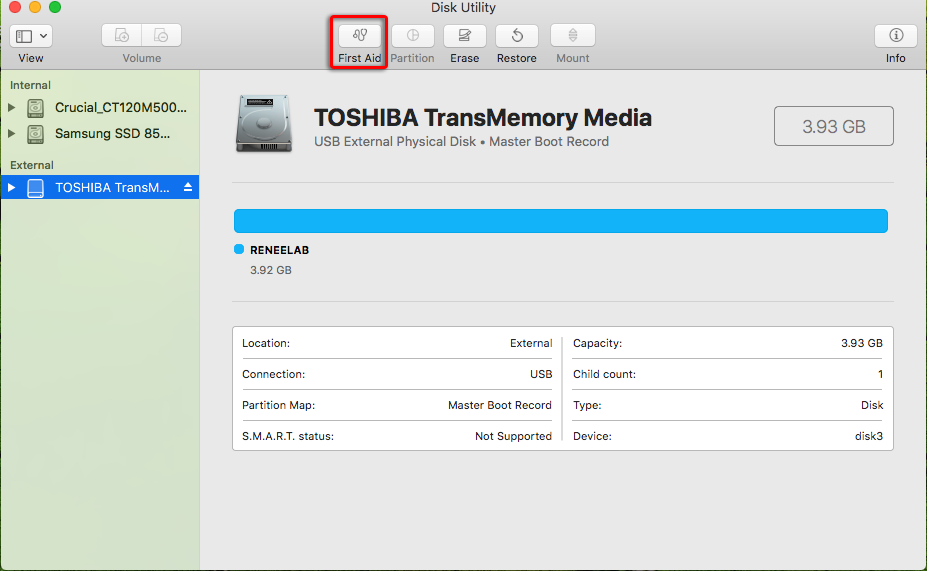
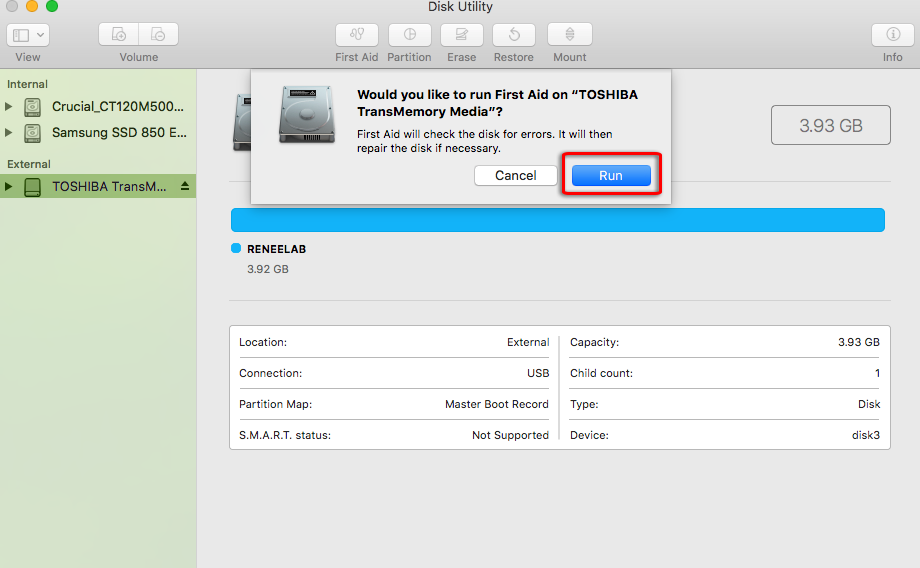
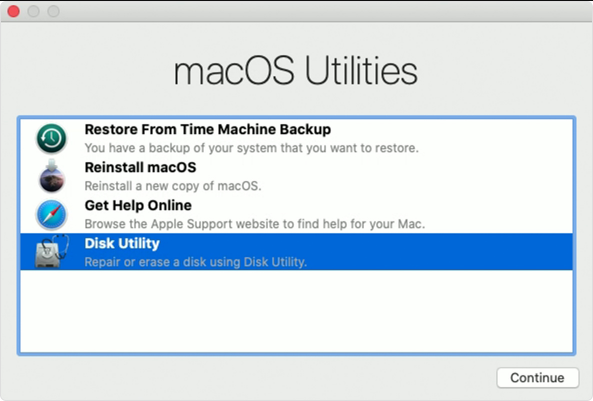
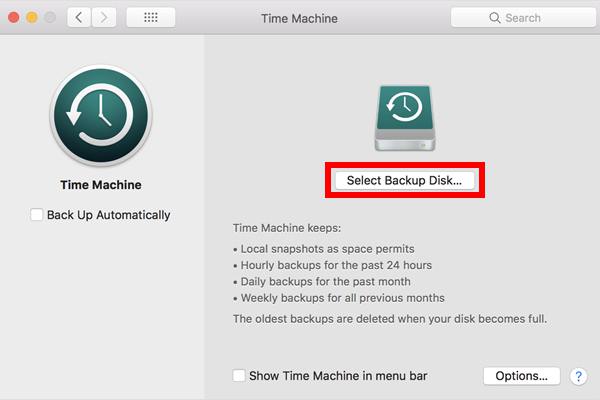
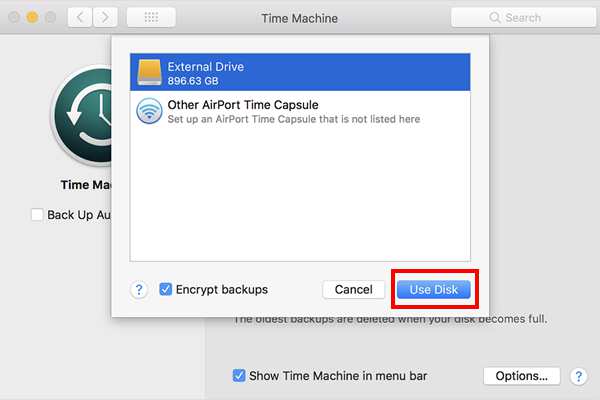
How to recover files from mac hard drive? Master effective Mac hard drive recovery techniques to restore data after accidental deletion or disk failure.


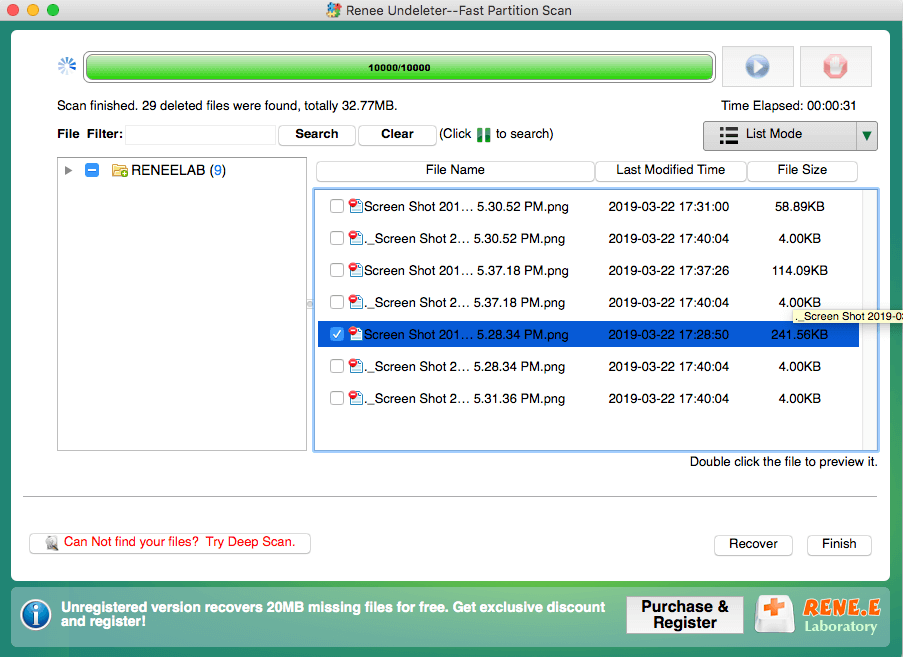
Easy to use Recover data by 3 steps;
Multiple scan modes Fast partition scan, whole partition scan and whole disk scan;
Supported file types Image, video, audio, text, email and so on;
Image creation Create a partition image to read and back up data;
Supported devices SD card, SDHC, SDXC, USB flash drive, hard disk and computer.
Easy to use Recover data by 3 steps;
Multiple scan modes Fast partition/whole partition/whole disk scan;
Supported devices SD card/USB/hard disk.
Free TrialFree TrialFree Trial 800 people have downloaded!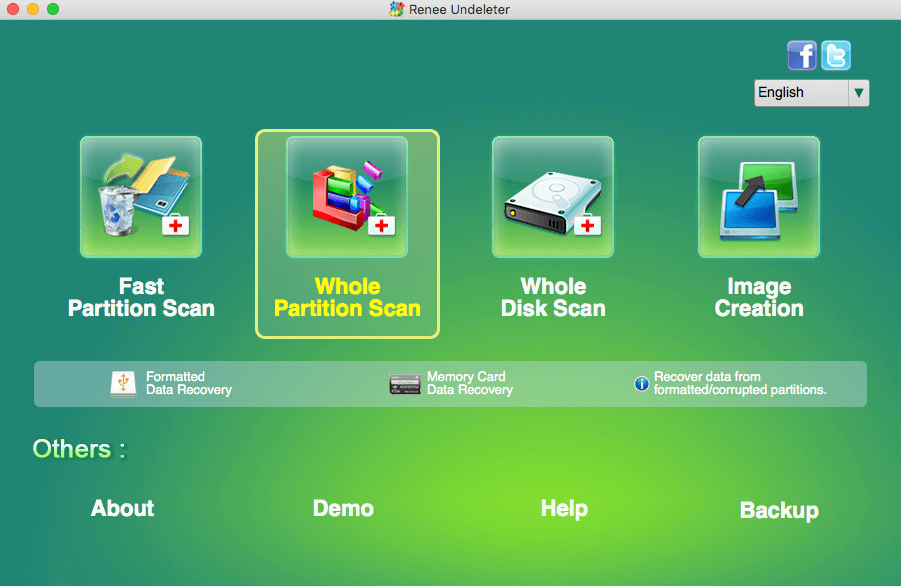
- Fast Partition Scan – Quickly retrieve files lost due to accidental deletion or emptying the recycle bin.
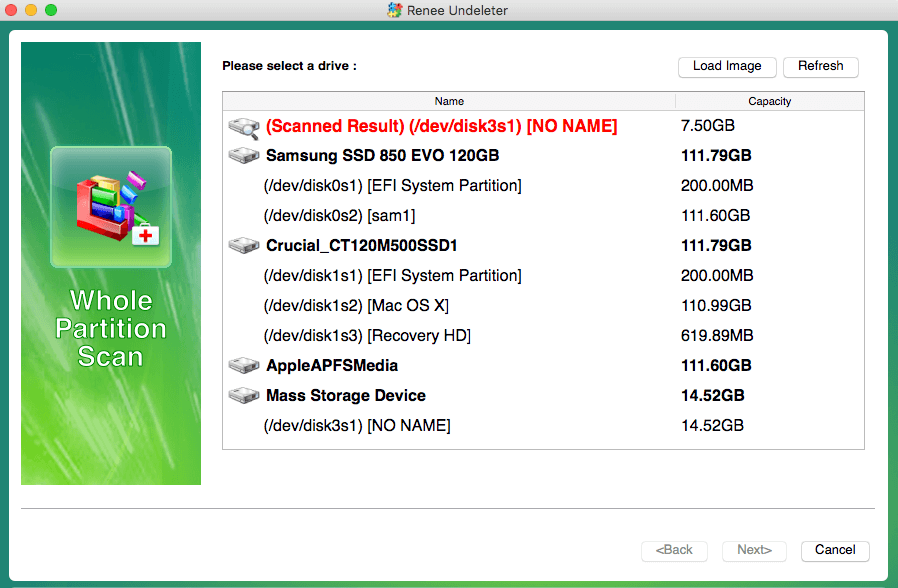
- Whole Partition Scan – Recover files from inaccessible or formatted partitions.
- Whole Disk Scan – Analyze partition information and fully scan the entire disk.
- Image Creation – Create an image of a partition to back up its current state.

Relate Links :
Small Business File Encryption: Keep Your Data Safe
01-02-2024
Amanda J. Brook : Protect your enterprise's core data by encrypting important files and folders. This method is the most direct way...
How to fix file system error 2147219196 without harming data?
12-01-2024
Amanda J. Brook : Some users have encountered a file system error 2147219196 when using a Windows computer, how to solve this...
RAW File System Recovery and Fix without Data Lost

25-02-2019
Ashley S. Miller : Generally, users may encounter different problem from HDD after using for a long time. Here, we will discuss...
How to Recover Files/Data from Corrupted Hard Drive
05-01-2021
Amanda J. Brook : Hard drive gets corrupted, damaged and failed to work? When you come into this situation, please do not...

