

A Seamless Transition: How to Convert Your Laptop’s SSD to an HDD

Summary
Learn how to seamlessly convert your laptop's SSD to an HDD with ease. Discover compatibility issues, choosing the right HDD, and using Renee Becca to clone SSD to HDD. Get step-by-step instructions for the physical swap and enjoy the benefits of additional storage at a lower cost.
| Interface Name | Invention Date | Bandwidth | Slot on computer | Link or Interface |
|---|---|---|---|---|
| U.2 | 2015 | 32Gbps | 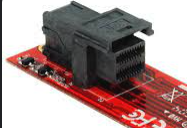 | 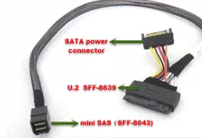 |
| SATA | 2003 | SATA 1.0: 1.5 Gbps SATA 2.0: 3.0 Gbps SATA 3.0: 6.0 Gbps | 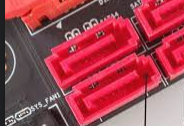 |  |
| PCI Express | 2004 | PCle 3.0 X4:32Gbps |  | 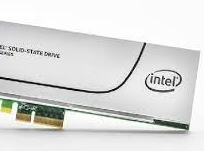 |
| SATA Express | 2013 | 16Gbps | 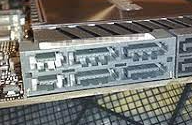 |  |
| mSATA | 2009 | 6Gbps | 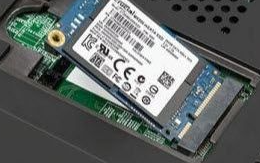 | 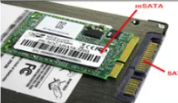 |
| M.2 | 2013 | 16Gbps/32Gbps | 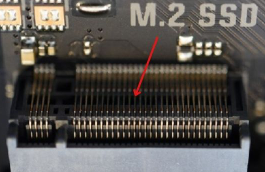 |  |
| SAS | 2005 | SAS-1: 3 Gbps SAS-2: 6 Gbps SAS-3: 12 Gbps SAS-4: 22.5 Gbps |  | 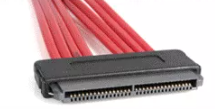 |

Quick Backup files at up to 3,000MB/min.
Fullfill different backup needs Supports system backup, disk / partition backup, file backup and disk clone.
Intelligent Automatically analyze the differences between source and backup data.
Convenient Support VSS, allowing to freely view webpages when backing up system.
Highly compatible Supports various files and storage devices.
Quick Backup files at up to 3,000MB/min.
Fullfill different backup needs Backup for disk, partition and system. Save disk space by backing up incremental /differential data.
Highly compatible Supports various files and storage devices.

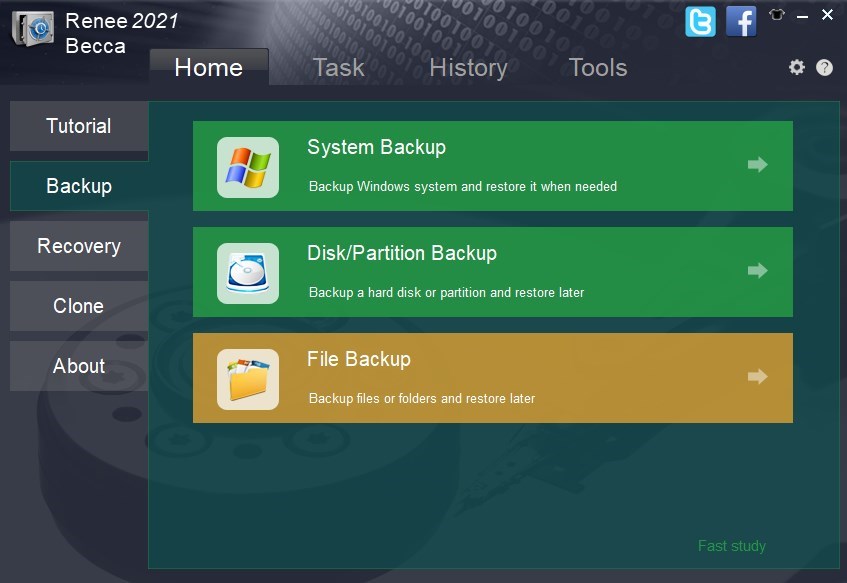
- Powerful and user-friendly disk cloning software
- Intuitive interface and step-by-step instructions
- Quick and efficient way to transfer all data and programs to a new hard drive
Cons:
- Paid subscription required for full access to all features

Step 2: Unplug any external devices such as USB drives or external hard drives that might be connected to your laptop.
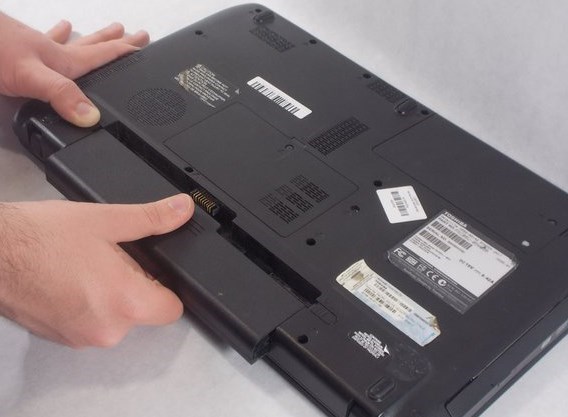
Step 3: Carefully disconnect the power cable and remove the battery from your laptop. This step is important to ensure your safety and prevent any damage to your laptop during the installation process.
| BIOS Name | Method | The Key or Keys |
|---|---|---|
| Acer | Press Del or F2 immediately after powering on | Del, F2 |
| Compaq | Press F10 while the cursor in the top right corner of the screen is blinking | F10 |
| Dell | Press F2 when the Dell logo appears, or press every few seconds until the message Entering Setup appears | F2 |
| eMachines | Press Tab or Del while the eMachine logo displays on the screen | Tab, Del |
| Fujitsu | Press F2 once the Fujitsu logo appears | F2 |
| Gateway | Press the F1 key repeatedly after restarting the computer | F1 |
| HP | Press the F1, F10, or F11 key after restarting the computer | F1, F10, F11 |
| IBM | Press F1 immediately after powering on the computer | F1 |
| Lenovo | Press F1 or F2 after powering on the computer | F1, F2 |
| Nec | Press F2 to enter the BIOS Setup | F2 |
| Packard Bell | Press F1, F2, or Del to enter BIOS | F1, F2, Del |
| Samsung | Press F2 to start the BIOS setup utility | F2 |
| Sharp | Press F2 after the computer starts | F2 |
| Sony | Press F1, F2, or F3 after turning on the computer | F1, F2, F3 |
| Toshiba | Press F1 or Esc after powering on to access BIOS | F1, Esc |
| ARLT | Press Del or F11 when the respective message is shown | Del, F11 |
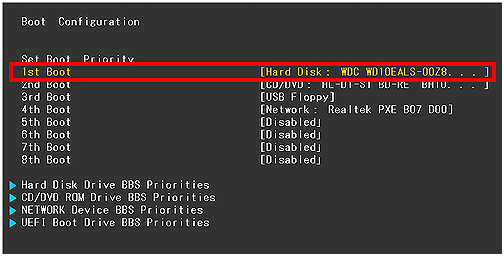
Step 7: Once you are in the BIOS menu, navigate to the “Boot” tab using the arrow keys on your keyboard. Here, you will see a list of bootable devices. Use the ” “ or “-” keys to move the HDD to the top of the list. This will ensure that your laptop boots from the new drive instead of the old one.
Relate Links :
Compact Upgrade: How to Clone a Larger HDD to a Smaller SSD

27-11-2023
John Weaver : Learn how to clone your larger HDD onto a smaller SSD without losing data, with the help of...
How to Initialize SSD: Optimal Format and Partitioning Guidelines

08-09-2023
Amanda J. Brook : Learn how to format an SSD correctly to avoid compatibility issues. Discover the appropriate file system format and...
How to Upgrade and Install SSD for Computer
20-06-2019
Amanda J. Brook : If you know something about computer, you should have heard SSD. Comparing with traditional HDD, SSD improves the...

