

How to Recover Permanently Deleted Videos: A Step-by-Step Guide

Summary
Learn how to recover permanently deleted videos with this comprehensive guide. From common causes of video loss to backup strategies and preventive measures, we've got you covered. With step-by-step instructions and recommended software, you'll be able to retrieve your precious memories in no time.
Table of contents

Shift + Delete

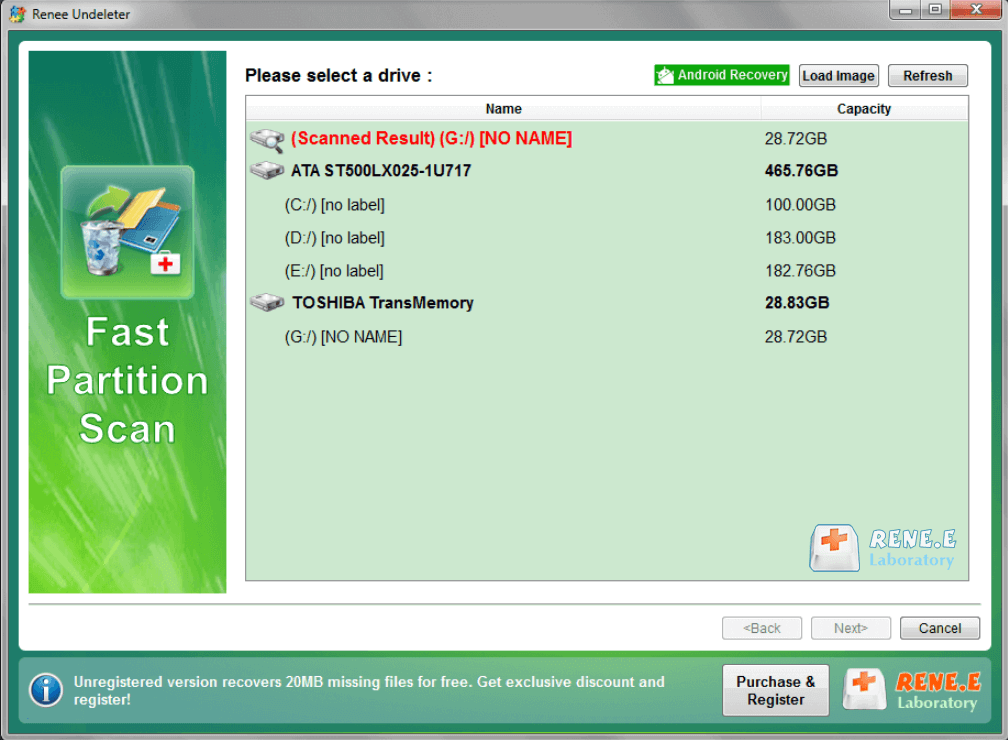
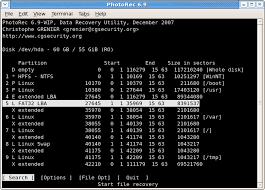
Easy to use Recover data by 3 steps;
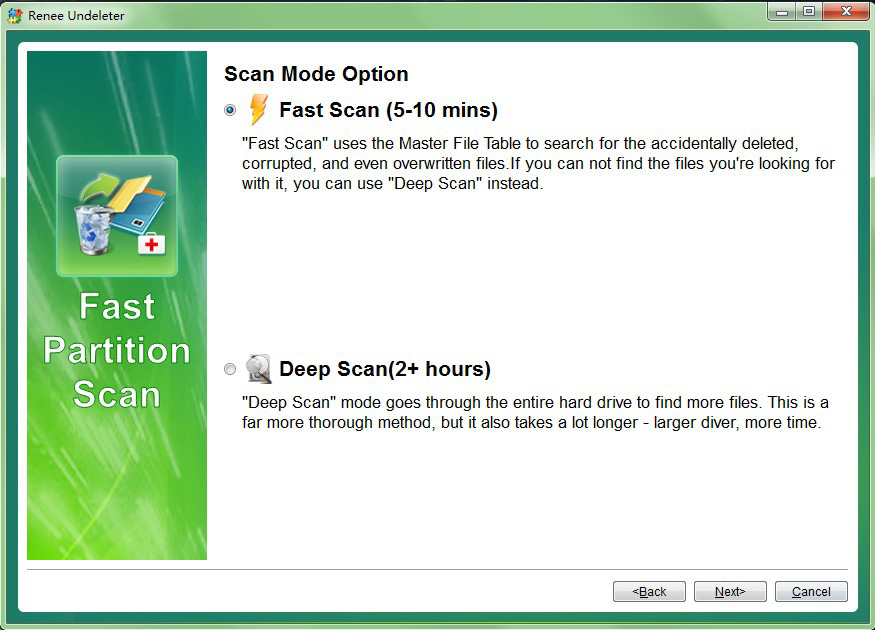
Multiple scan modes Fast partition scan, whole partition scan and whole disk scan;
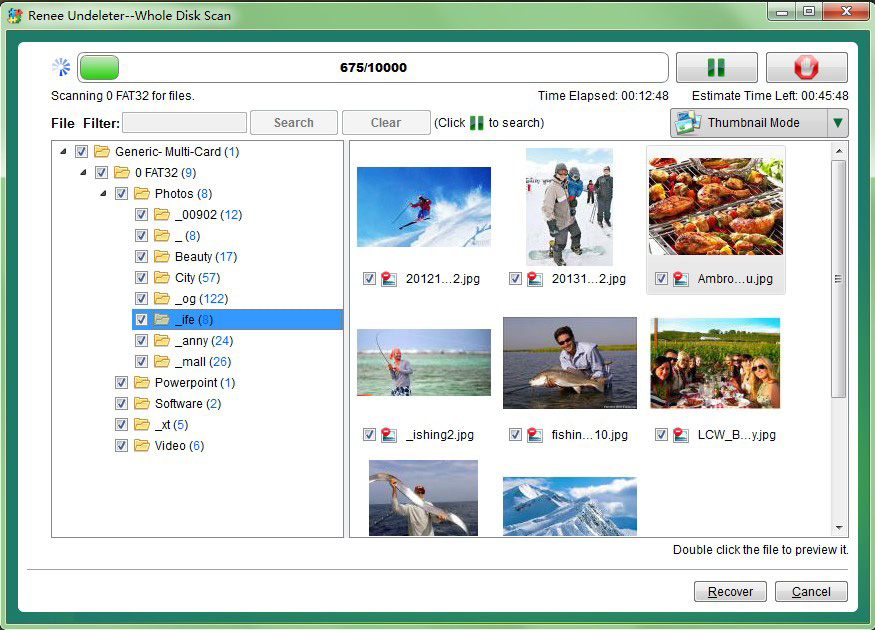
Supported file types Image, video, audio, text, email and so on;
Image creation Create a partition image to read and back up data;
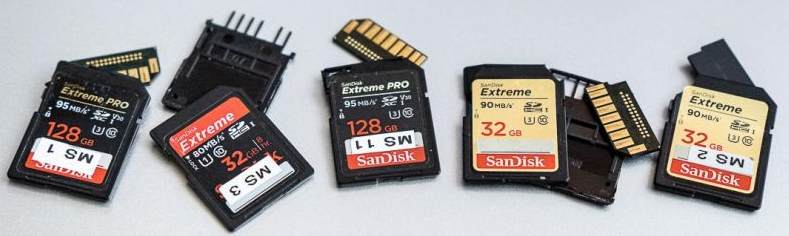
Supported devices SD card, SDHC, SDXC, USB flash drive, hard disk and computer.
Easy to use Recover data by 3 steps;
Multiple scan modes Fast partition/whole partition/whole disk scan;
Supported devices SD card/USB/hard disk.
Free TrialFree TrialFree Trial 800 people have downloaded!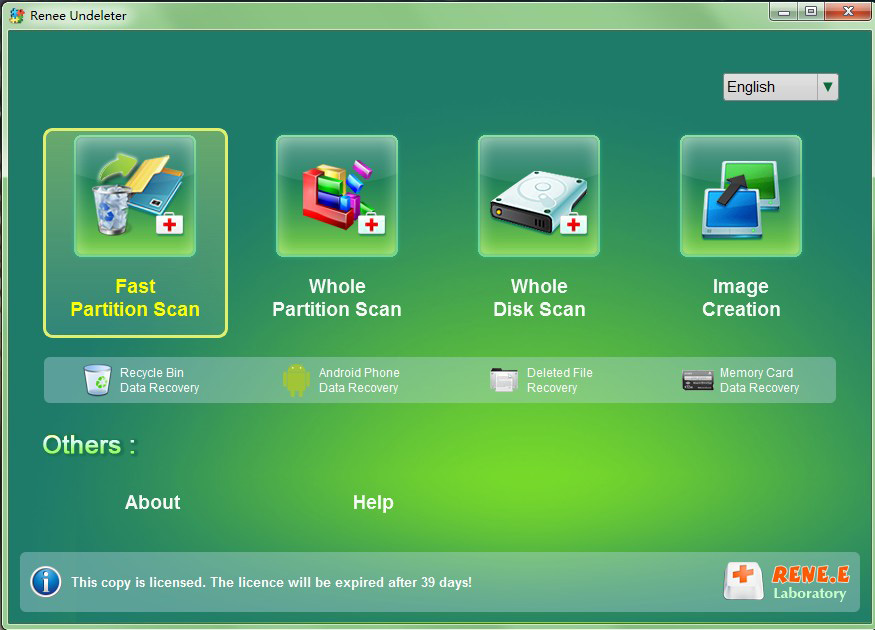
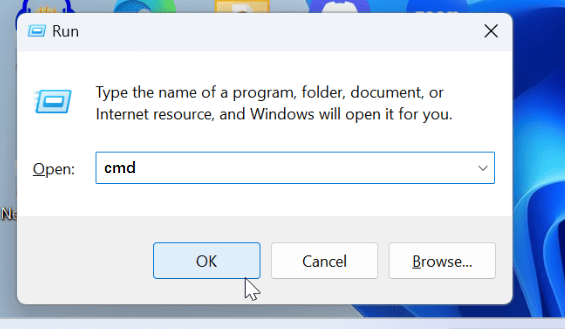
winfr source: destination
winfr C: C:\Users\YourUsername\Desktop
Relate Links :
How to Recover Deleted Photos from Your Hard Disk
17-11-2023
Amanda J. Brook : Uncover your precious memories and restore deleted photos from your hard disk with these simple methods. From using...
Mastering Western Digital Hard Drive Recovery

15-11-2023
Ashley S. Miller : Learn how to master Western Digital hard drive recovery with a comprehensive guide, including tips and tricks for...
Where do Missing OneDrive Files Go?
15-11-2023
Ashley S. Miller : Discover the journey of your OneDrive files after deletion, including how they end up in the Recycle Bin...
Navigating USB Device Data Deletion: Where Do Deleted Files Go?
14-11-2023
Amanda J. Brook : Learn the truth about where your deleted USB files actually go and how you can retrieve them with...

