Master the Art of DIY Green Screen for Personal Media
13 July 2023Amanda J. Brook Senior Product Manager
Summary Learn how to achieve a professionnel movies in a simple way. Discover the secrets of DIY green screen technology. Find out more information in this article.
Green screen technology has grown in popularity in recent years, and the technology has gone through quite a long evolution. The earliest forms of this technique emerged in the 1930s, when film compositions were carefully crafted by hand. Later, with the popularity of computers, it became much easier to achieve a series of special effects relying on green screen technology.
The full name of green screen technology is “green screen subtraction technology”, commonly known as green screen, which is simply an imaging technology that completely separates actors or something from the background. It is widely used in the shooting of various unrealistic scenes such as science fiction films, fantasy films, action films, martial arts dramas, etc.
II. What is the working principle of green screen technology?
In the actual production of videos or movies, etc., the “green screen” is usually used as the background curtain for shooting special effects shots. Remove the green background curtain and replace it with a scene-related background picture required by the plot to achieve the separation of actors.
The reason for choosing a green screen is that the saturation of green is very high. You must know that the content of the movie is expressed through people and some events, so people are very important (the people here refer to actors), and compared with other colors, green can form chromatic aberration and it is easier to track objects and locate .
Once filming was complete, the green background was digitally removed in post-production. It was then replaced with other material, such as exotic destinations. Using this technique, you can place actors in any environment you wish. And add other effects to it, such as adding animated characters or changing the appearance of actors. Green screen allows you to seamlessly blend animation and live-action footage, reducing the constraints imposed by many high-budget films.
III. How to DIY green screen?
Here are a few things you need to implement green screen techniques: a piece of green or blue cloth/fabric, a camera, and the necessary lighting equipment.
1. Select the background
First of all, you need to buy a green thin cloth, blue is also fine, but you must make sure that the actors cannot wear green or blue clothes during shooting, otherwise it will affect the green screen effect and affect the post-production. In addition, the size of the background cloth depends on the size of the content to be shot. You need to ensure that all parts of the body of the person being shot are displayed on the green screen, otherwise the part that extends beyond the green screen will be removed in post-production.
Of course, if you have a studio or room in your home, painting the walls green can create a green screen in no time.
2. Select camera
Needless to say, the camera can be prepared according to your personal budget, or you can use an iPhone, after all, the pixels of the current mobile phone are also very good.
3. Set up the lights
One thing you should keep in mind when shooting with green screen is removing shadows. The flatter the green background, the easier it is to remove the background and replace it with other scenes in post-production. If you can’t get shadows to go away or you have a slight halo around your characters, try upgrading your lights. The more even your lighting, the better.
Also, three-point lighting is the industry standard, which requires lights to be placed in a triangle around the subject, providing lighting from the sides and back. The purpose of this is to reduce the amount of shadows cast onto the green screen.
The above are the essential elements of DIY green screen. After using the self-made green screen to shoot, it can be imported into professional video editing and production software such as AE or Premiere for editing or special effects.
However, if you don’t want to make blockbuster movies, but just want to add some simple editing or special effects to your self-made videos, then I recommend a video editing software that is very suitable for novice users – Renee Video Editor Pro .
4. Use Renee Video Editor Pro to add special effects to the video
Whether you are a video self-media worker or a novice user, if you need to add some special effects to some personal videos, you can use this simple and easy-to-operate Renee Video Editor Pro to achieve it.
What is Renee Video Editor Pro?
Renee Video Editor Pro is a multi-functional integrated video recording and editing tool that integrates computer screen recording, video post-production and conversion. It can not only meet the user’s needs for multimedia recording such as PC screen, playback video, and sound source, but also create more possibilities for further editing videos. You can not only add exclusive watermarks to the recorded videos during the recording process; In the later video editing, the content of the video is further improved and optimized, such as adding various types of transition effects, switching different filter styles at will, and providing exclusive subtitles for independent images, etc.
Hot Topic - ADsRenee Video Editor Pro– Multi-function Video Editing Software
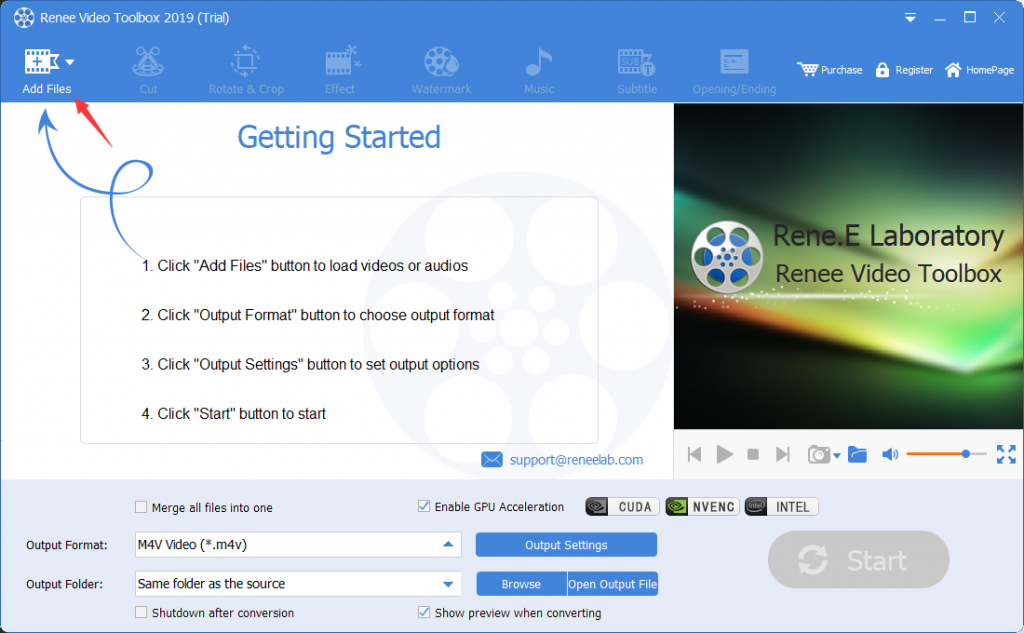
Multiple edit tools Edit videos with tools like cut, crop, merge and rotate.
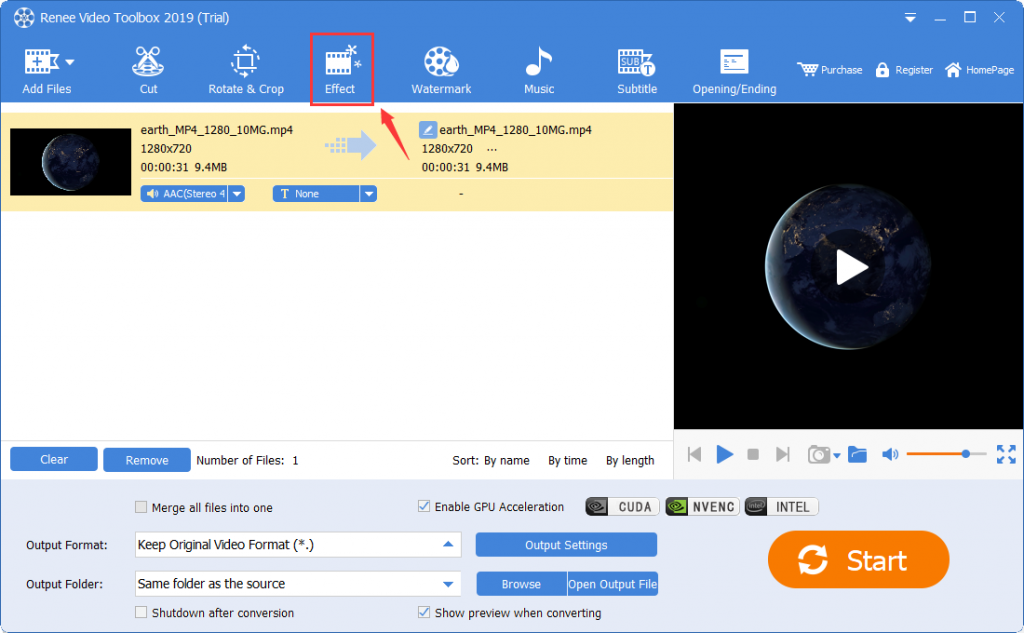
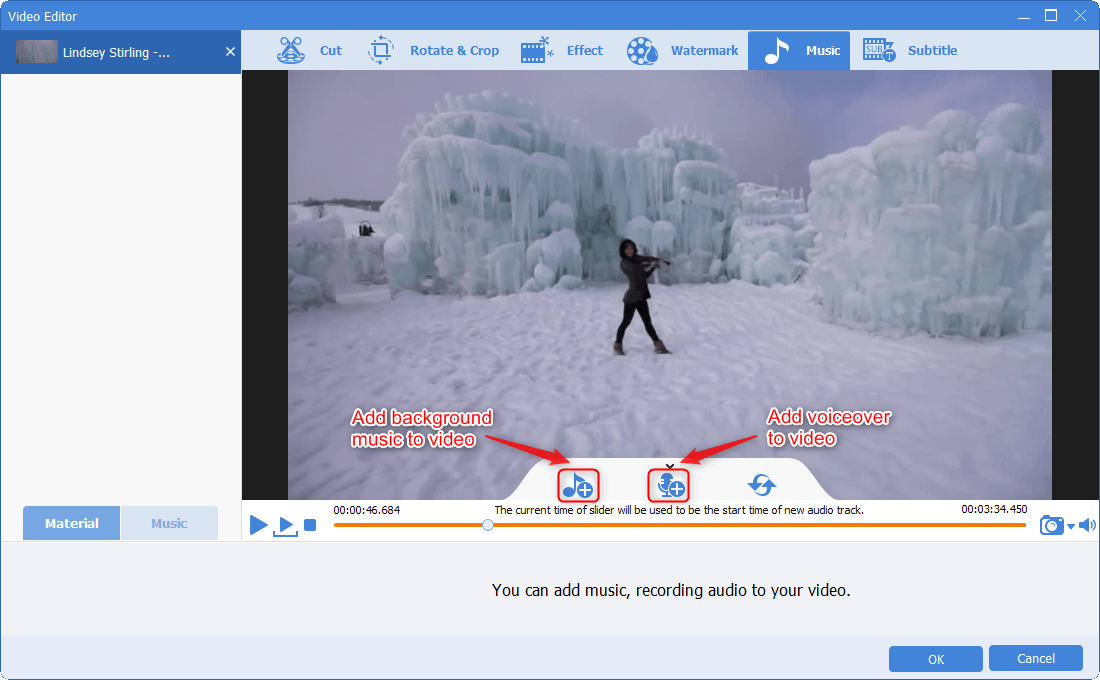
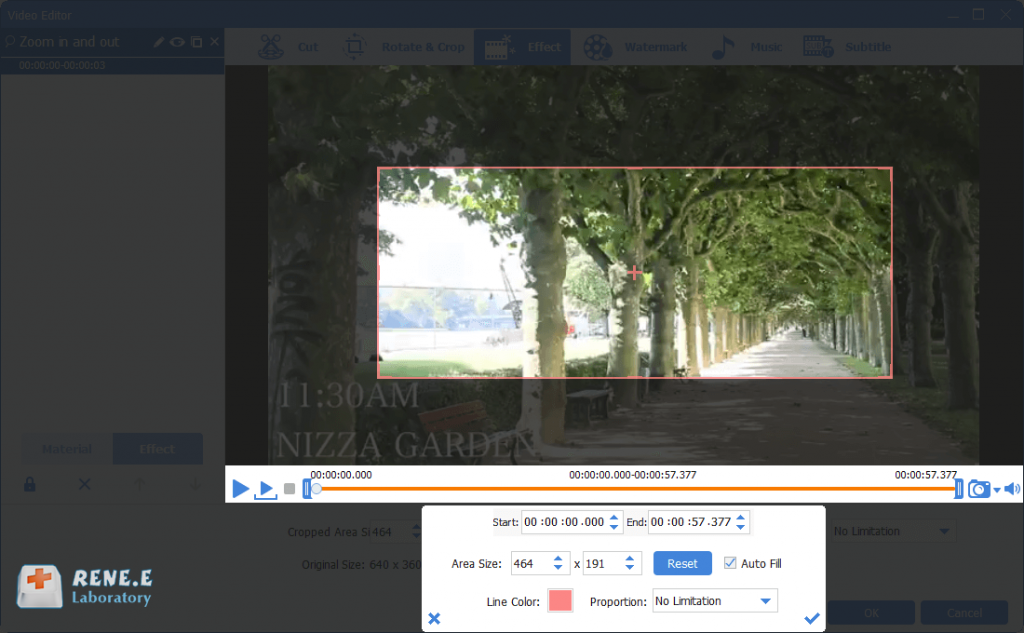
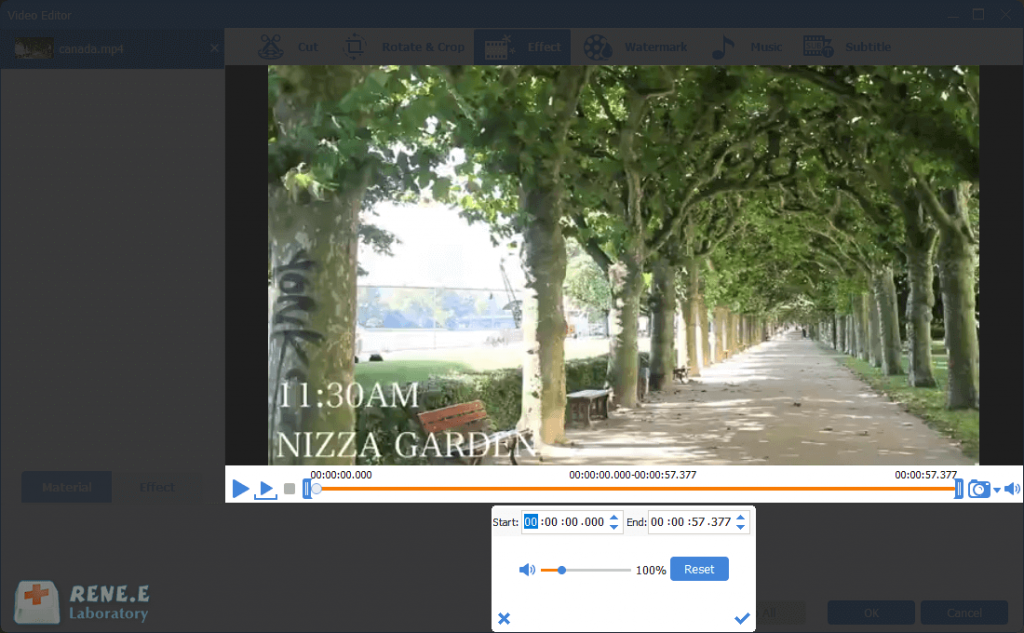
Multiple effects Users can add effects, watermark, subtitle, background music, and even remove watermarks.
Support multiple formats It can edit videos / audios in different formats.
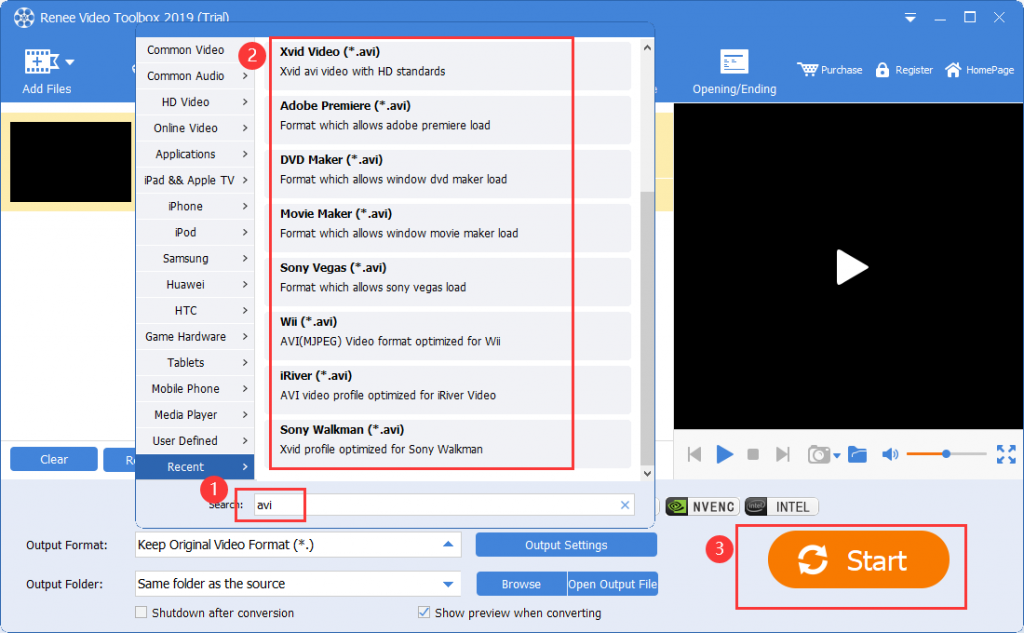
Format Conversion Support to convert videos and audios into different formats.
Output formats recommendation Provide output format recommendation on the basis of different models.
Different Effects Effects, watermark, background music and subtitle can be added to videos.
Multiple Edit Tools Merge, crop, rotate, cut and transform video easily.
Convert Convert videos and audios into different formats.
How to use the video effects function of Renee Video Editor Pro?
Step 1: After downloading the software to the computer, open it and select the “Video Editing Tool” button, click to enter.
Step 2: At this time, the “Add File” button interface will appear on the interface, and you can import the video you want to add special effects to.
Step 3: After the video is added, select the “Special Effects” option button in the header menu bar to enter the video editing interface.
Step 4: There are three special effect options below the playback scroll bar, the leftmost one is the “Filter Effect” function, you can change the color and shape of the video content with special effects.
The middle button is the “zoom special effect” function, you can make special effect changes to the size of the video screen.
The rightmost button is the “Add Volume Effect” button, and you can also make special effects changes to the audio of the original video.
Step 5: After the special effects are added, go back to the main page, and you can change the output video format and the storage location of the output files. If there is no other operation, you can directly click “Start”, and the video will start to add special effects. Just wait patiently for the loading to complete.
In addition, if you need to perform other editing operations on the video, such as editing the video, adding watermarks, subtitles, opening/closing titles, etc., you can directly select the function button in the header menu bar of Renee Video Editor Pro to edit.
Amanda J. Brook : Master storytelling with our tutorial on using speech bubble templates to create engaging comic-style videos that captivate audiences.