

How to Defrag Disk in Windows 7?

Summary
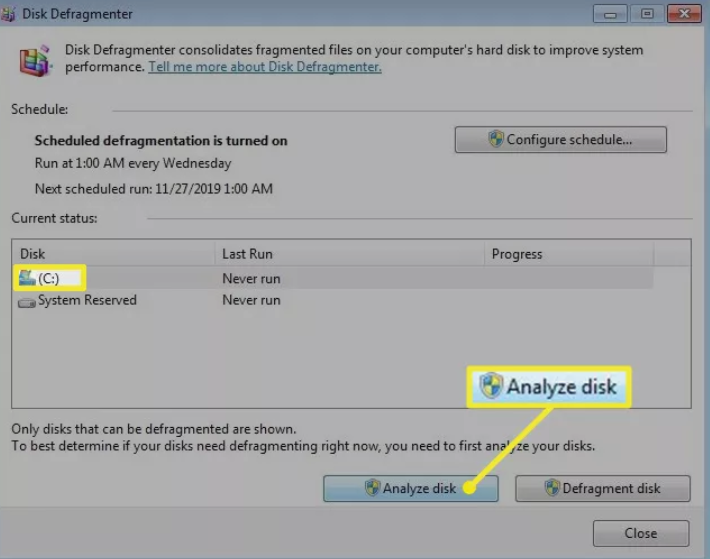
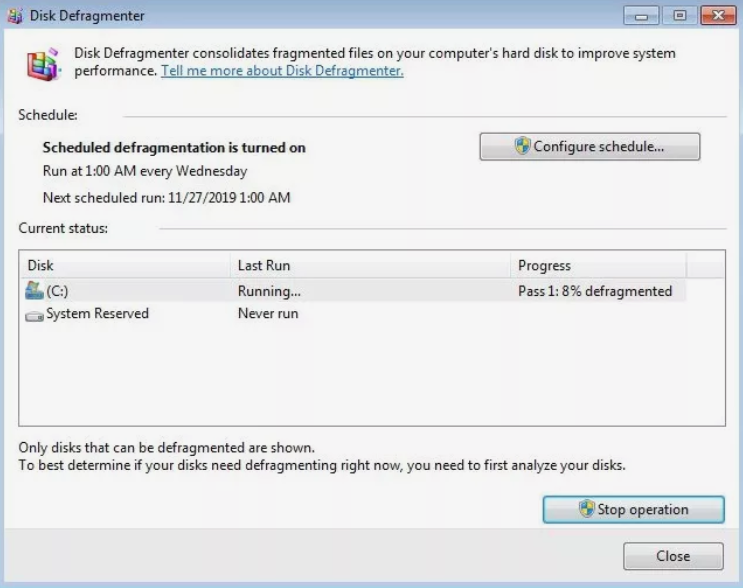
Learn how to defragment Windows 7 system disks to improve computer speed. Follow these detailed methods for effective disk defragmentation.

- The read time for each block is constant, and performance depends on the internal control chip and flash memory. Traditional defragmentation does not improve performance.
- SSDs have limited write cycles. Defragmentation involves data transfer, reducing the SSD’s lifespan. Unnecessary data erasure should be avoided.
- SSDs have a “finishing” function. The TRIM function serves a similar purpose to defragmentation.


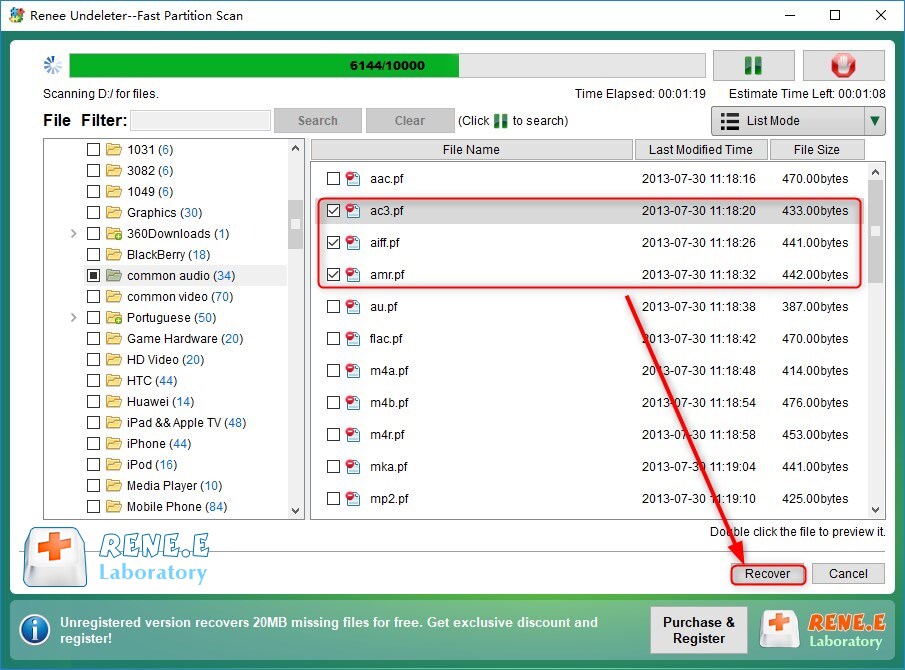
Easy to use Recover data by 3 steps;
Multiple scan modes Fast partition scan, whole partition scan and whole disk scan;
Supported file types Image, video, audio, text, email and so on;
Image creation Create a partition image to read and back up data;
Supported devices SD card, SDHC, SDXC, USB flash drive, hard disk and computer.
Easy to use Recover data by 3 steps;
Multiple scan modes Fast partition/whole partition/whole disk scan;
Supported devices SD card/USB/hard disk.
Free TrialFree TrialFree Trial 800 people have downloaded!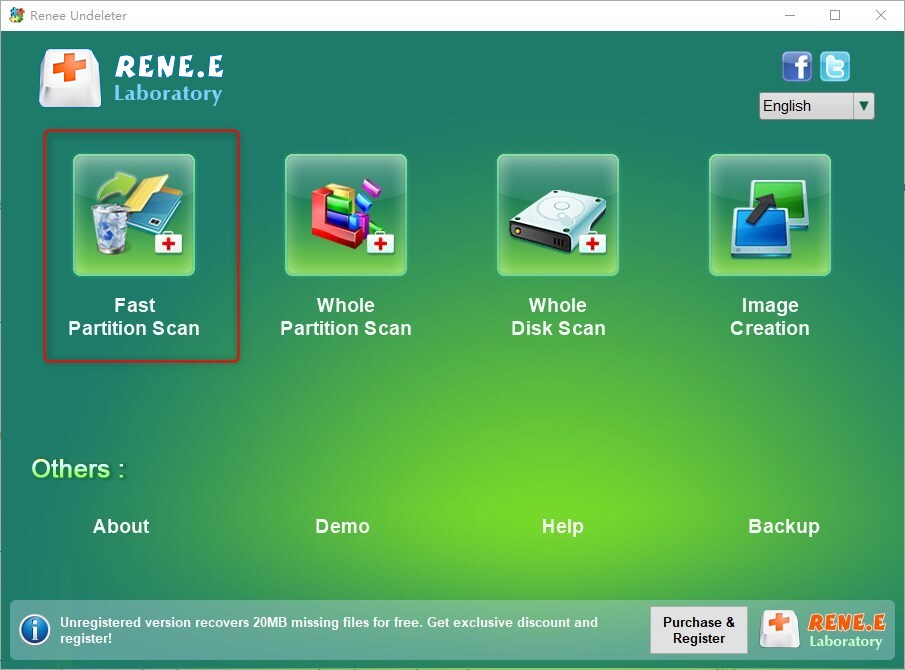


Relate Links :
Fixing a Rattling Hard Disk: Expert Data Recovery Tips
07-06-2024
Jennifer Thatcher : Master how to fix a clicking hard drive to prevent data loss. Transfer or restore data immediately before...
Quick & Reliable Data Recovery Solutions For RAW Drives

12-04-2024
John Weaver : Discover the techniques to fix a RAW hard disk and recover data from a RAW drive using expert...
Ultimate Guide for Data Recovery from RAW SD Card

11-04-2024
Ashley S. Miller : Discover effective strategies to retrieve data from a RAW SD card and return it to a functional condition...
Expert Tips For CF Card Data Recovery
09-04-2024
Ashley S. Miller : Discover the essentials of CF card management and master the techniques for data recovery with this comprehensive guide....

