

How to Reset a MacBook to Factory Settings?

Summary
MacBook runs so slow, but don’t know how to reset it to factory settings? Read this article and you will learn about detailed guide for factory reset. It also works for MacBook Pro and MacBook Air.
Preparations of Resetting MacBook/MacBook Pro/MacBook Air to Factory Settings
When MacBook runs so slow and has an issue with system crashing, or you are going to sell it, it’s necessary to perform the factory reset. And the data in the MacBook should be backed up before you reset it. Besides, if you intend to sell it or give it to someone as a present, it would be better if you could disable all services associated with the system before the MacBook is reset to factory settings.
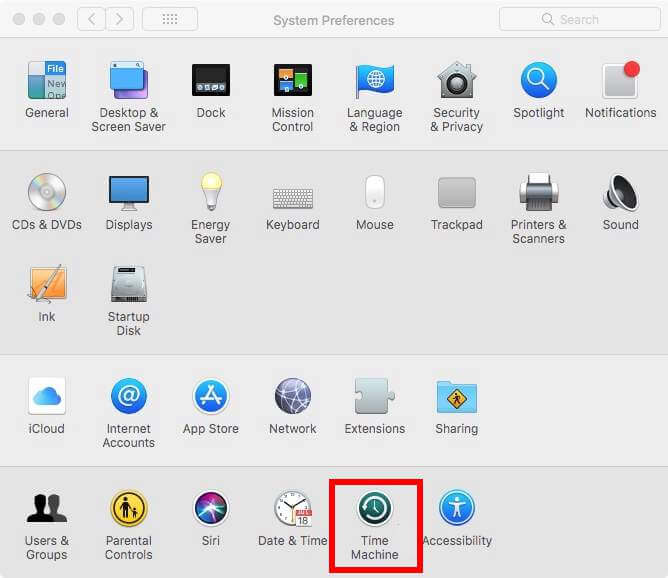
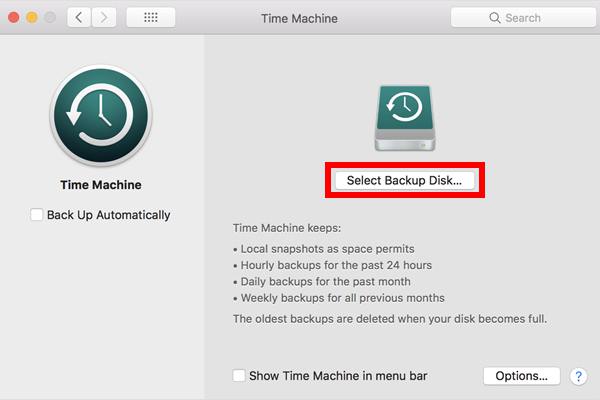
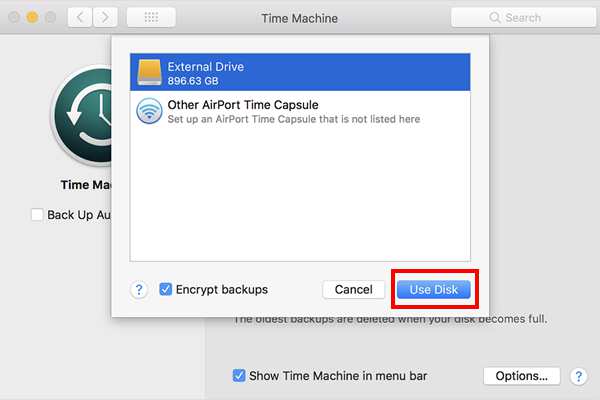
1. Back up Your MacBook with Time Machine
Note: if the external hard drive can’t be recognized, please refer to the instructions on how to fix the external hard drive that’s not recognized in Mac.
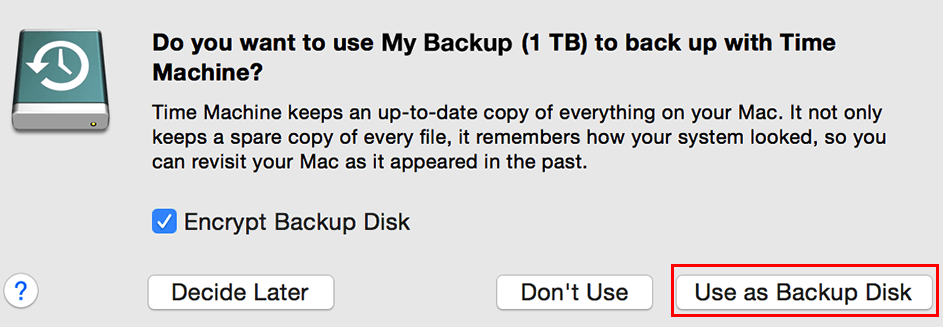
If the disk you selected isn’t formatted as required by Time Machine, you’re prompted to erase the disk first. Please confirm whether there’s any important file in the external hard drive before you erase it.

Easy to use Recover data by 3 steps;
Multiple scan modes Fast partition scan, whole partition scan and whole disk scan;
Supported file types Image, video, audio, text, email and so on;
Image creation Create a partition image to read and back up data;
Supported devices SD card, SDHC, SDXC, USB flash drive, hard disk and computer.
Easy to use Recover data by 3 steps;
Multiple scan modes Fast partition/whole partition/whole disk scan;
Supported devices SD card/USB/hard disk.
Free TrialFree TrialFree Trial 800 people have downloaded!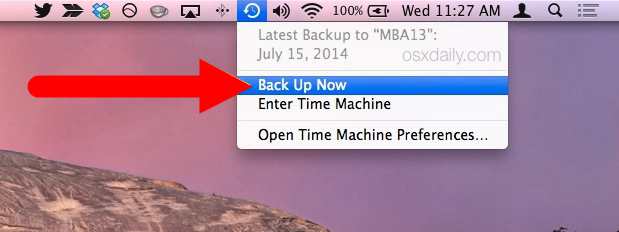
2. Sign out iTunes /iCloud /iMessage /FileVault
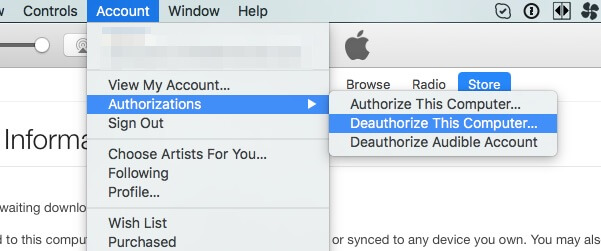
You can authorize iTunes up to 5 computers. If you are going to sell or give away your MacBook, you should make sure your iTunes account is not linked to the computer.
- Firstly, open iTunes on your MacBook. Click Account in the menu bar. Then choose “Account”> “Authorization”>”Deauthorize This Computer”.
- Enter your Apple ID and password. Then click “Deauthorize”.
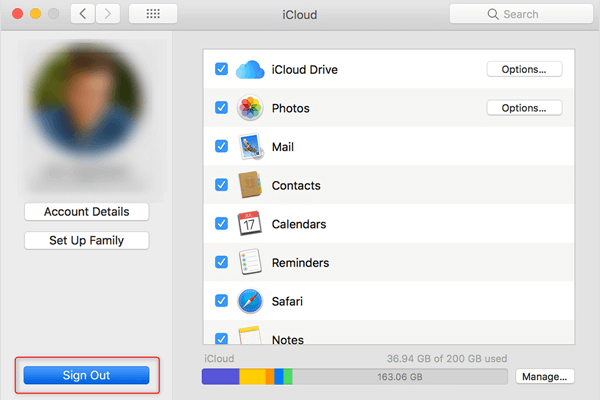
Generally, photos, videos and music are stored in iCloud. Just sign out of iCloud and make sure any information in iCloud is invisible.
Click “Apple menu” > “System Preferences”. Then select iCloud and click “Sign Out”.
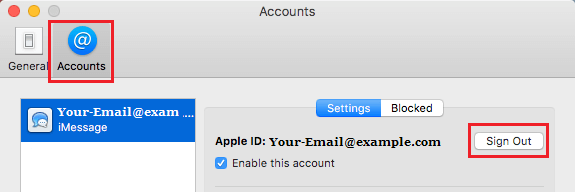
If you are using the version of OS X Mountain Lion or later, you could choose to sign out of iMessage.
- Click “Messages” app, click “Messages” > “System Preferences”.
- Click “Account” and select your iMessage account. Then click “Sign Out”.
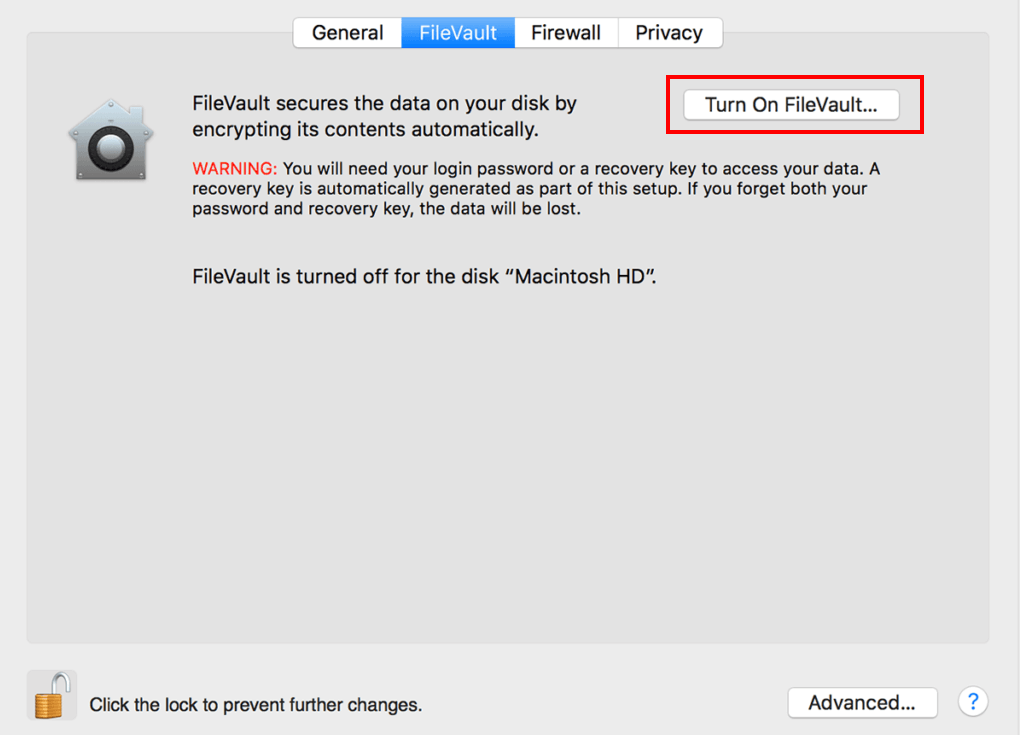
FileVault can encrypt the data on your hard drive to prevent the unauthorized access. If you turned on it before, it’s suggested to turn it off before you wipe the MacBook.
- Click “Apple menu” > “System Preferences” > “Security and Privacy” > “FileVault” tap.
- Click the lock icon and enter the administrator account name & password to unlock it. Then click “Turn Off FileVault”.
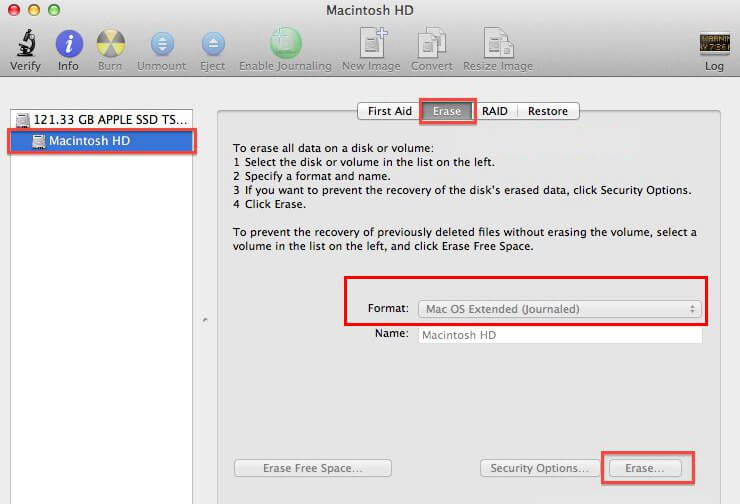
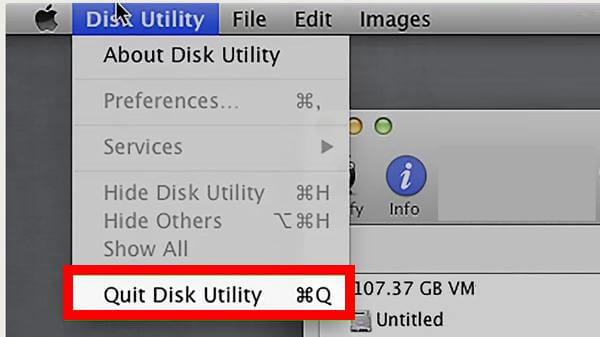
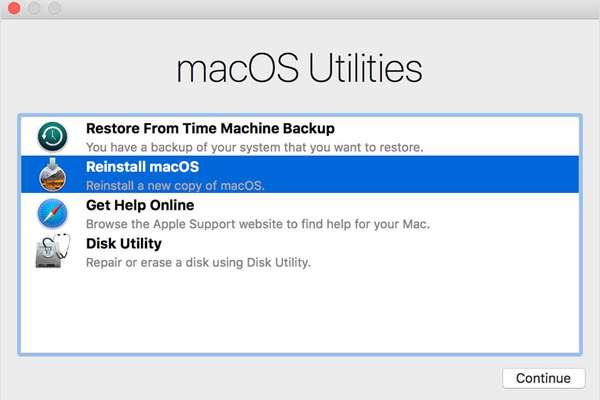
Step-by-Step Guide to Reset MacBook/MacBook Air/MacBook Pro to Factory Settings
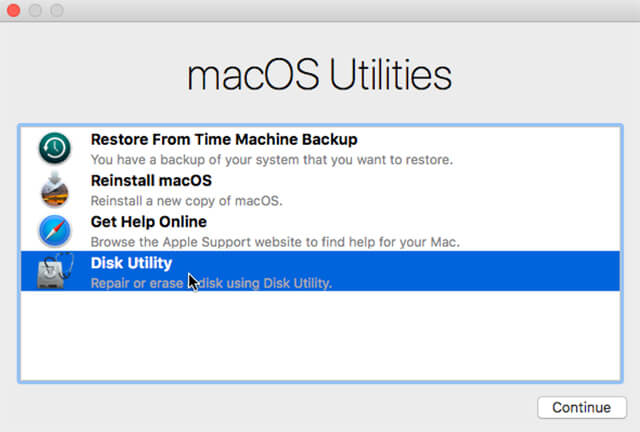
Note: The name of hard drive is Macintosh HD in default if you didn’t rename it.
Note: Please confirm whether your MacBook connects to the Internet properly.
How to Recover the Missing File
If you don’t back up the MacBook before you reset it to factory settings, all data including persona files in the MacBook will be erased. In this case, you could use powerful data recovery software to recover the file as long as it doesn’t get overwritten.
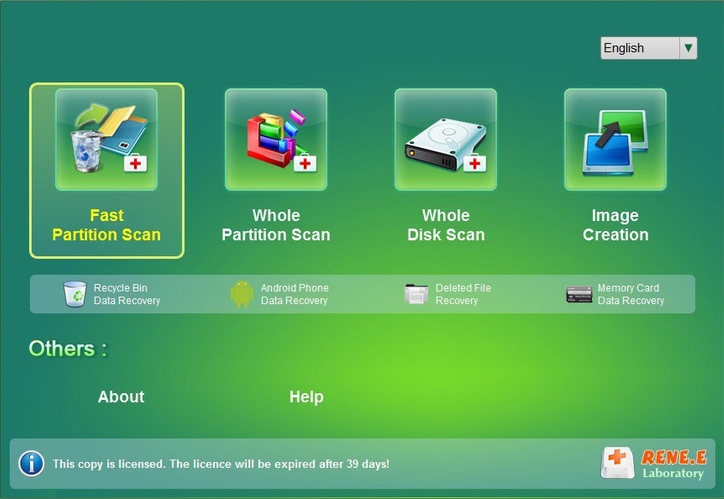
It’s recommended to use Renee Undeleter. On the one hand, it can recover damaged or unexpectedly deleted data. On the other hand, it can also recover data from bad sectors or formatted hard drive. Besides, Renee Undeleter supports free trial for recovering the size of 20 MB missing files.
- Fast Partition & Whole Disk Scan
- Office Documents Preview
- Memory Card Data Recovery

- Amazing Photo Recovery
- Formatted Data Recovery
- Recycle Bin Data Recovery

Step 1: Launch Renee Undeleter and select “Whole Partition Scan” function.
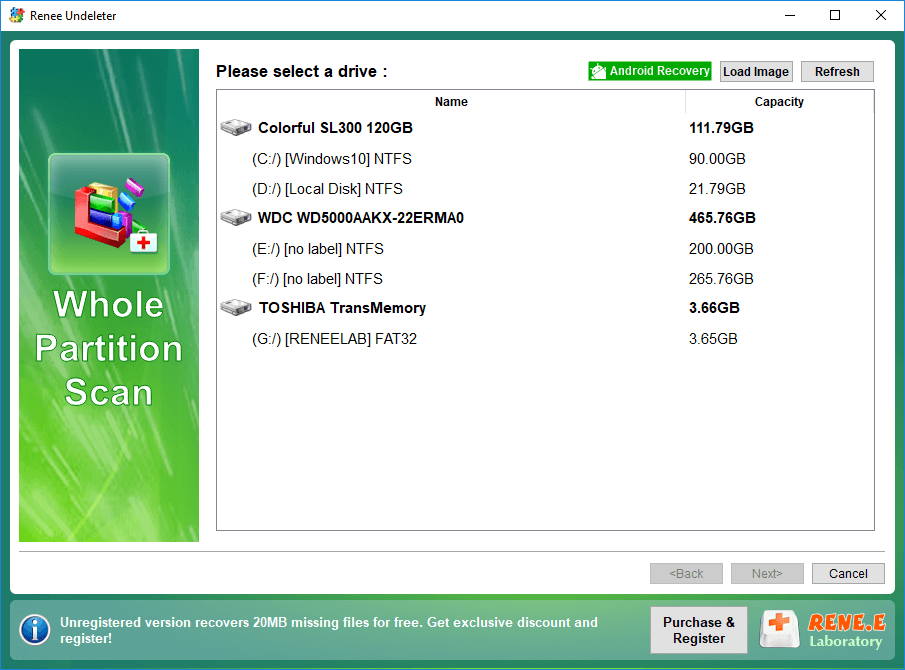
Step 2: Choose the partition where you save the deleted files to scan.
Step 3: Preview files after the scan process completes. Then select target file and click “Recover”.

Relate Links :
How to Solve External Hard Drive is not Showing Up in Mac?

30-07-2019
Jennifer Thatcher : Mac is highly integrated, with many unchangeable parts. Many people prefer to use an external hard drive when...
SD Card Shows "Secure Digital Storage Device" after Connected to Computer?

29-07-2019
John Weaver : When you insert the SD card or microSD card into the PC, it probably shows up “Secure Digital...

