

Recover LOST.DIR File from Android SD Card

Summary
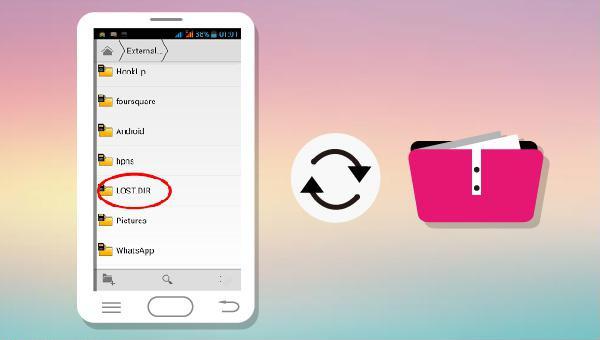
Learn about the purpose of the LOST.DIR folder on Android phones and discover how to perform the lost dir recovery if accidentally deleted. Find answers here.
Table of contents

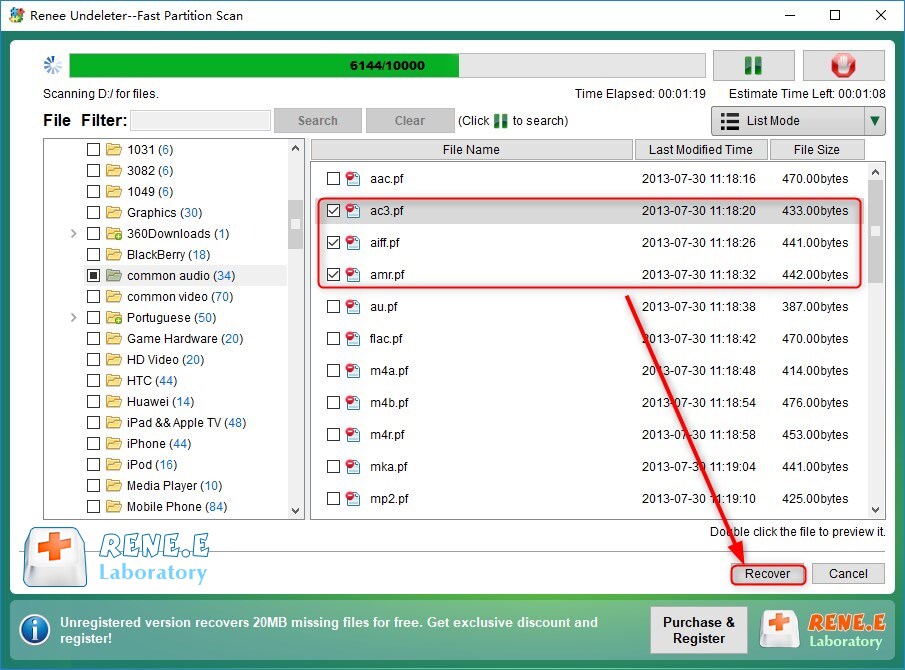
Easy to use Recover data by 3 steps;
Multiple scan modes Fast partition scan, whole partition scan and whole disk scan;
Supported file types Image, video, audio, text, email and so on;
Image creation Create a partition image to read and back up data;
Supported devices SD card, SDHC, SDXC, USB flash drive, hard disk and computer.
Easy to use Recover data by 3 steps;
Multiple scan modes Fast partition/whole partition/whole disk scan;
Supported devices SD card/USB/hard disk.
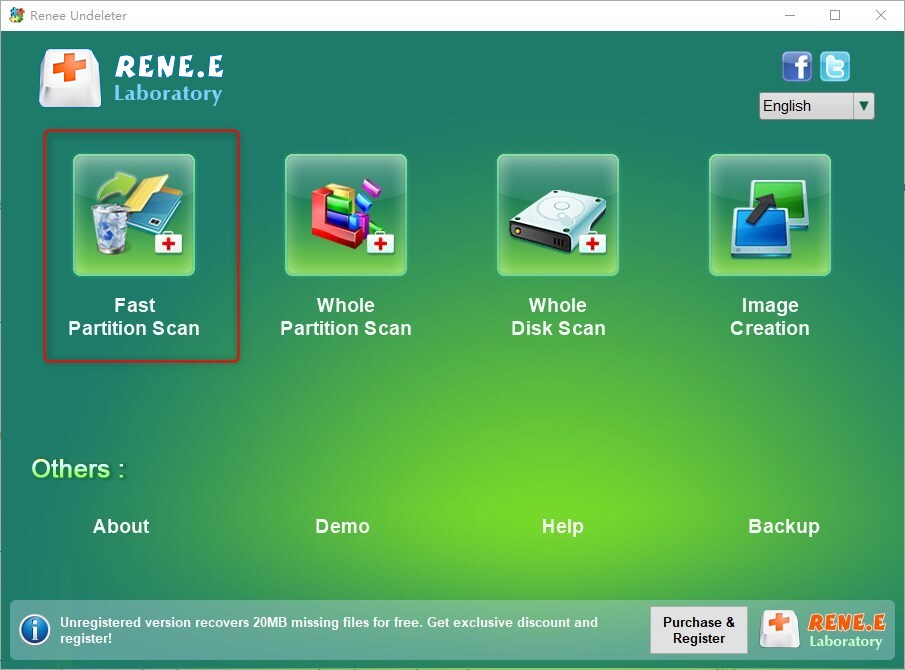
Free TrialFree TrialFree Trial 800 people have downloaded!Fast Partition Scan – Quickly retrieve files lost due to accidental deletion or emptying the recycle bin.
Whole Partition Scan – Quickly recover files lost due to inaccessible or formatted partitions.
Whole Disk Scan – Analyze and get partition information and perform a full scan of the entire partition.
Image Creation – You can create a mirror image for a partition to back up the current partition state.


- Avoid turning off your Android phone suddenly.
- Clear junk and cache files from your device frequently.
- Pull out the SD card correctly.
- Clear unused apps running in the background.
- Format the SD card or refresh the Android phone.
Relate Links :
Ultimate Guide for Data Recovery from RAW SD Card

11-04-2024
Ashley S. Miller : Discover effective strategies to retrieve data from a RAW SD card and return it to a functional condition...
Revive Lost Data: Best SD Card Recovery Software Mac
03-01-2024
Jennifer Thatcher : Learn about the top 5 SD card recovery software mac to retrieve lost data efficiently. Don't lose precious...
Free SD Card Recovery Software - Retrieve SD Card Data
14-05-2019
Jennifer Thatcher : SD card is the welcomed storage media of mobile device. But some accidents may occur when you are...
Effectively Recover Data From SD Card with Recommended SD Card Data Recovery Software

13-05-2019
Amanda J. Brook : When we lose data from SD card, how can we recover the lost data as much as possible?...

