

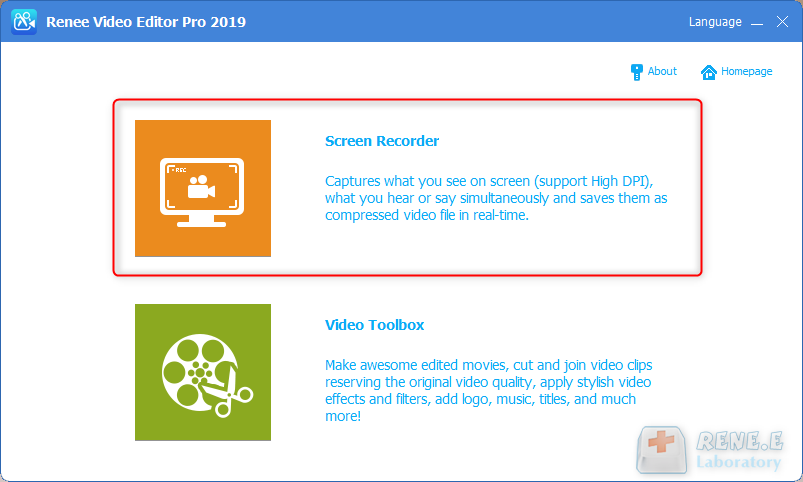
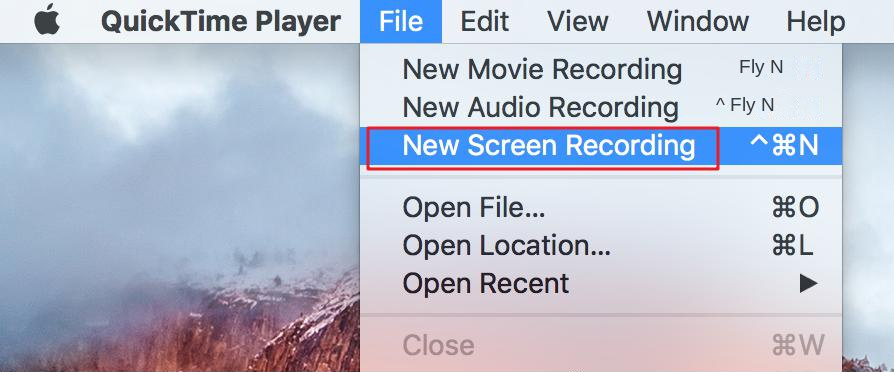
Master the Art of Recording Mouse Operation on Your Computer

Summary
Master mouse recorder operations for creating clear, effective software tutorials or online teaching videos. Follow our detailed guide!


Easy to use Customize the recording window and finish the screen recording on one click.
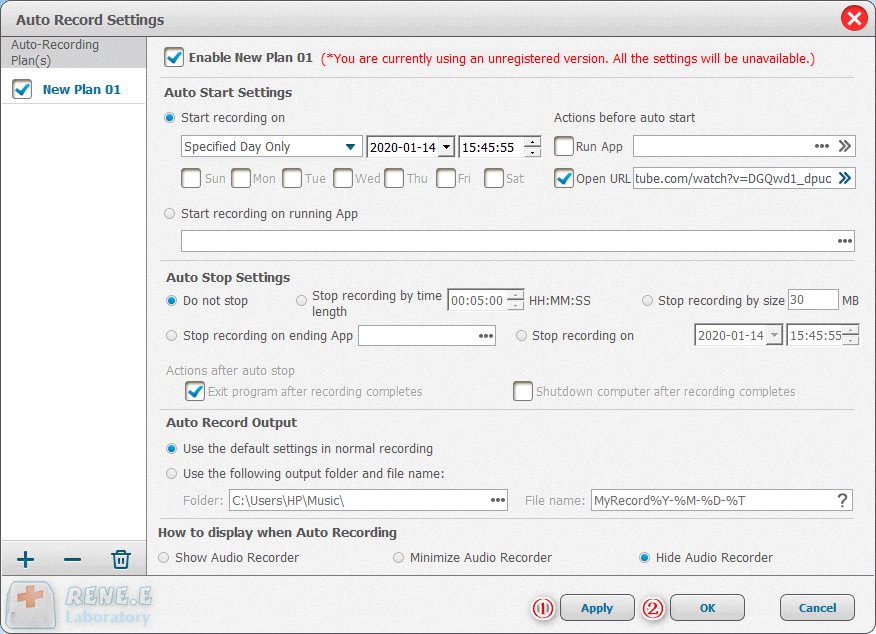
Automatic recording plan Set the recording start time for not missing exciting content.
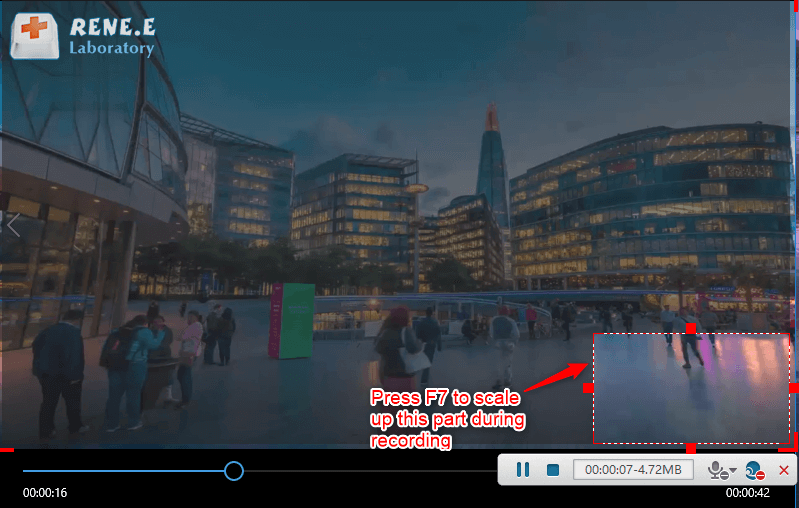
Special recording effects Recording rate switching, customizable watermarks, mouse special effects, screenshots during recording, etc.
Device Simultaneous Recording Record the screen and the camera at the same time.
Multifunction Edit the video and convert the video format.
Easy to use Customize the recording window and finish the screen recording on one click.
Automatic recording plan Set the recording start time for not missing exciting content.
Special recording effects Recording rate switching, customizable watermarks, mouse special effects, screenshots during recording, etc.
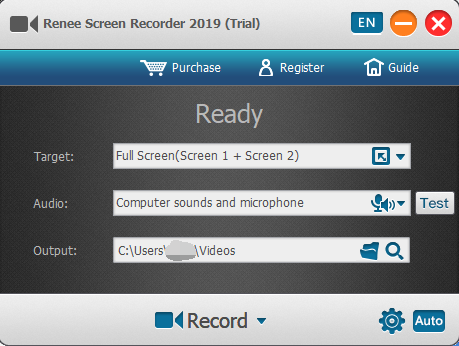
- Target: Supports full screen, custom area, and camera-captured images.
- Audio: Includes computer sound, microphone sound, and non-recording sound.
- Output: Choose where to store recordings.


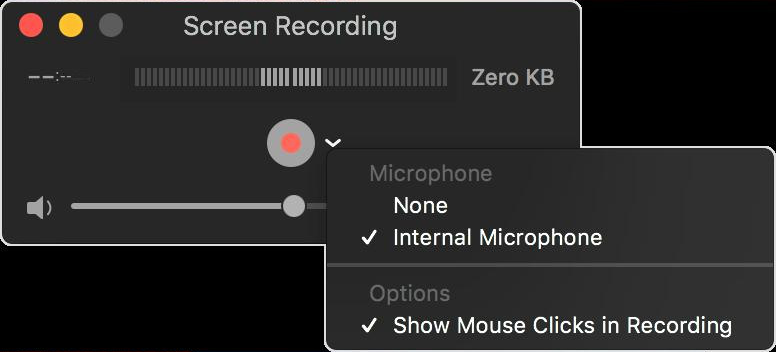
- Click anywhere on the screen to start recording the entire screen.
- Drag to select the area you want to record, then click Start Recording in that area.


Relate Links :
Messenger Video Call Recorder on Any Device
22-05-2024
Jennifer Thatcher : Discover how to save and record Messenger video calls on any device using messenger video call recorder with...
Professional-Level Skills to Extract Clips from Video

21-05-2024
Ashley S. Miller : Master how to extract clips from video with our step-by-step guide for seamless editing and captivating footage.
How to download all videos from YouTube Channel?
28-08-2023
Jennifer Thatcher : Learn a simple and effective method to download all videos from YouTube Channel in this article. Unlock the...
Reduce Background Noise on Video with These Simple Steps

21-05-2024
Amanda J. Brook : Optimize video sound quality and reduce background noise on video with effective techniques for clearer, more professional results.

