

Unlocking the Secrets : A Guide to Recovering Data from an Old Hard Drive

Summary
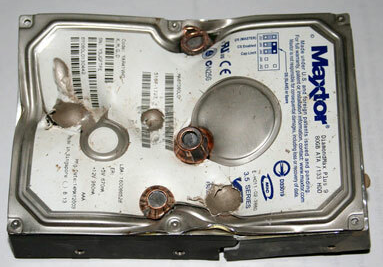
Learn how to successfully recover data from an old hard drive using proven techniques and specialized software. From evaluating the drive's condition to troubleshooting common issues, this comprehensive guide will help you extract content from an ancient hard drive.
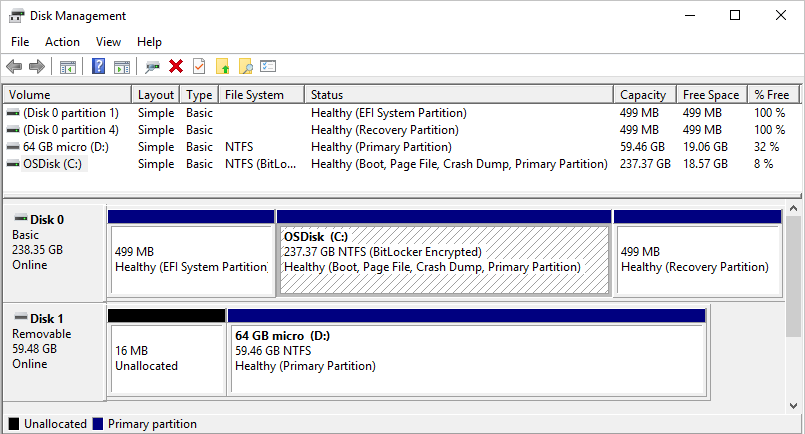
diskmgmt.msc

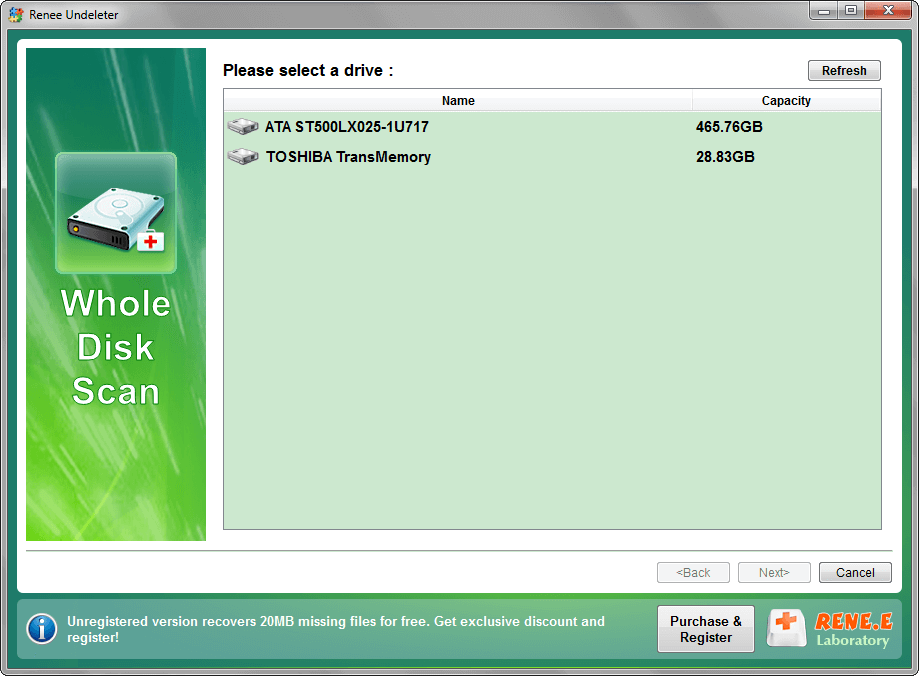
Easy to use Recover data by 3 steps;
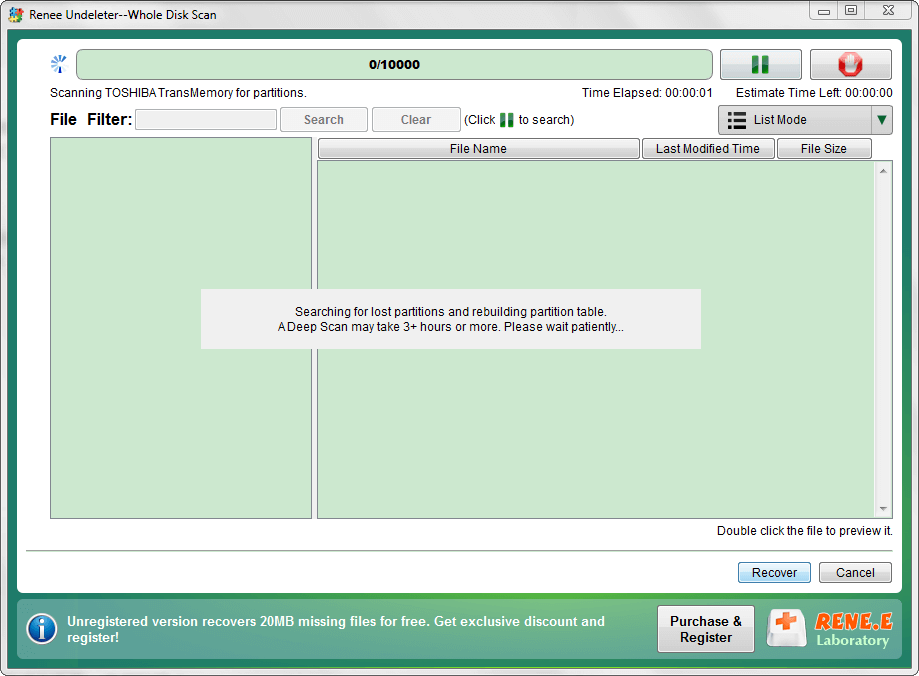
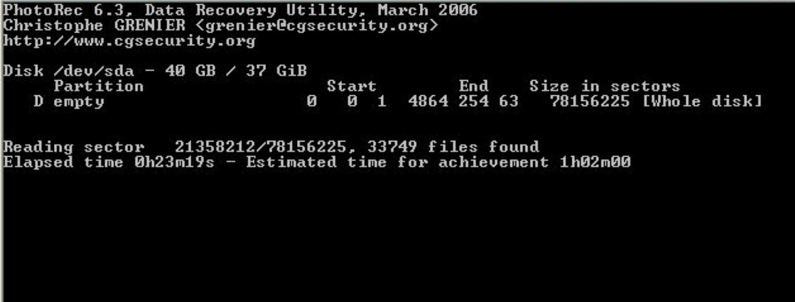
Multiple scan modes Fast partition scan, whole partition scan and whole disk scan;
Supported file types Image, video, audio, text, email and so on;
Image creation Create a partition image to read and back up data;
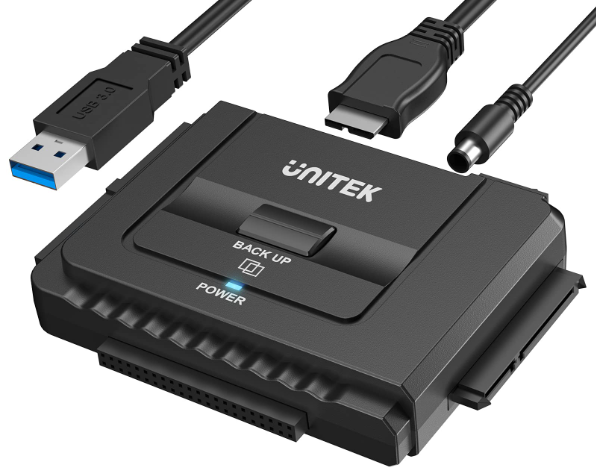
Supported devices SD card, SDHC, SDXC, USB flash drive, hard disk and computer.
Easy to use Recover data by 3 steps;
Multiple scan modes Fast partition/whole partition/whole disk scan;
Supported devices SD card/USB/hard disk.
Free TrialFree TrialFree Trial 800 people have downloaded!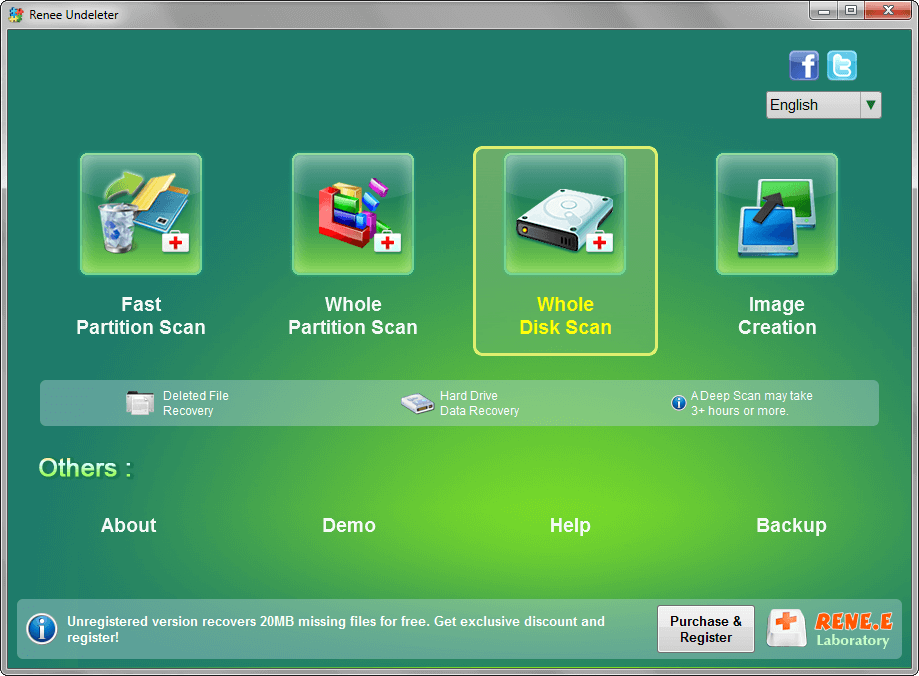
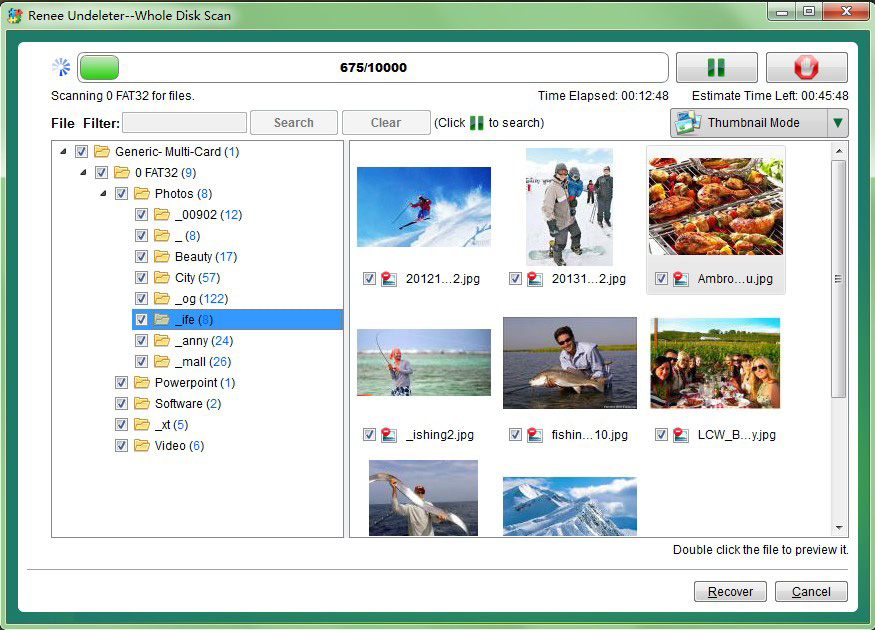
- Renee Undeleter is a user-friendly and powerful data recovery program that can recover various types of data from different storage devices.
- It also has a deep scan option which increases the chances of successful data recovery from an old hard drive.
Cons:
- The free version of Renee Undeleter has a limit on the amount of data that can be recovered.
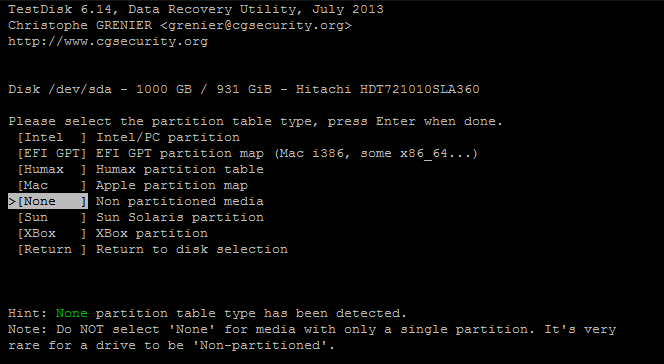
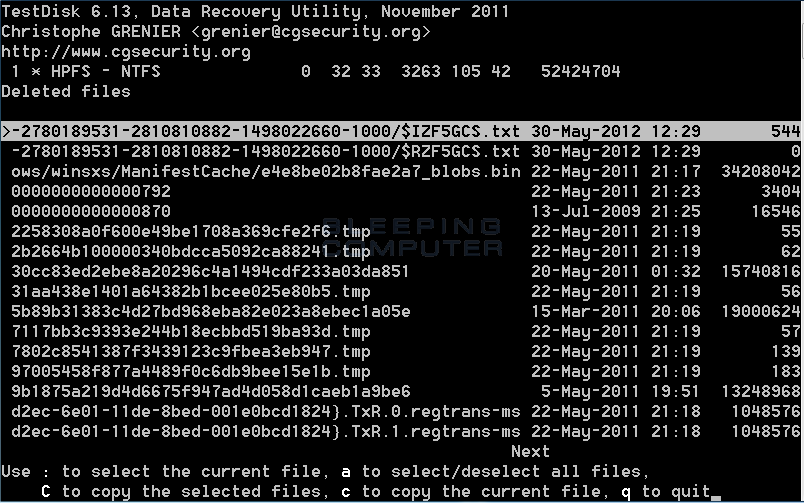
- Powerful data recovery tool
- Can often succeed in retrieving data when other methods have failed
- Free to use and regularly updated
Cons:
- Command-line tool, may not be user-friendly for some people
- May not always be successful in recovering data
Relate Links :
Recover Data from Your Mac External Hard Drive with These Simple Steps
20-10-2024
Ashley S. Miller : Learn how to recover data from your external hard drive on your Mac, from simple methods like checking...
Recover Data from Laptop Hard Drive: The Ultimate Guide

22-11-2023
Amanda J. Brook : Learn how to recover precious photos from a crashed laptop hard drive with this comprehensive guide. From connecting...
How to Recover Deleted Photos from Your Hard Disk
17-11-2023
Amanda J. Brook : Uncover your precious memories and restore deleted photos from your hard disk with these simple methods. From using...
Recovering Data from a Crashed Hard Drive: A Complete Guide
29-08-2024
Ashley S. Miller : Learn how to recover data from a crashed hard drive with our comprehensive guide. We'll show you how...

