

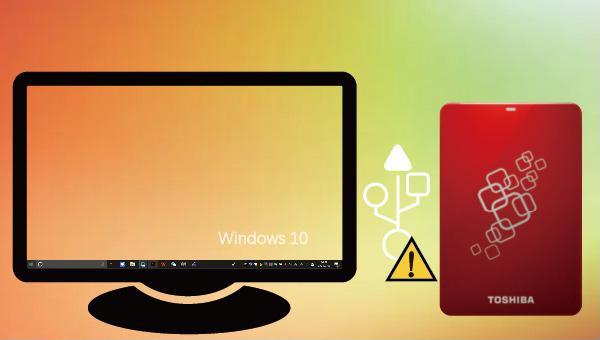
Solving Toshiba External Hard Drive Not Showing Up Issues

Summary
Find solutions for the "Toshiba external hard drive not showing up" issue and choose from various capacities to meet diverse storage needs.

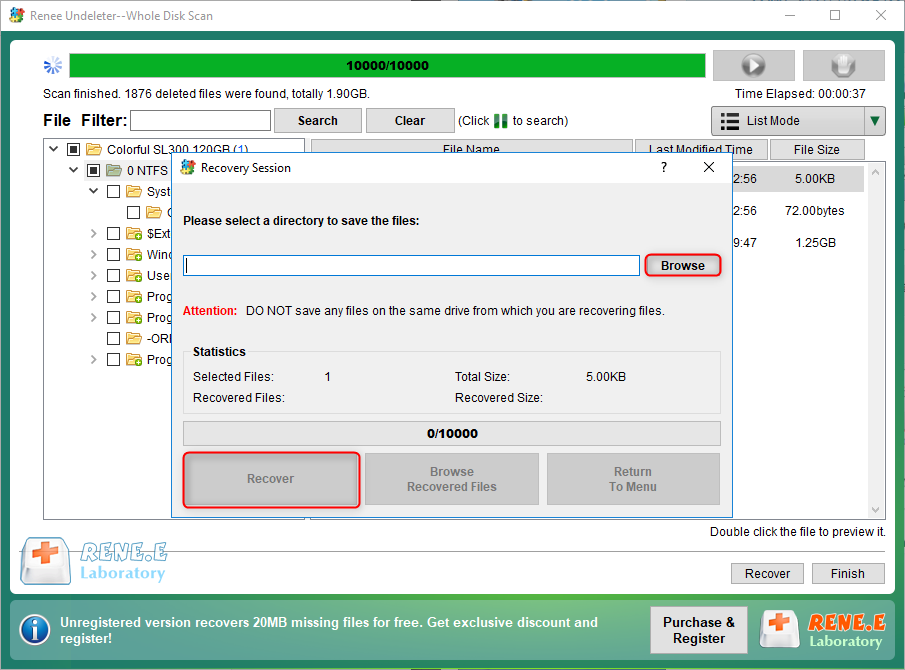
Easy to use Only simple steps to recover data from storage devices.
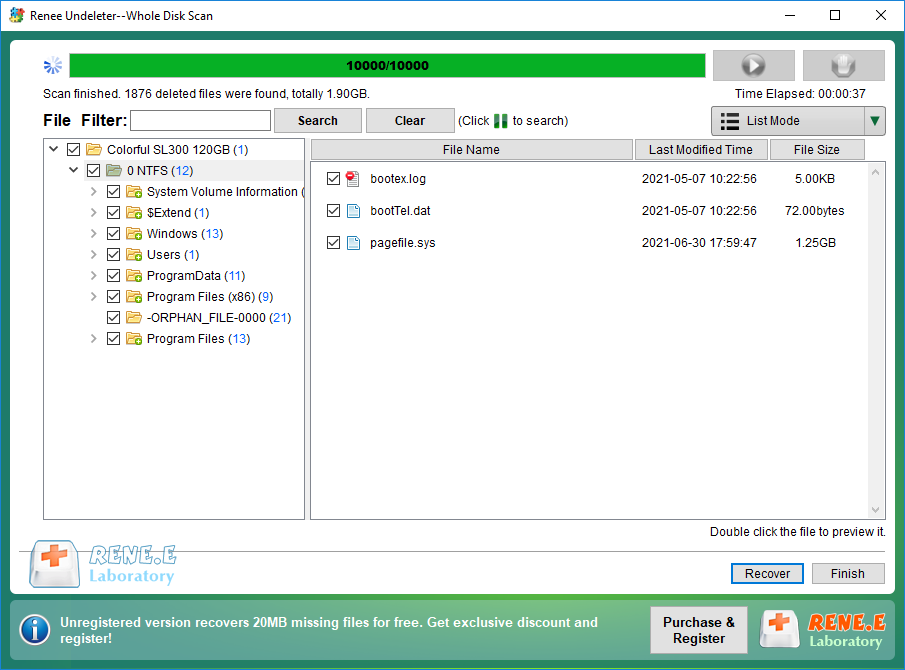
Multiple scan modes Fast partition scan, whole partition scan and whole disk scan for different recovery needs.
File types Support to recover pictures, videos, audios, documents, mails, etc.
Supported storage devices Recover data from recycle bin, SD card, external disk, etc.
Supported systems Windows 11,10, 8.1, 8, 7, Vista, XP, 2000 and Mac OS X10.6, 10.7, 10.8+.
Easy to use Only simple steps to recover data from storage devices.
Multiple scan modes - 3 scan modes for different recovery needs.
Supported storage devices Recover data from recycle bin, SD card, external disk, etc.

- Fast Partition Scan – Quickly retrieve files lost due to accidental deletion or emptying the recycle bin.
- Whole Partition Scan – Recover files from inaccessible or formatted partitions.
- Whole Disk Scan – Analyze partition information and fully scan the entire disk.
- Image Creation – Create an image of a partition to back up its current state.


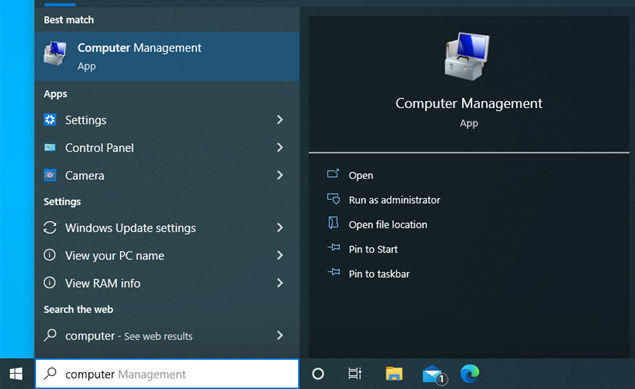


chkdsk F: /f /r /x (F is the disk number; /f repairs errors; /x force unmounts the drive; /r scans and recovers bad sectors), and press Enter. After the repair, check if the device works normally.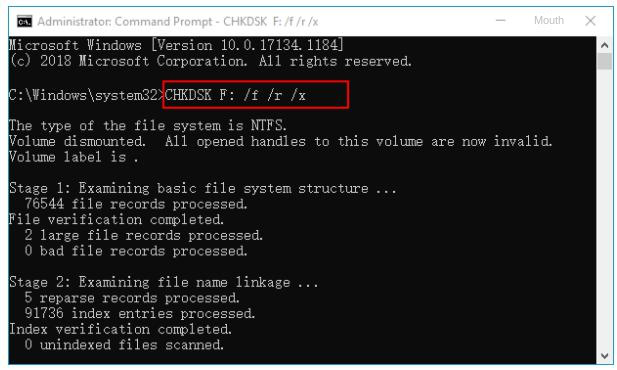
Relate Links :
Hard Drive Data Recovery on Mac: Recommended Solutions
24-04-2024
John Weaver : Learn effective solutions for Mac hard drive recovery from accidental deletions, disk failures, or disruptions in our comprehensive...
How To Recover Data from A Hard Drive That Won't Boot: Ultimate Guide

22-02-2026
Ashley S. Miller : This article explains how to recover data from hard drive that wont boot by identifying common logical, firmware,...
How To Recover Data from a Formatted Hard Drive?
19-02-2024
Ashley S. Miller : Discover the process of retrieving data from an accidentally formatted hard drive using expert data recovery software. Stay...
How To Repair a Damaged External Hard Drive with No Data Loss?
05-06-2024
Ashley S. Miller : Learn how to perform the external hard drive repair without losing data, ensuring that you can continue to...

