

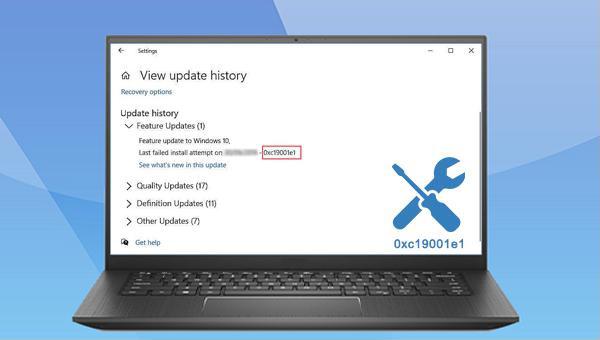
How to Repair Windows Update Error 0xc19001e1 in Just A Few Minutes?

Summary
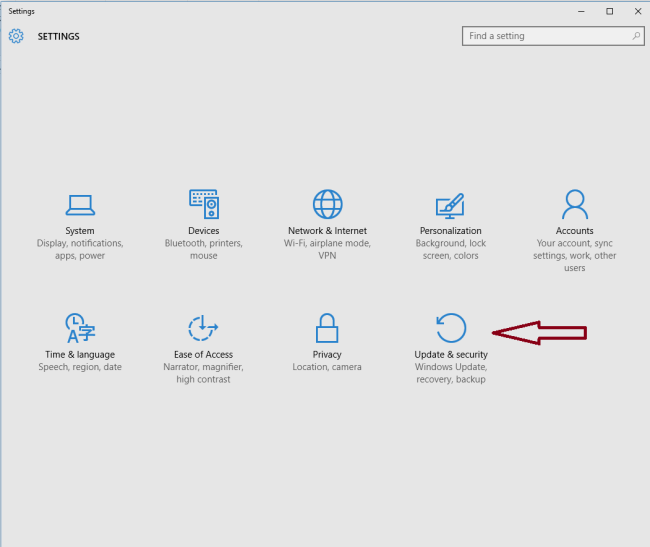
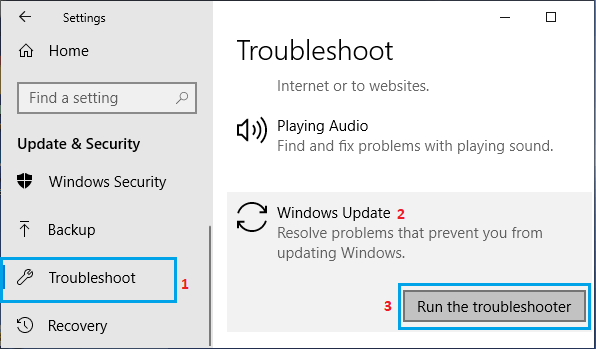
Learn how to overcome the common issue of Windows update installation failure with error code 0xc19001e1. Our article provides practical solutions to ensure you can solve the problem with ease and keep your computer running smoothly. Trust us to guide you through this frustrating issue.
Table of contents
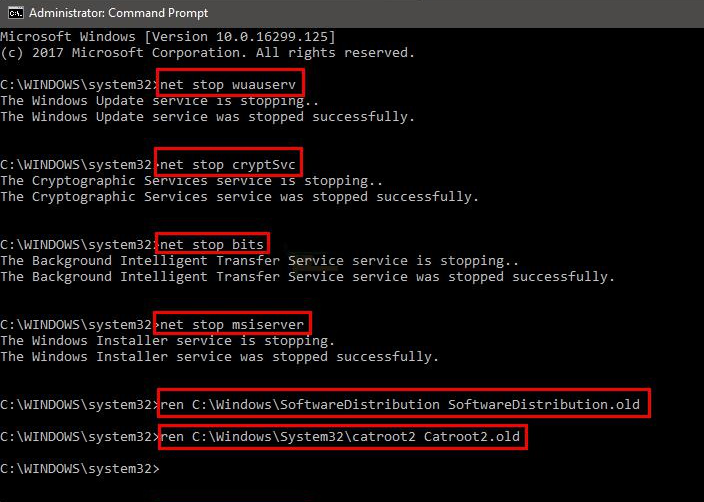
net stop wuauserv
net stop cryptSvc
net stop bits
net stop msiserver
ren C:\Windows\SoftwareDistribution SoftwareDistribution.old
ren C:\Windows\System32\catroot2 Catroot2.old
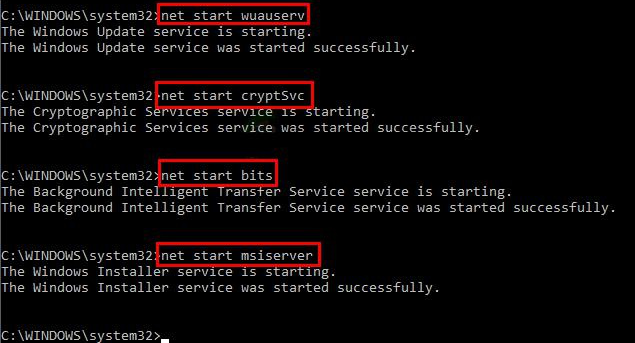
net start wuauserv
net start cryptSvc
net start bits
net start msiserver


Easy to use Recover data by 3 steps;
Multiple scan modes Fast partition scan, whole partition scan and whole disk scan;
Supported file types Image, video, audio, text, email and so on;
Image creation Create a partition image to read and back up data;
Supported devices SD card, SDHC, SDXC, USB flash drive, hard disk and computer.
Easy to use Recover data by 3 steps;
Multiple scan modes Fast partition/whole partition/whole disk scan;
Supported devices SD card/USB/hard disk.
Free TrialFree TrialFree Trial 800 people have downloaded!
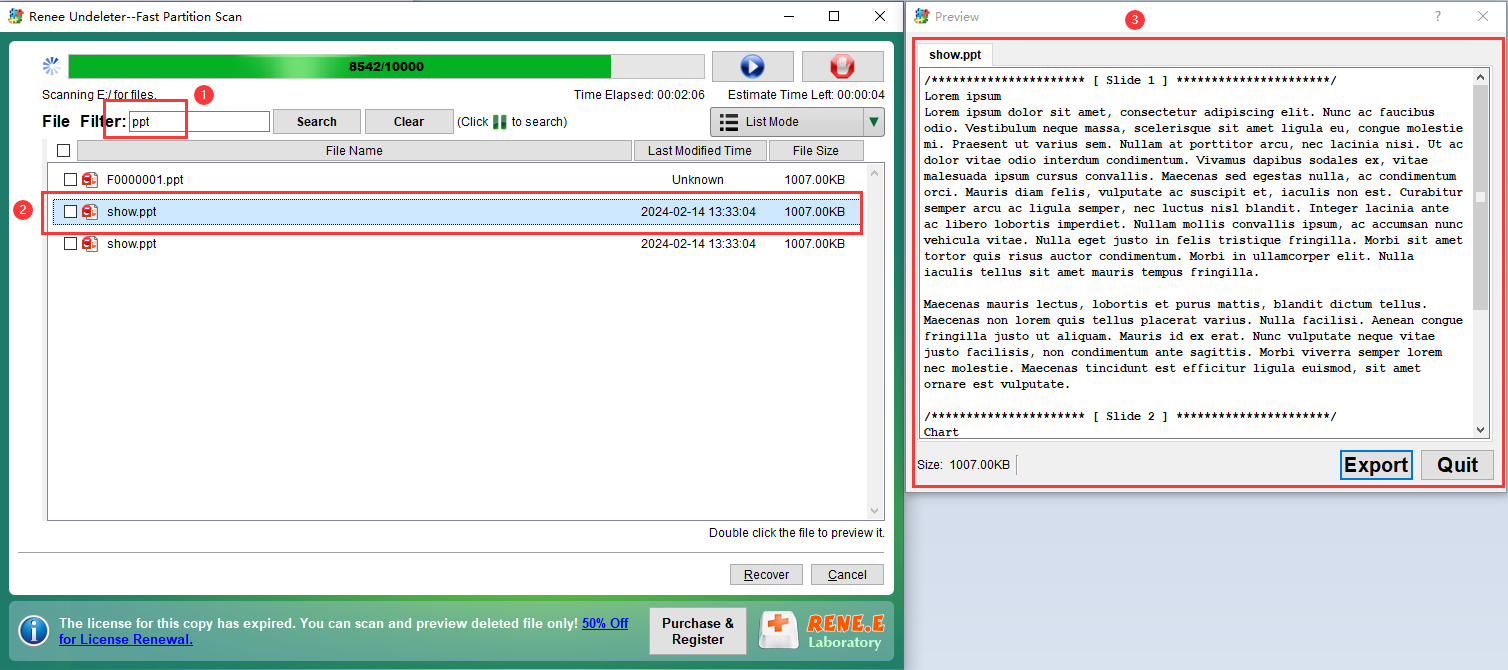
File Recovery: Quickly retrieve files lost due to accidental deletion or emptying the recycle bin.
Format Recovery: Quickly recover files lost due to inaccessible or formatted partitions.
Partition Recovery: It can analyze and obtain partition information, and fully scan the entire partition.
Create mirror image: You can create a mirror image for a partition to back up the current partition state.


Relate Links :
Resolve Windows 10 PAGE FAULT IN NONPAGED AREA Blue Screen Error

09-05-2024
John Weaver : Learn to resolve the PAGE FAULT IN NONPAGED AREA error with our definitive guide, detailing symptoms, causes, and...
Fix the "Unknown Hard Error" on Windows 10 - Easy Solutions!!

22-01-2024
Amanda J. Brook : Unknown Hard Error is one of the most frustrating system errors that Windows users encounter. This error can...
Solutions to fix Windows 10 Blue Screen: Stop Code Memory Management

09-05-2024
Ashley S. Miller : Resolve Windows stop code memory management errors quickly with our expert solutions and safeguard your data with our...
How to fix Wdf01000.sys Blue Screen Error on Windows 10?
31-07-2023
Jennifer Thatcher : Discover the ultimate guide to solve the Wdf01000.sys blue screen error on your Windows 10 computer! Say goodbye...

