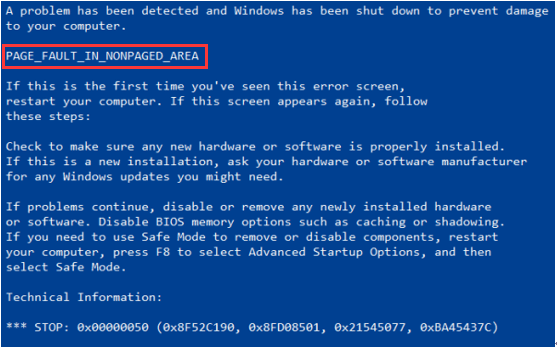
III. How to fix the PAGE FAULT IN NONPAGED AREA error prompted by the blue screen of the Windows 10 system?
If a blue screen error occurs on your computer, restart it as a first step. Should the system fail to start normally post-restart, boot into safe mode to troubleshoot and repair the issue.
Safe mode is a special startup mode in Windows system, it can only start the basic files and drivers needed to run Windows, in this mode, we can easily repair some system errors. The specific steps to enter safe mode are as follows:
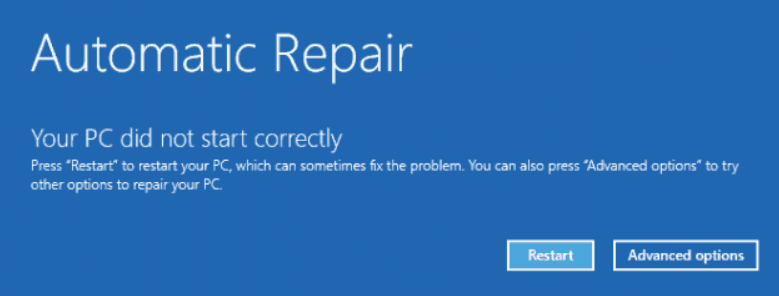
Step 1: Power on your computer. As soon as the Windows logo appears, quickly press the power button to interrupt the boot sequence. Perform this action 3 times. On the fourth attempt, allow the computer to boot normally. When the “Automatic Repair” screen is displayed, select Advanced Options to enter the Windows Recovery Environment.
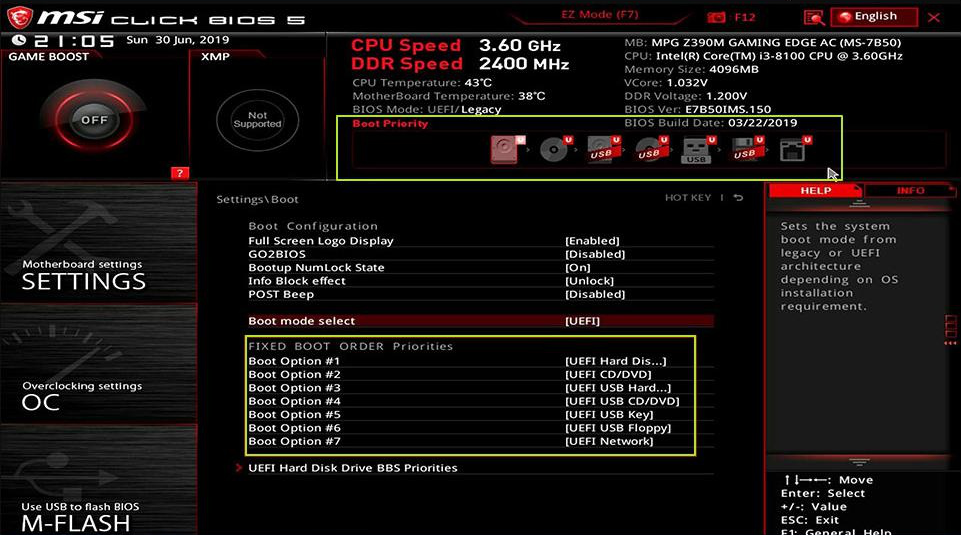
Should the primary method fail, utilize the Windows installation disk to boot the computer. Create a Windows installation disk if necessary. Access the BIOS menu using shortcut keys (DEL/ESC/F2, etc.), configure the boot priority for the Windows installation disk, save the changes, and reboot. Upon restart, select ‘Repair Computer’ from the ‘Install Now’ screen of the Windows Installer to access the recovery environment.
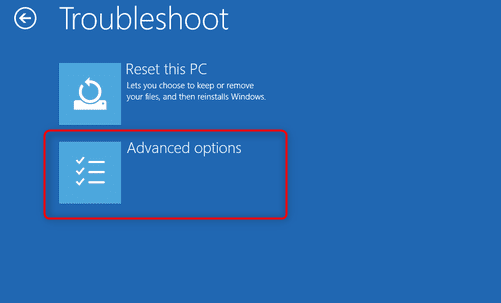
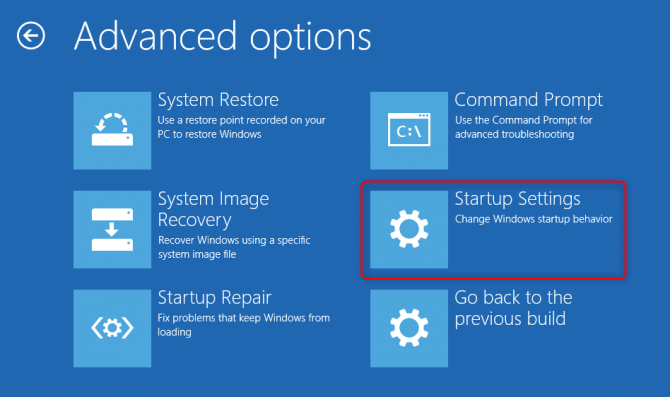
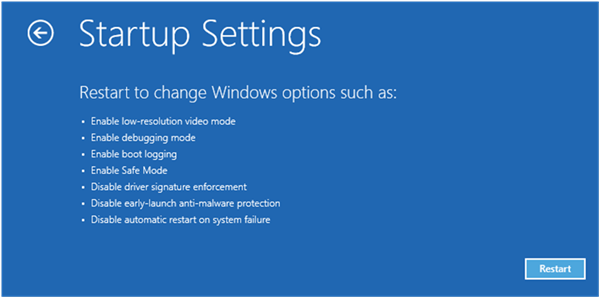
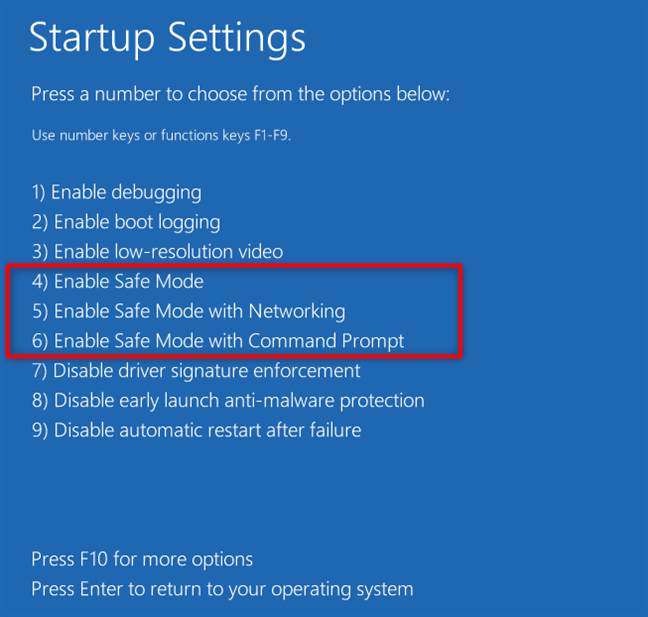
Step 2: After entering the recovery environment of Windows, select (Troubleshoot > Advanced Options > Startup Settings > Restart). When the computer restarts, select 5 or F5 to enable Safe Mode with Networking.
After enabling safe mode, you can proceed to the following repair operations.
2. Uninstall antivirus software
Antivirus programs are crucial for protecting computers. However, it’s important to note that third-party antivirus software can sometimes interfere with Windows updates and lead to issues such as the PAGE FAULT IN NONPAGED AREA error. To resolve this problem, one effective solution is to uninstall the third-party antivirus software. Below you will find the necessary steps:
Step 1: Run the computer, click the (Start) button in the lower left corner, and find Settings (the small gear icon).
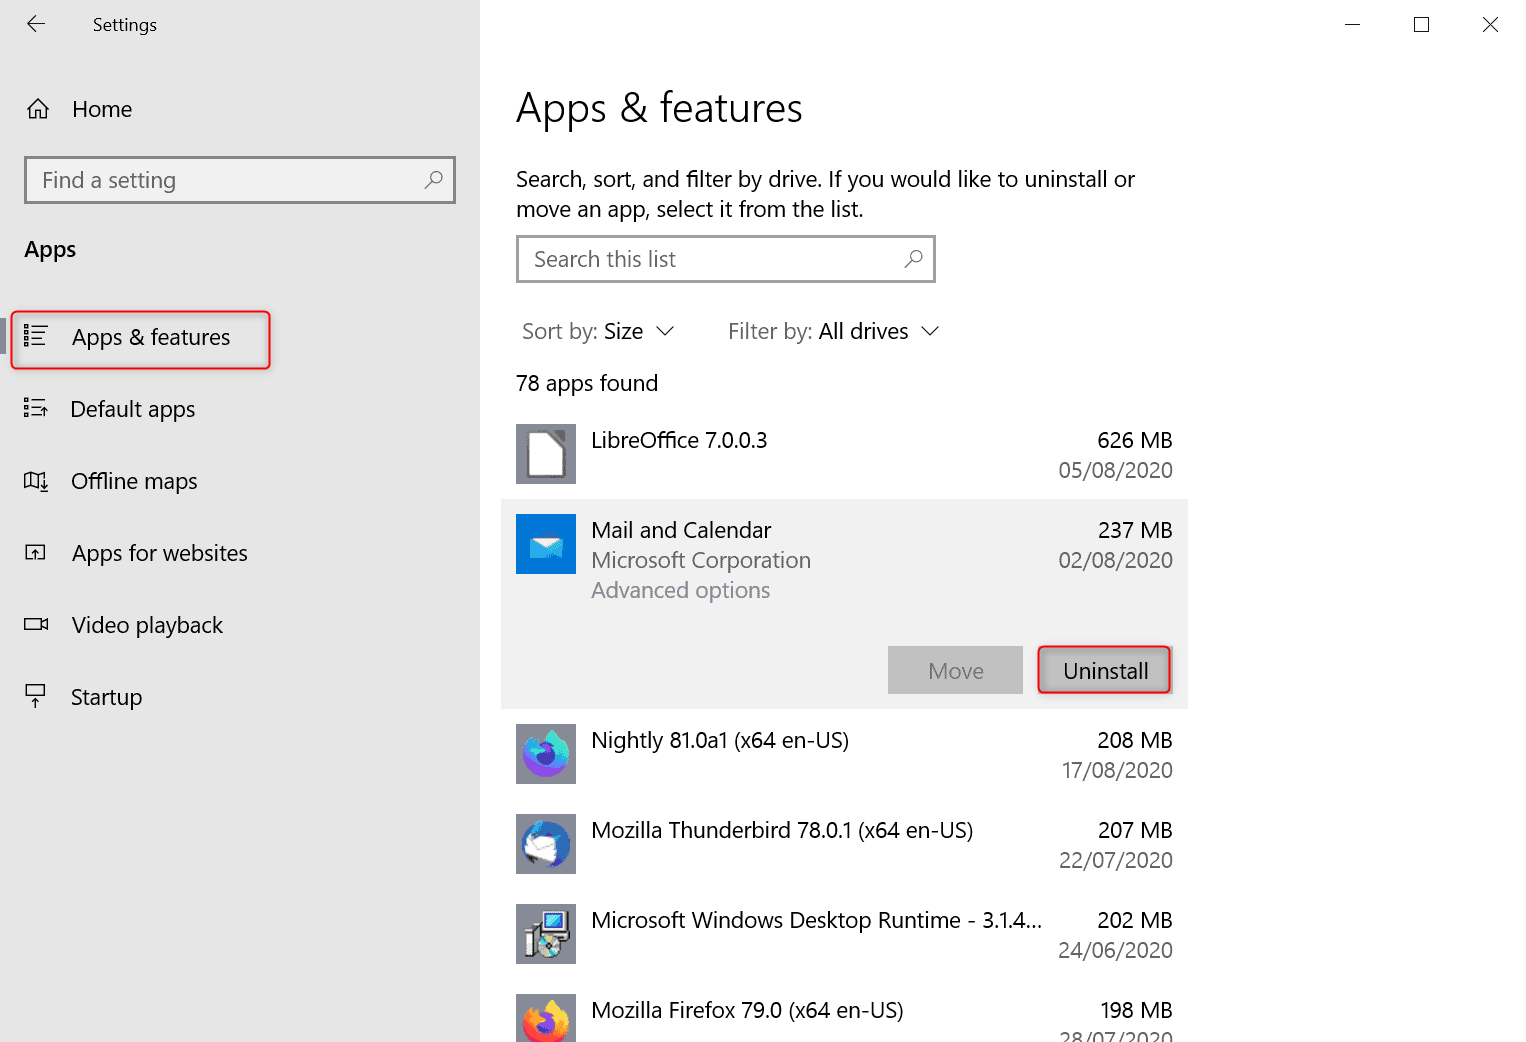
Step 2: Go to the Settings menu, select Application, and enter it. In the left sidebar, click on Apps & features, find the antivirus software you want to uninstall on the right and choose Uninstall. To complete the process, restart your computer to verify that the issue has been resolved.
3. Update the device driver
To fix the PAGE FAULT IN NONPAGED AREA blue screen error caused by an outdated device driver, update the driver to restore compatibility with the operating system. Follow these steps:
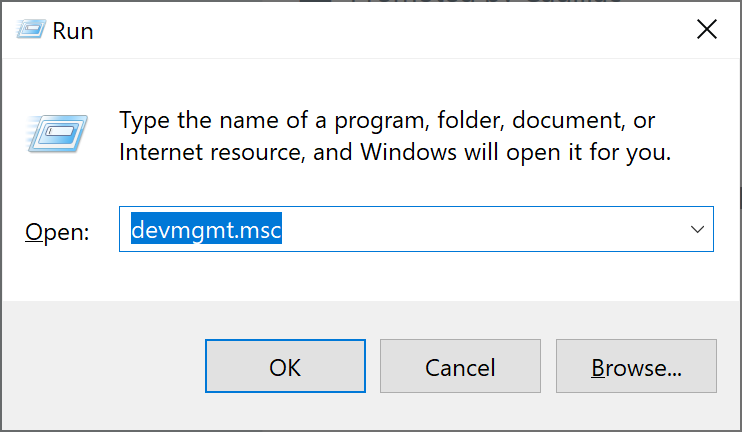
Step 1: Run the Windows 10 computer, and then press (Windows + R) key on the keyboard at the same time to open the running window. After entering the command (devmgmt.msc), click the (OK) button to enter the Device Manager.
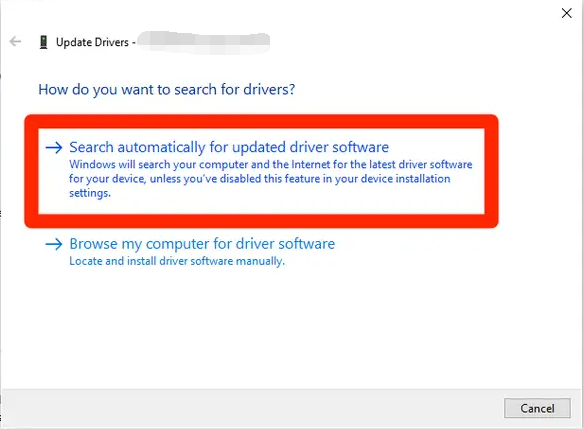
Step 2: Next, right-click the device with an outdated driver (usually with a yellow exclamation mark icon), and select the (Update Driver) option.
Step 3: Next select the (Search automatically for updated driver software) option, after the driver update is complete, restart the computer and check if the problem is resolved.
4. Turn off virtual memory
In addition to the above methods, you can also try to turn off virtual memory to solve the current problem, the specific steps are as follows:
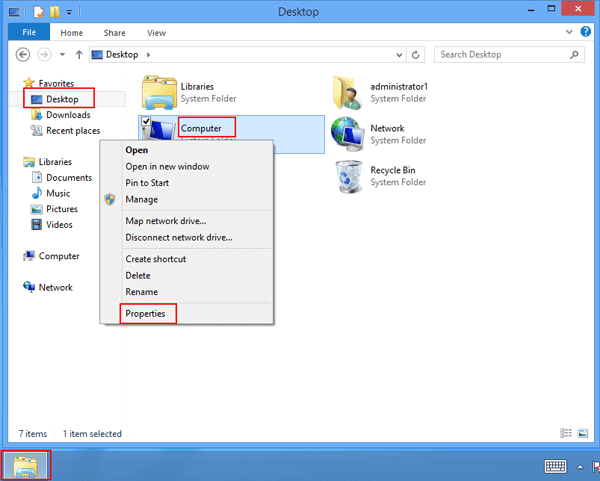
Step 1: Right-click on (This PC), then select the (Properties) option and open it.
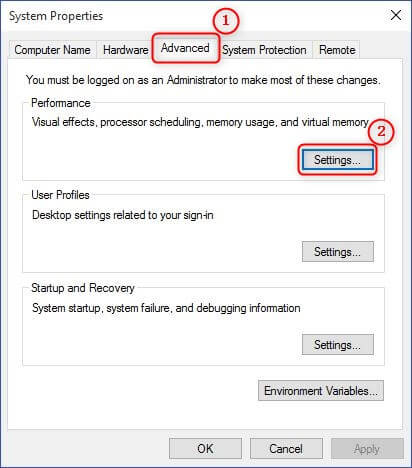
Step 2: Next, click (Advanced System Settings) – (Advanced) in turn, and then click the (Settings) button under “Performance“.
Step 3: On the Performance Options interface, click the (Change) button under the (Advanced) tab.
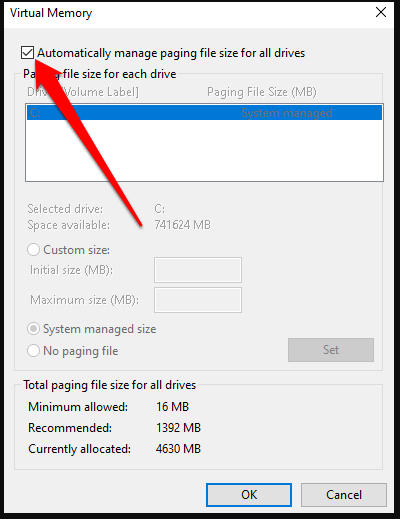
Step 4: In the virtual memory interface, uncheck the (Automatically manage paging file size for all drives) option, and press the (OK) button. After that, restart your computer and see if the problem is resolved.
5. Use the Windows Memory Diagnostic Tool
Memory issues can cause the PAGE FAULT IN NONPAGED AREA blue screen error to appear, so you can check your system memory with the Windows Memory Diagnostic tool. The specific operation steps are as follows:
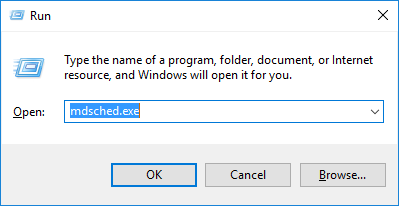
Step 1: Press the (Windows+R) keys at the same time to open the run window, and then enter the (mdsched.exe) command to open the Windows Memory Diagnostic Tool.
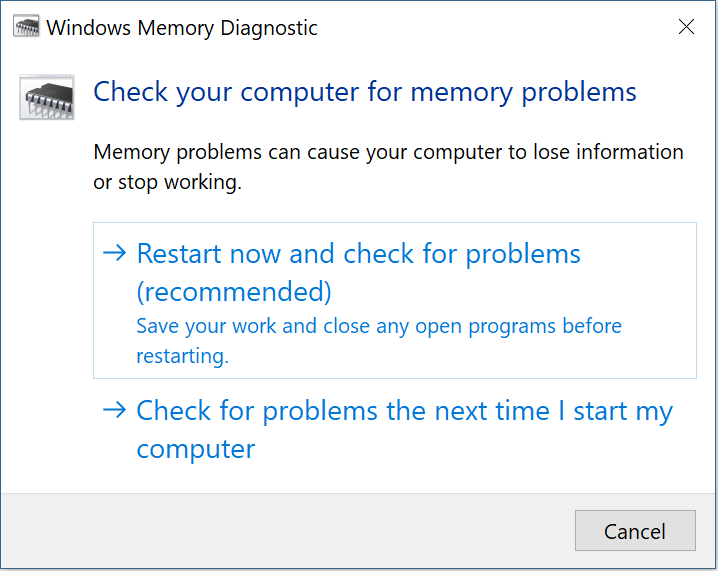
Step 2: Select Restart now and check for problems (recommended) in the Windows Memory Diagnostic tool. Allow the diagnostic to complete, then restart your computer to check if the blue screen issue is resolved.
6. Run the CHKDSK program
CHKDSK can help you scan and repair disk bad sectors and damaged file systems, so you can use this program to troubleshoot and repair disk problems, please perform the following steps:
Step 1: Search (cmd) in the search box in the lower left corner, and select (Run as administrator) to open the command prompt tool.
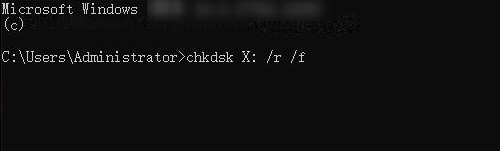
Step 2: Open Command Prompt and type chkdsk X: /r /f – replace X with the actual drive letter. Press Enter to repair disk errors. Once completed, reboot your PC to see if the issue is resolved.