

How to Fix the Error "The Disk Check Could Not be Peformed because Windows Cannot Access the Disk"?

Summary
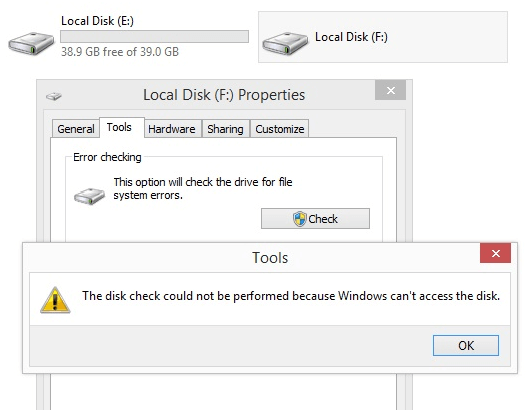
Many users complain that they fail to check the hard disk and they receive the error “The disk check could not be performed because Windows cannot access the disk”. How to fix this error? In this essay, we will provide you with three solutions.
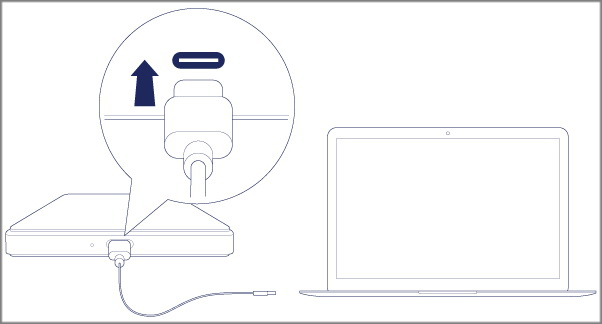
Solution 1: Check Connection between Hard Disk and Computer

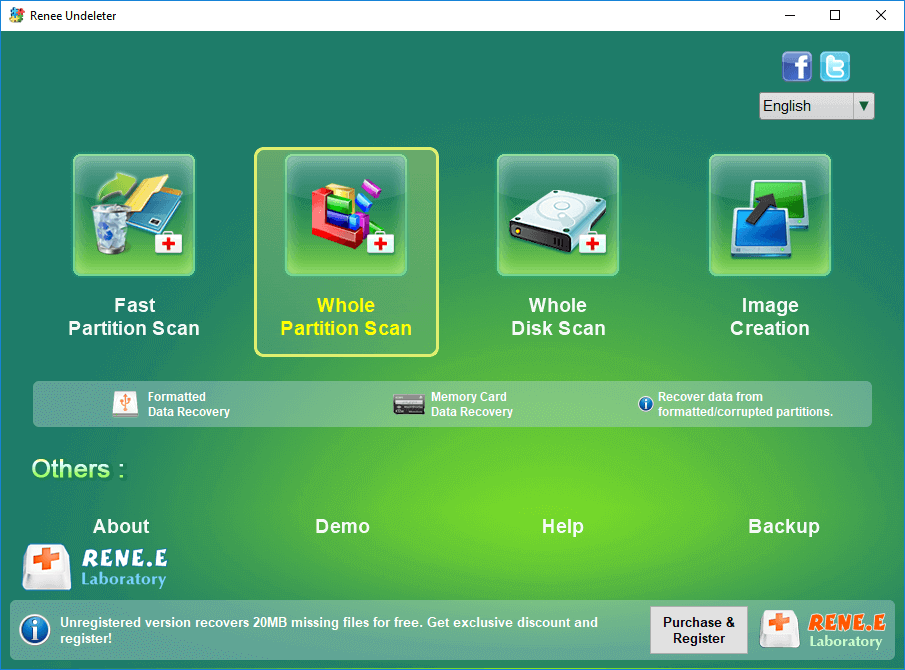
Easy to use Only simple steps to recover data from storage devices.
Multiple scan modes Fulfill different data lost and recovery needs.
File types Recover pictures, videos, audios, documents, mails, etc.
Supported storage devices Recover data from recycle bin, SD card, external disk, etc.
Supported System Windows 10, 8.1, 8, 7, Vista, XP, 2000 and Mac OS X10.6, 10.7, 10.8.
Easy to use Simple steps to recover data
Recover different file formats Support to recover multiple file types
Support different devices Recover data from multiple storage devices
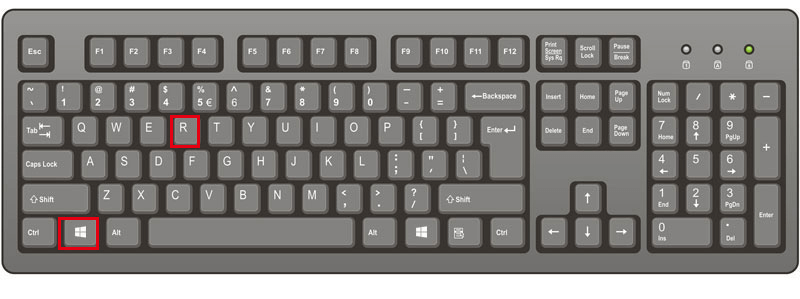
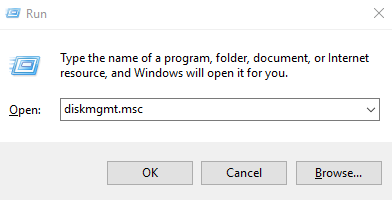
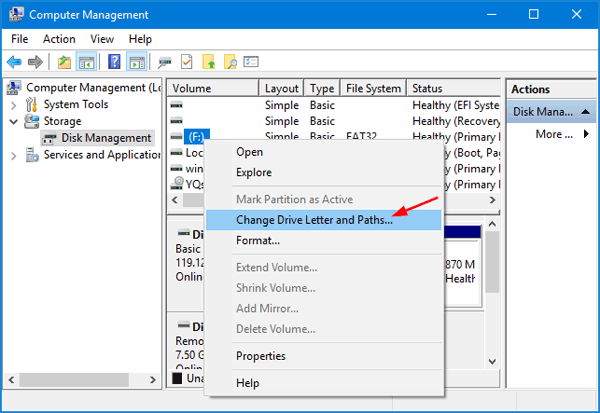
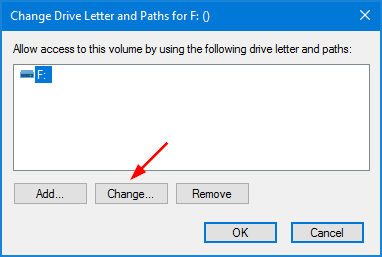
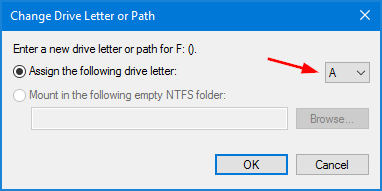
Free TrialFree TrialFree Trial 1000 users have downloaded and recovered data back!Solution 2: Change Driver Letter Assigned to Faulty Hard Disk
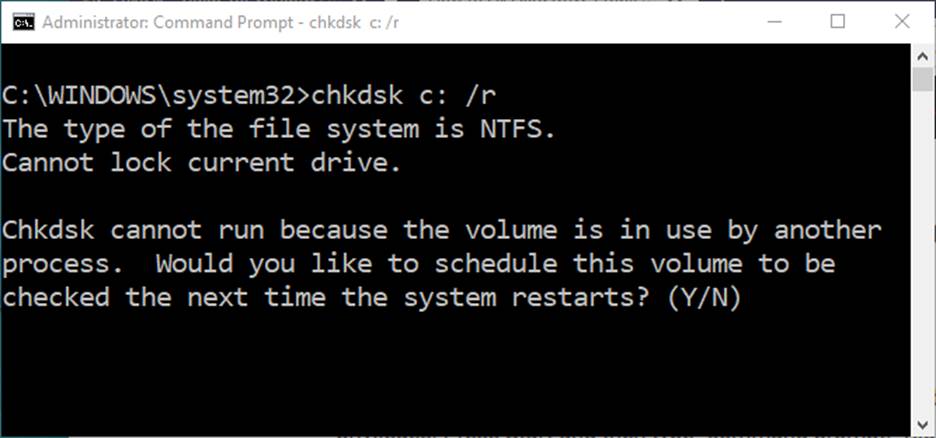
Solution 3: Fix Disk Error in Command Prompt
Easy to use Only simple steps to recover data from storage devices.
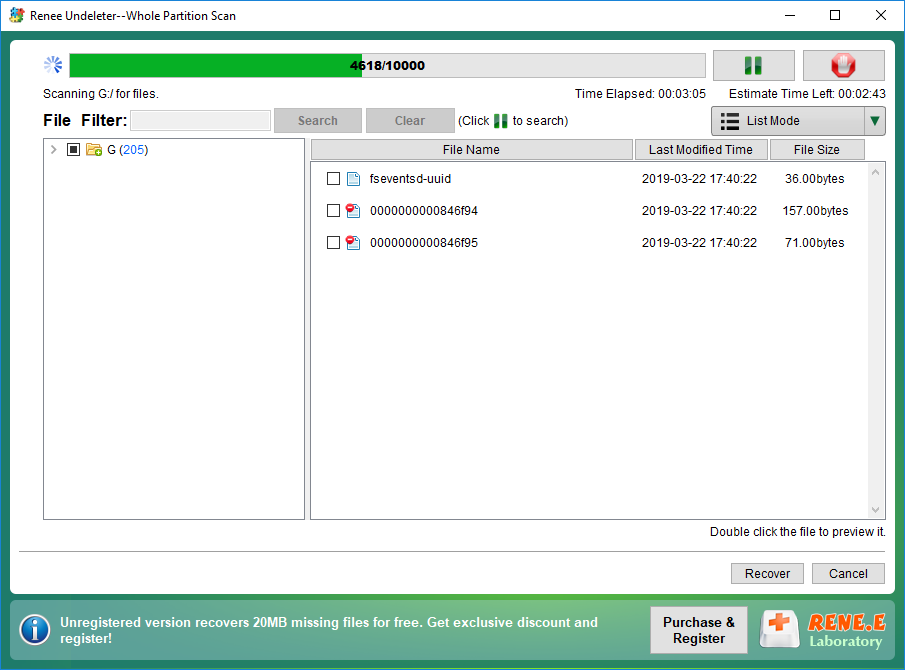
Multiple scan modes Fast partition scan, whole partition scan and whole disk scan for different recovery needs.
File types Support to recover pictures, videos, audios, documents, mails, etc.
Supported storage devices Recover data from recycle bin, SD card, external disk, etc.
Supported systems Windows 11,10, 8.1, 8, 7, Vista, XP, 2000 and Mac OS X10.6, 10.7, 10.8+.
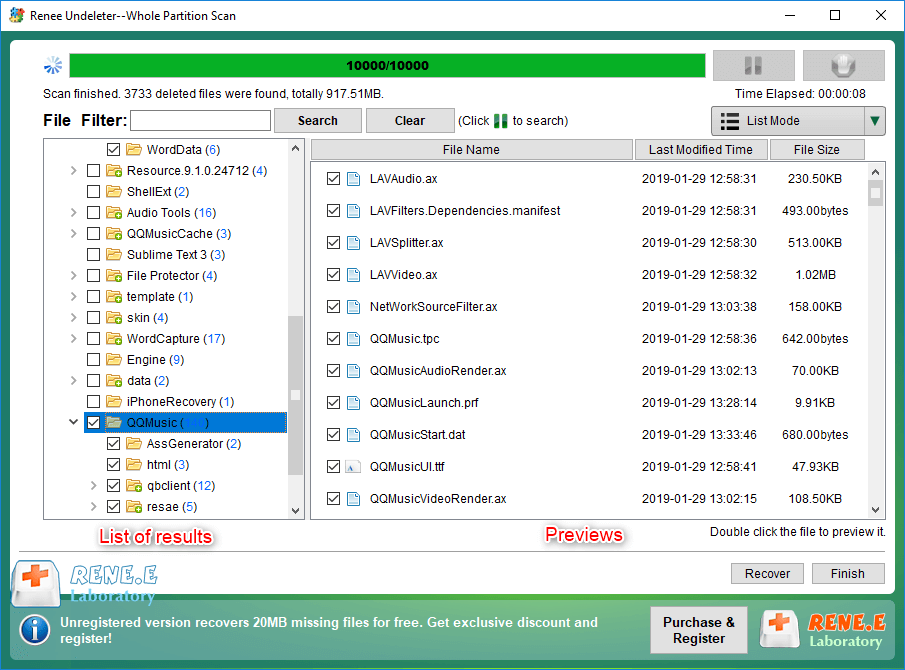
Easy to use Only simple steps to recover data from storage devices.
Multiple scan modes - 3 scan modes for different recovery needs.
Supported storage devices Recover data from recycle bin, SD card, external disk, etc.
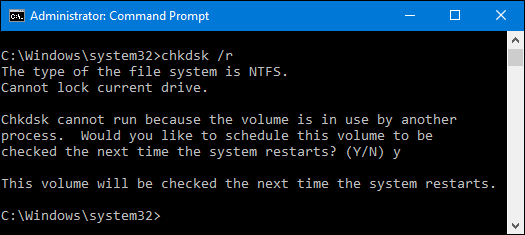
① Search [command prompt] in Windows search box. Then, right-click at it and select [Run as administrator].
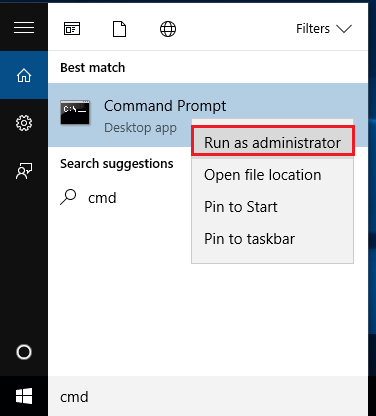
Note: “C:” is the drive letter which can change based on your needs. Then, type the command [chkdsk /r] and press Enter to begin fixing the errors.

Relate Links :
Desktop Location is not available in Windows

18-10-2019
Ashley S. Miller : Sometimes, Windows users find that the desktop icons have gone. Or, the system throws you an error saying...
How to Initialize External Disk and Recover Data on Windows?
18-10-2019
John Weaver : Sometimes, we need to initialize an external disk. How to initialize a disk on Windows? How to recover...

