

How to Initialize External Disk and Recover Data on Windows?

Summary
Sometimes, we need to initialize an external disk. How to initialize a disk on Windows? How to recover the lost data afterwards?
Why External Disk should be Initialized?
1. Hard drive is not showing up in File Explorer
When you connect a new hard disk to the computer, it may not be shown in File explorer.
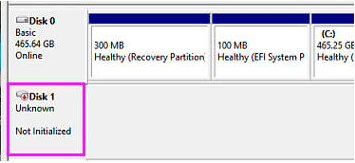
2. Unknown, uninitialized or unallocated hard disk
We are unable to get access to the unknown or uninitialized hard disk. Virus attack, damaged MBR (main boot record), lost partitions, bad blocks and the damaged system files can cause this problem. At that moment, we can try to use the data recovery software to recover the data.
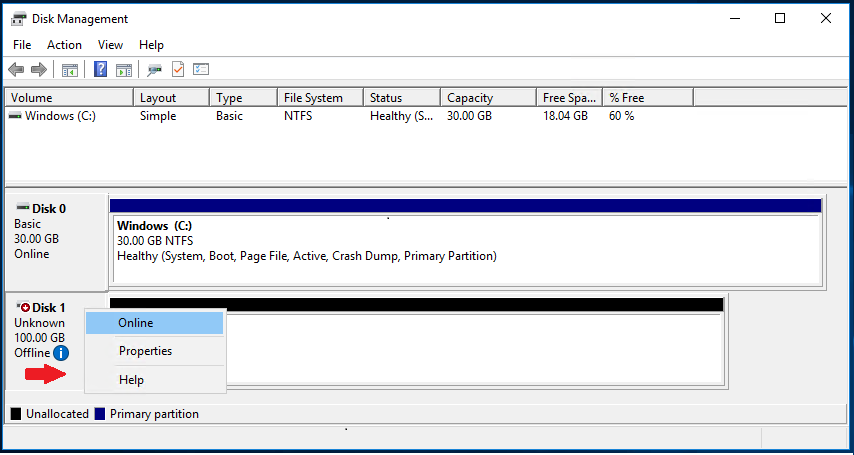
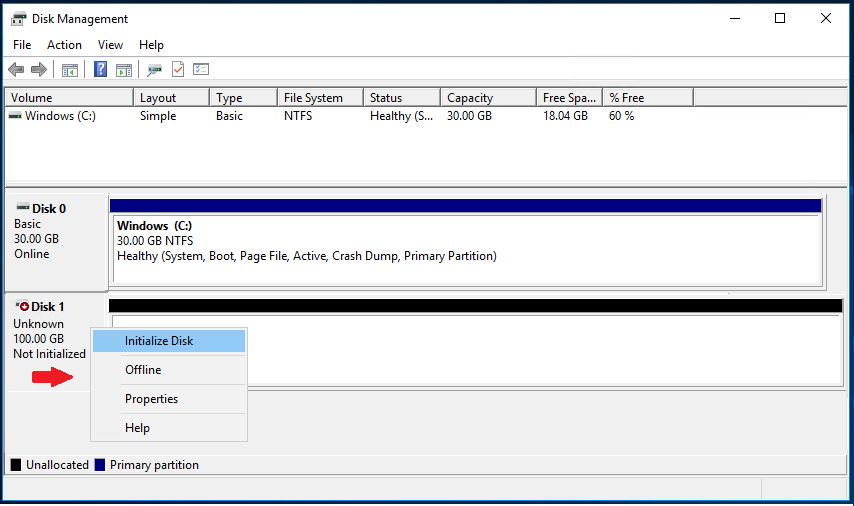
How to Initialize External Disk on Windows?
1. Disk Management
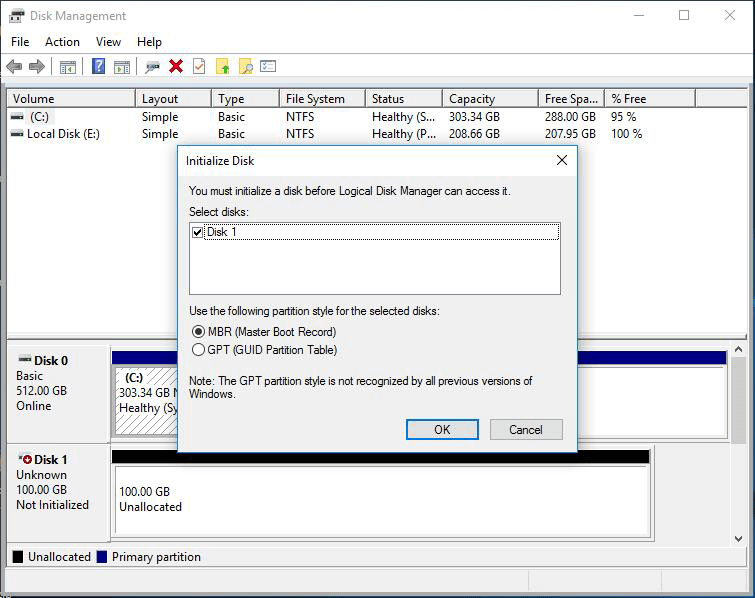
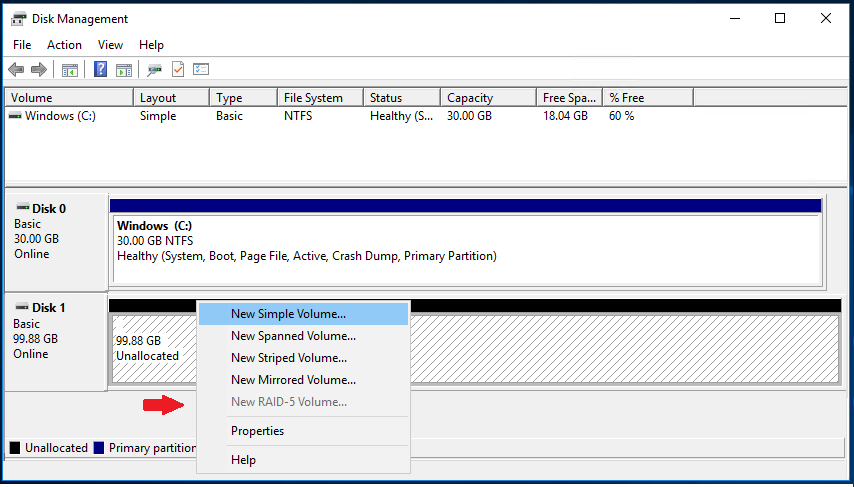
- MBR (main board record): applied to hard disk drives up to 2TB.
- GPT (GUID Partition Table): applied to hard disk drive over 2TB.
If you want to know about MBR and GPT, please refer to “What is MBR or GPT”
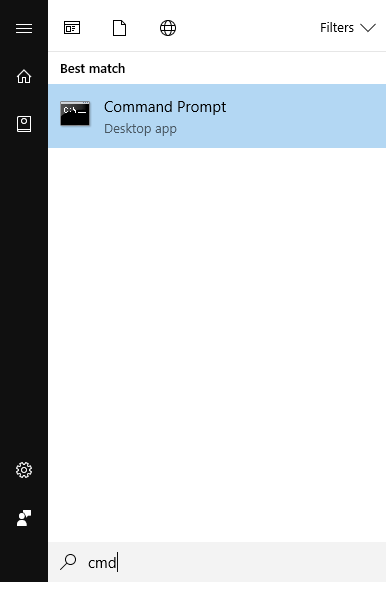
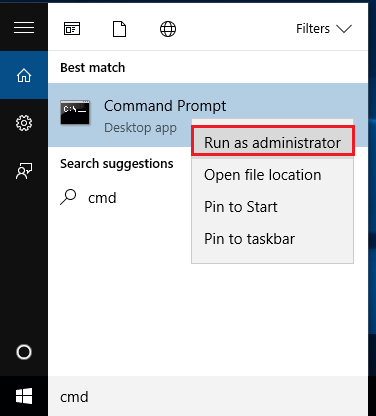
2. Diskpart
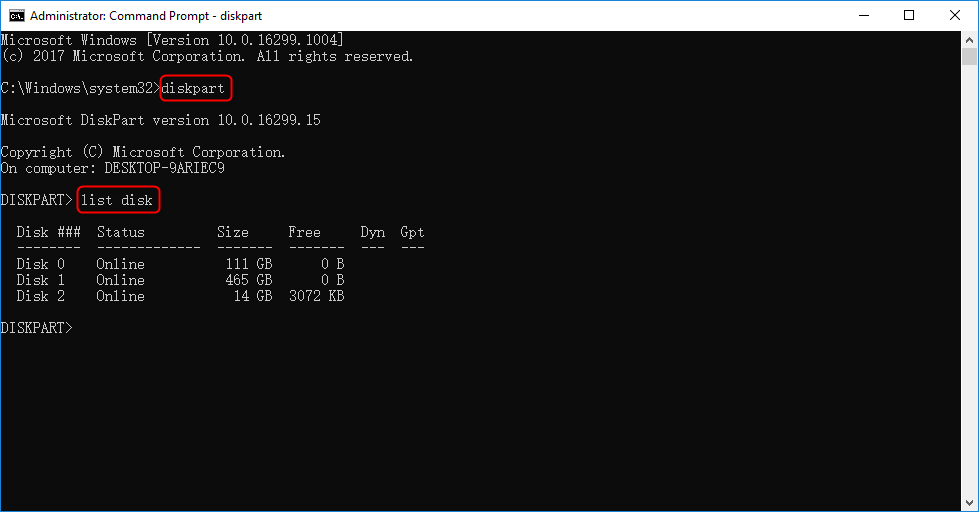


- MBR (main board record): applied to hard disk drives up to 2TB.
- GPT (GUID Partition Table): applied to hard disk drive over 2TB.
If you want to know about MBR and GPT, please refer to “What is MBR or GPT”.
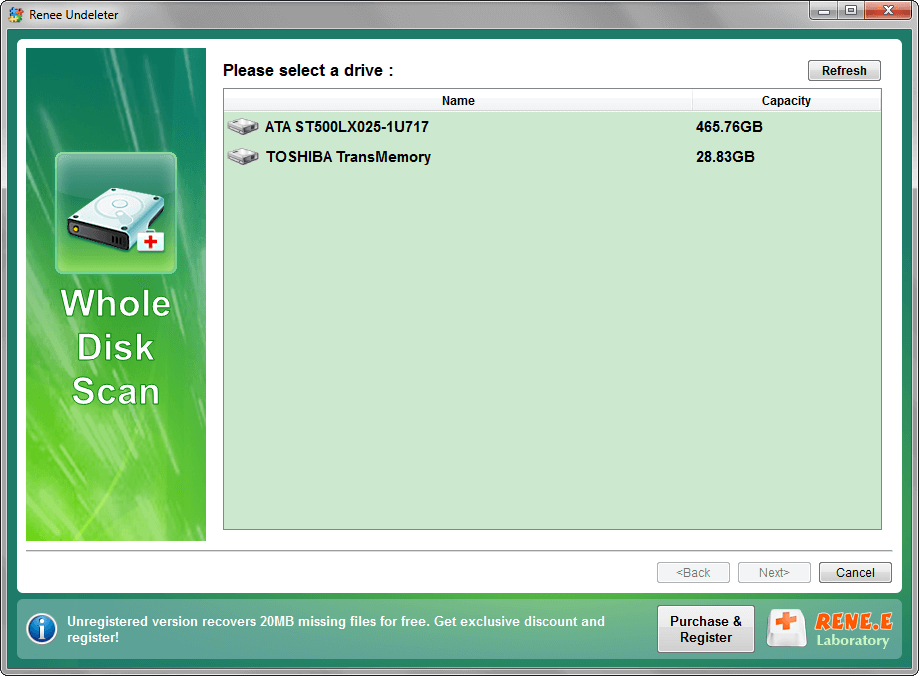
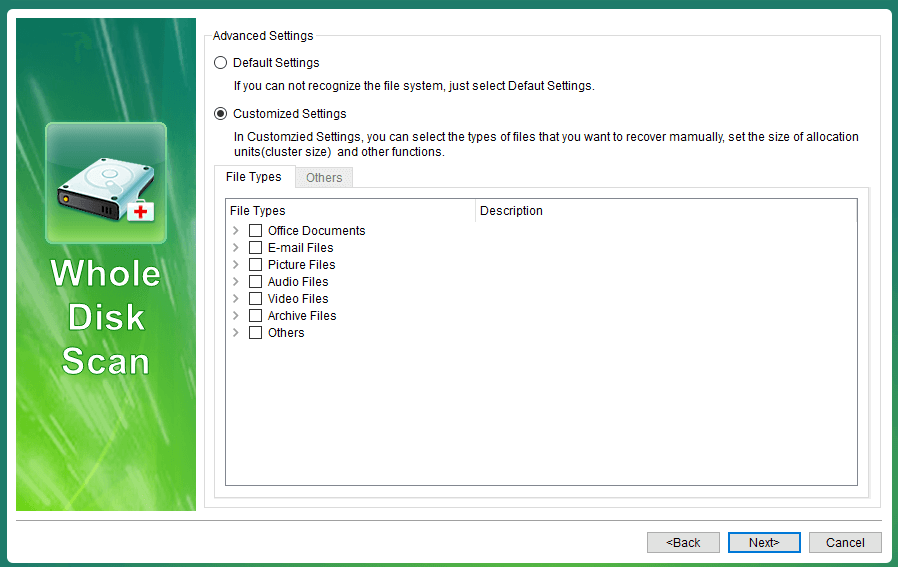
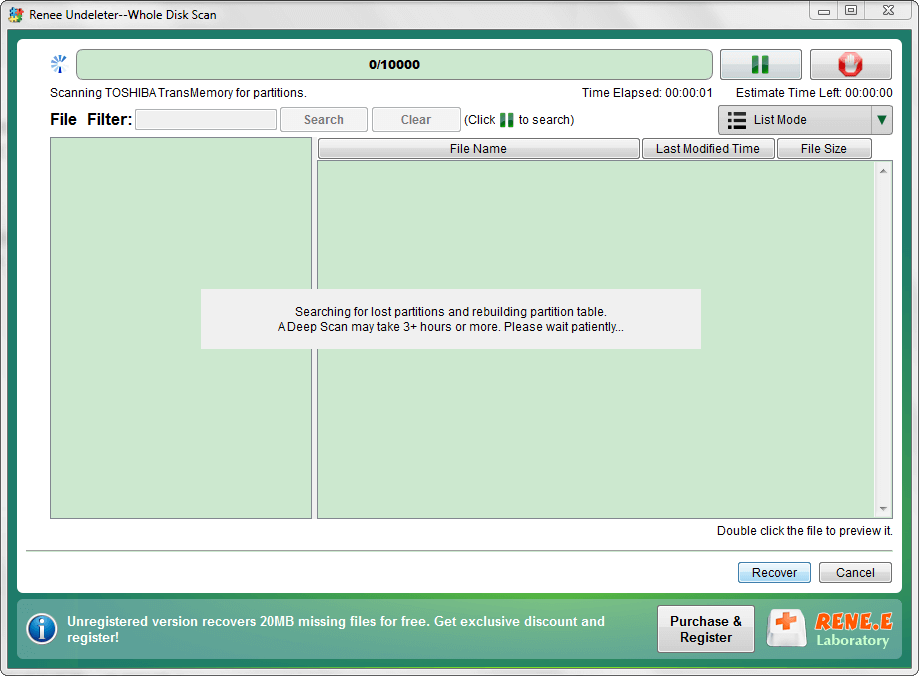
How to Recover Data from Initialized External Disk?

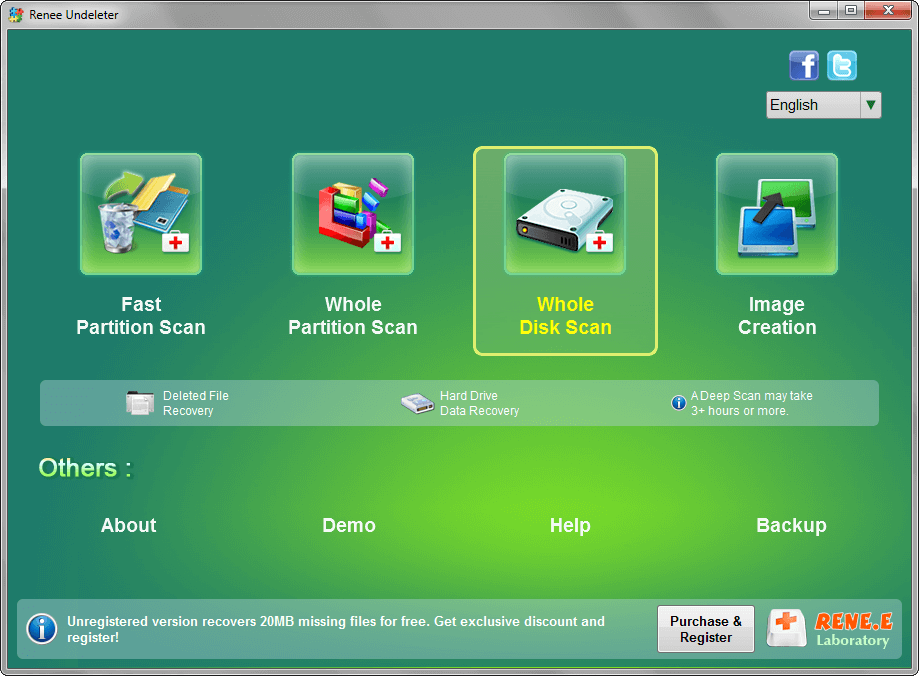
Easy to use Only simple steps to recover data from storage devices.
Multiple scan modes Fast partition scan, whole partition scan and whole disk scan for different recovery needs.
File types Support to recover pictures, videos, audios, documents, mails, etc.
Supported storage devices Recover data from recycle bin, SD card, external disk, etc.
Supported systems Windows 11,10, 8.1, 8, 7, Vista, XP, 2000 and Mac OS X10.6, 10.7, 10.8+.
Easy to use Only simple steps to recover data from storage devices.
Multiple scan modes - 3 scan modes for different recovery needs.
Supported storage devices Recover data from recycle bin, SD card, external disk, etc.
Relate Links :
Why New Hard Drive is not Showing up in Disk Management?

18-10-2019
Amanda J. Brook : Many users complain that newly installed hard drive is not showing up in Disk Management. To solve the...
How When System Prompts for the Data Error (Cyclic Redundancy Check)?
12-10-2019
Amanda J. Brook : Sometimes, we meet with some data errors, such as CRC (cyclic redundancy check). How about the advent of...

