

Fix External Hard Drive Not Working – Expert Solutions

Summary
Learn why your external hard drive is not working and how to fix it. Discover common issues and troubleshooting tips to get your device working again.

chkdsk D: /f (where D is the disk letter) and press Enter to fix the error. After the repair is complete, check if the problem is resolved.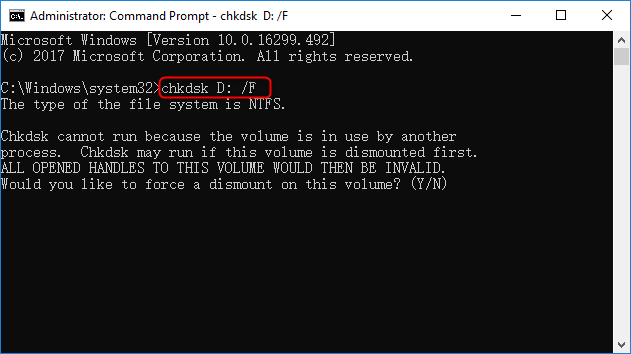

Easy to use Recover data by 3 steps;
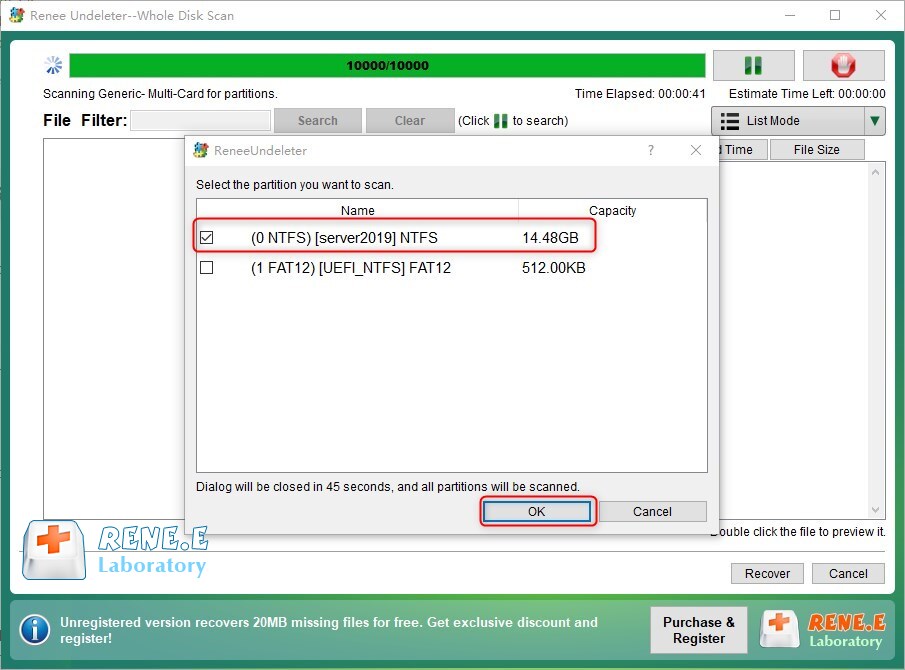
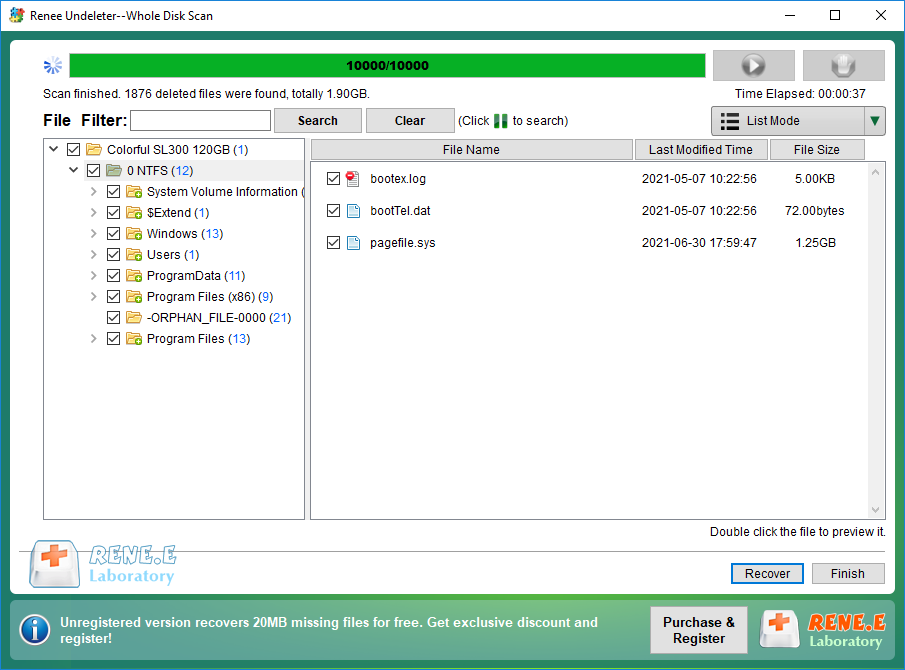
Multiple scan modes Fast partition scan, whole partition scan and whole disk scan;
Supported file types Image, video, audio, text, email and so on;
Image creation Create a partition image to read and back up data;
Supported devices SD card, SDHC, SDXC, USB flash drive, hard disk and computer.
Easy to use Recover data by 3 steps;
Multiple scan modes Fast partition/whole partition/whole disk scan;
Supported devices SD card/USB/hard disk.
Free TrialFree TrialFree Trial 800 people have downloaded!
- Fast Partition Scan – Quickly retrieve files lost due to accidental deletion or emptying the recycle bin.
- Whole Partition Scan – Recover files from inaccessible or formatted partitions.
- Whole Disk Scan – Analyze partition information and fully scan the entire disk.
- Image Creation – Create an image of a partition to back up its current state.

Relate Links :
Fixing External Hard Drive Read Only on Mac

19-02-2024
Jennifer Thatcher : Learn how to fix the issue of not being able to modify or write files on your mobile...
External Hard Drive Not Showing up in File Explorer - How to Fix

12-03-2024
John Weaver : Experiencing issues with your external hard drive not showing up in File Explorer? You're not alone. This common...
How To Recover Deleted Files from Hard Drive: Expert Tips

11-06-2024
Amanda J. Brook : Learn how to how to recover deleted files from hard drive with these effective methods. Don't panic if...
Fix Hard drive Not Detected in BIOS
14-12-2023
Ashley S. Miller : Learn how to troubleshoot and resolve the issue "hard drive not detected in bios". Explore possible causes and...

