

Why New Hard Drive is not Showing up in Disk Management?

Summary
Many users complain that newly installed hard drive is not showing up in Disk Management. To solve the problem, we will provide 4 effective solutions to you based on different scenarios.
Why New Hard Drive is not Showing up in Disk Management
If the newly installed hard drive is not showing up in Disk Management, you should consider these scenarios:
- Faulty SATA cable
- HDD/SSD in storage pool
- Uninstalled or damaged SATA (RAID) driver
- Wrong SATA storage controller protocol
- Incompatibility between storage controller driver and the new hard drive

Easy to use Only simple steps to recover data from storage devices.
Multiple scan modes Fulfill different data lost and recovery needs.
File types Recover pictures, videos, audios, documents, mails, etc.
Supported storage devices Recover data from recycle bin, SD card, external disk, etc.
Supported System Windows 10, 8.1, 8, 7, Vista, XP, 2000 and Mac OS X10.6, 10.7, 10.8.
Easy to use Simple steps to recover data
Recover different file formats Support to recover multiple file types
Support different devices Recover data from multiple storage devices
Free TrialFree TrialFree Trial 1000 users have downloaded and recovered data back!Part 2: Solutions
Solution 1: Change SATA Cable and Port
Steps:
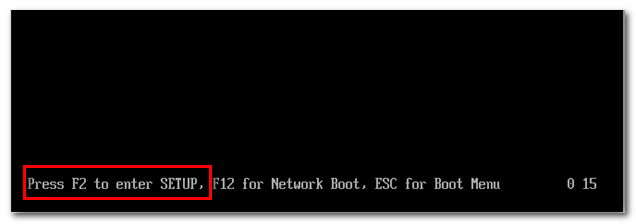
① Restart the computer and enter into BIOS. Try to press F (F2, F4, F8, F10, F12) key or DEL key (only for Dell), or check the computer instruction to enter.
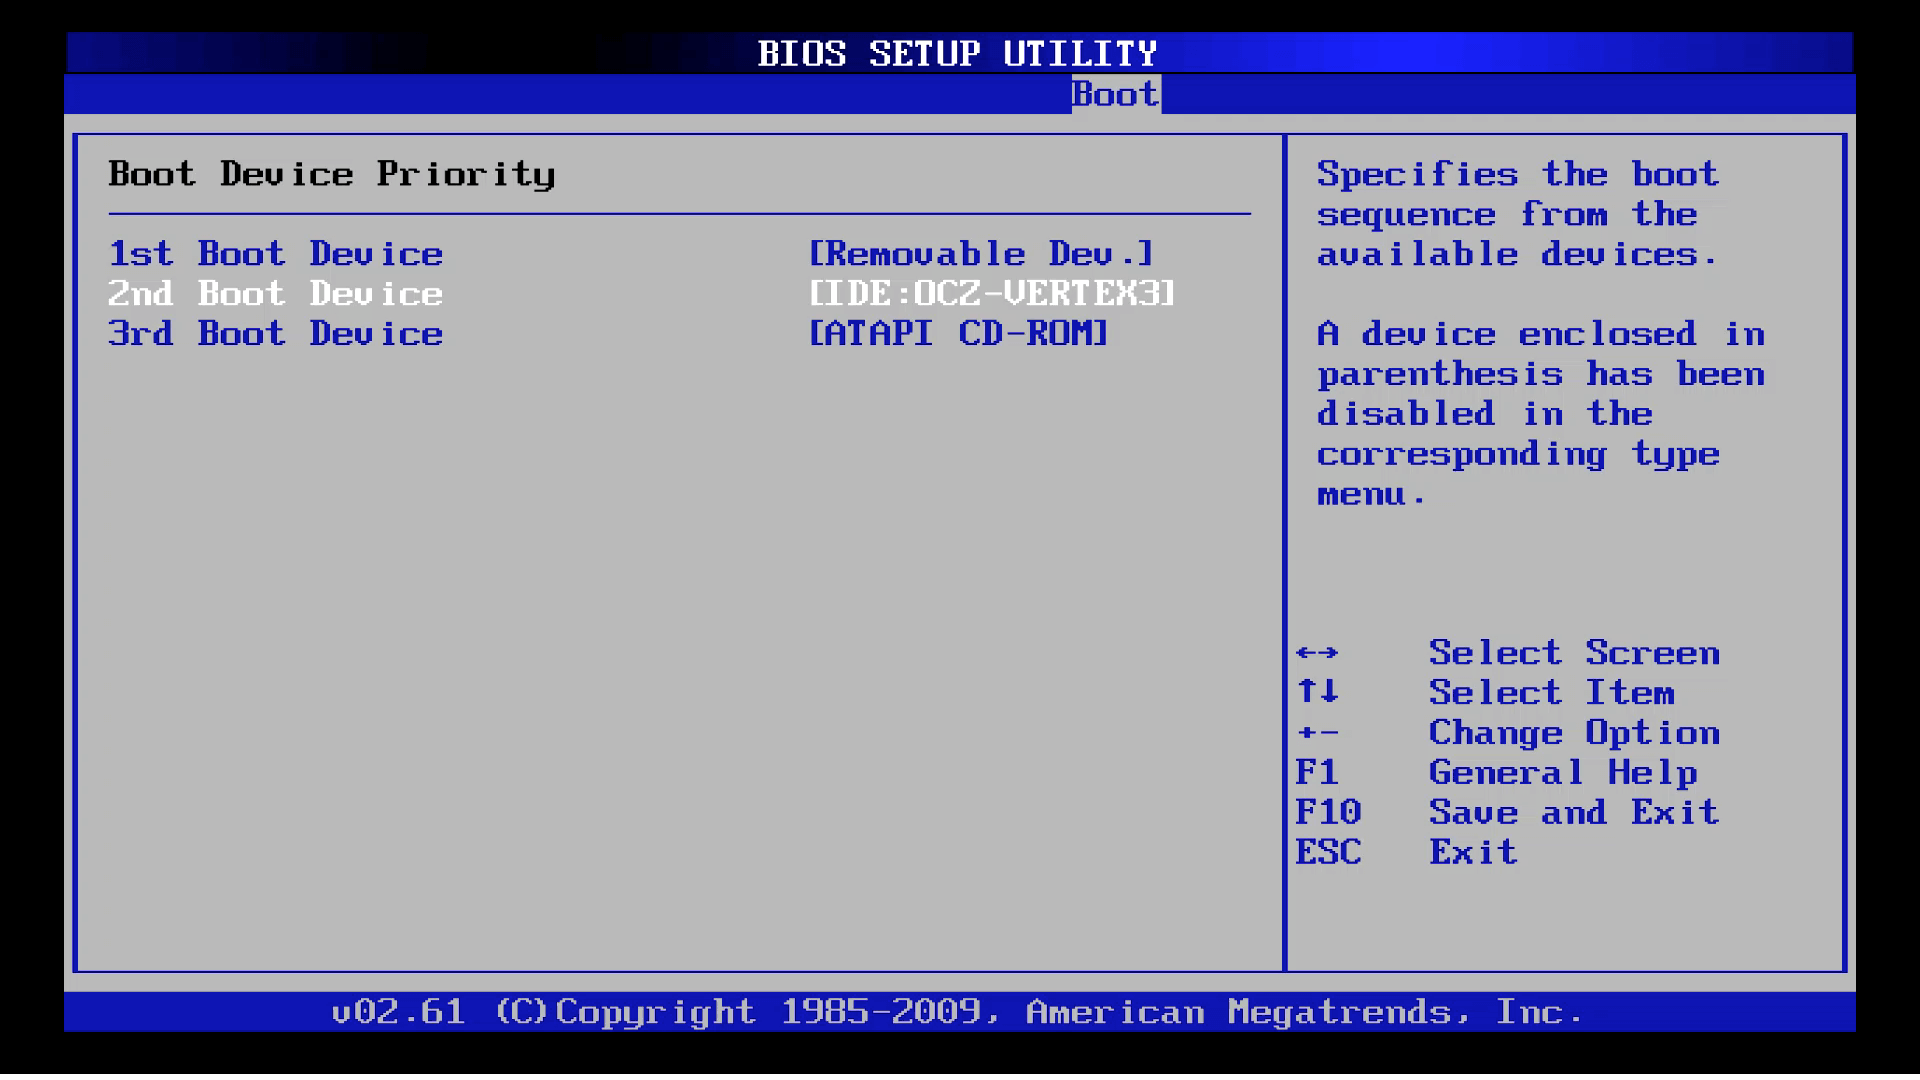
② In BIOS, go to the Boot tab (or Boot Device Priority). Check whether the new installed hard drive is showing up or not. If it is visible, shut down the computer and change the SATA cable and the port.
③ After that, start the computer and check whether it is visible in Disk Management.
Solution 2: Change SATA Controller Mode
Steps::
① Restart the computer. Then, press the hot key (F2/F10) to enter BIOS.
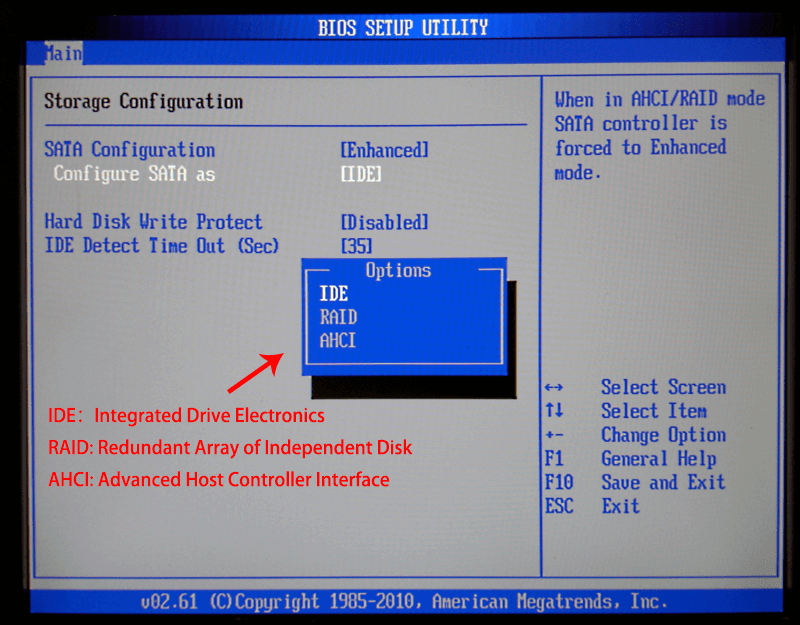
② In BIOS, find the options including SATA, IDE and AHCI. Then, change the mode from IDE to AHCI in the option [Configure SATA as].
The Lenovo user can press F1 to enter BIOS, and then select [Devices] > [ATA Drives Setup] > [Configure SATA as] > [AHCI]. Finally, press F10 to save the setting and exit.
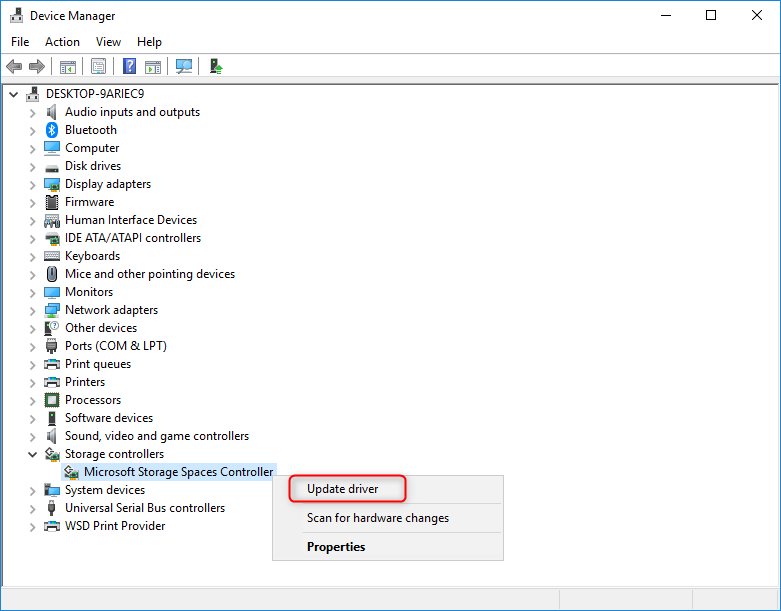
Solution 3: Update Main board Controller and IDE ATA Controller Driver
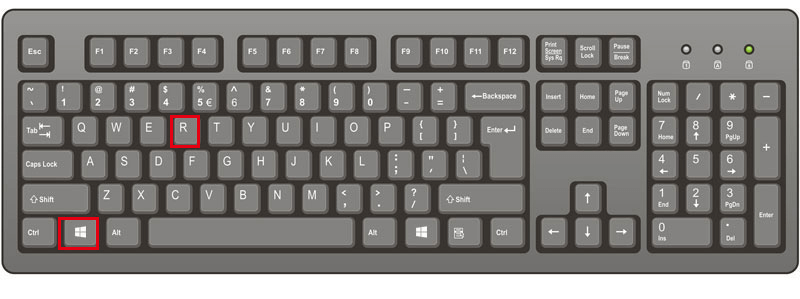
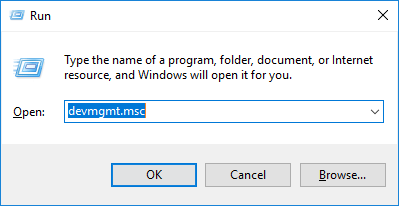
① Press [Win + r] to open Run. Then, type and run [devmgmt.msc] to open Device Manager.
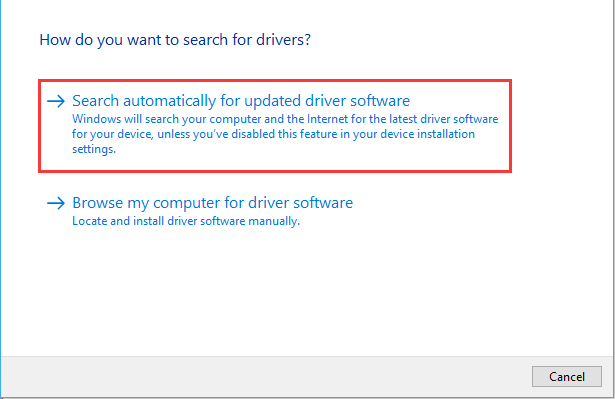
Note: You can download and install the correct driver software from the main board suppler.

⑤ Finally, check whether the problem has been solved. If not, try the next solution.
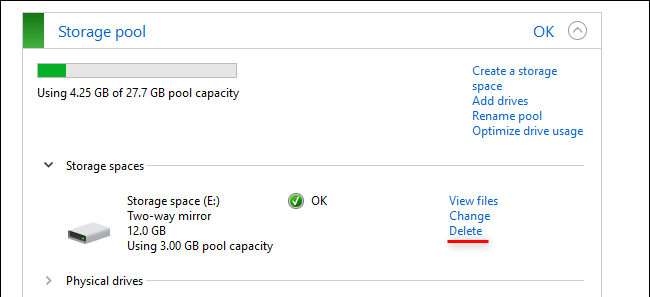
Solution 4: Delete Hard Disk in Storage Pool
Steps:
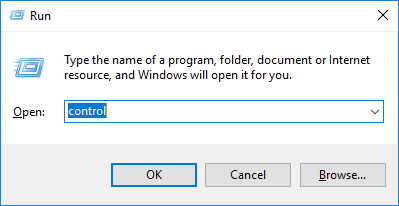
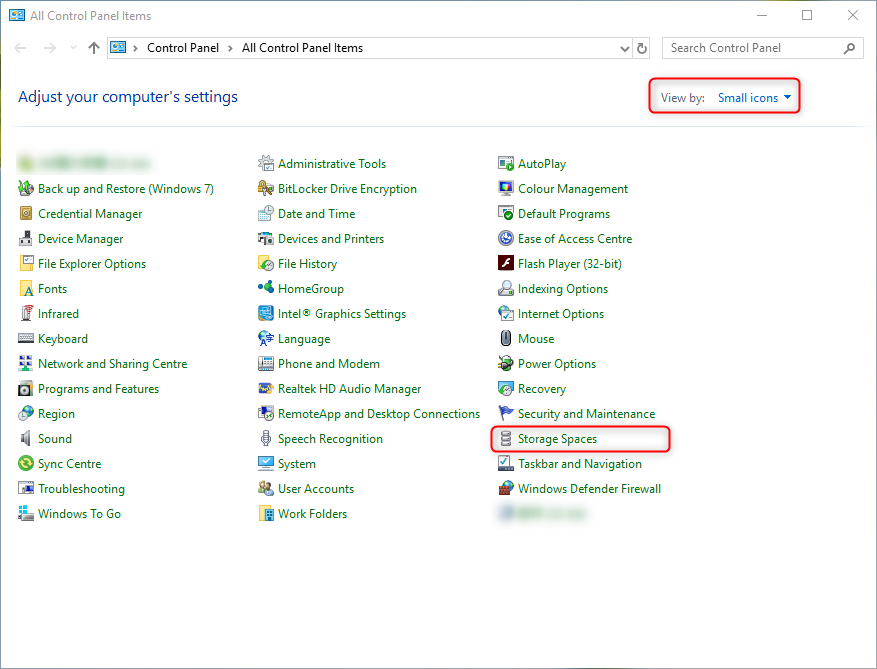
① Press [Win + R] to open Run. Then, type and run [control] to open Control Panel.
Part 3: Renee Undeleter – Data Defender
Easy to use Only simple steps to recover data from storage devices.
Multiple scan modes Fast partition scan, whole partition scan and whole disk scan for different recovery needs.
File types Support to recover pictures, videos, audios, documents, mails, etc.
Supported storage devices Recover data from recycle bin, SD card, external disk, etc.
Supported systems Windows 11,10, 8.1, 8, 7, Vista, XP, 2000 and Mac OS X10.6, 10.7, 10.8+.
Easy to use Only simple steps to recover data from storage devices.
Multiple scan modes - 3 scan modes for different recovery needs.
Supported storage devices Recover data from recycle bin, SD card, external disk, etc.
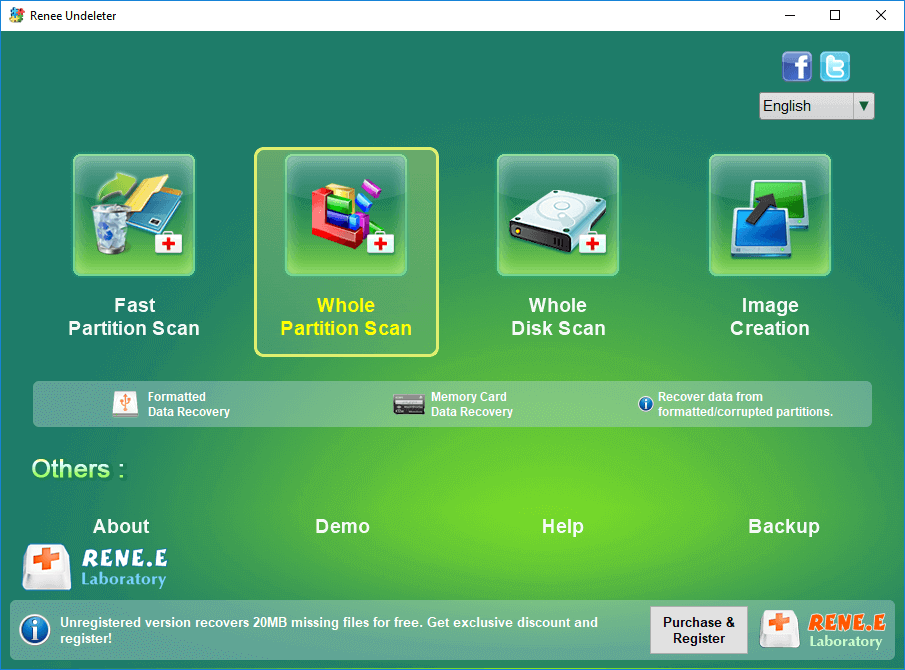
Steps:[dt_gap height="10" /]
① Select [Whole Partition Scan]. In this function, the data can be recovered from the damaged drives as much as possible.
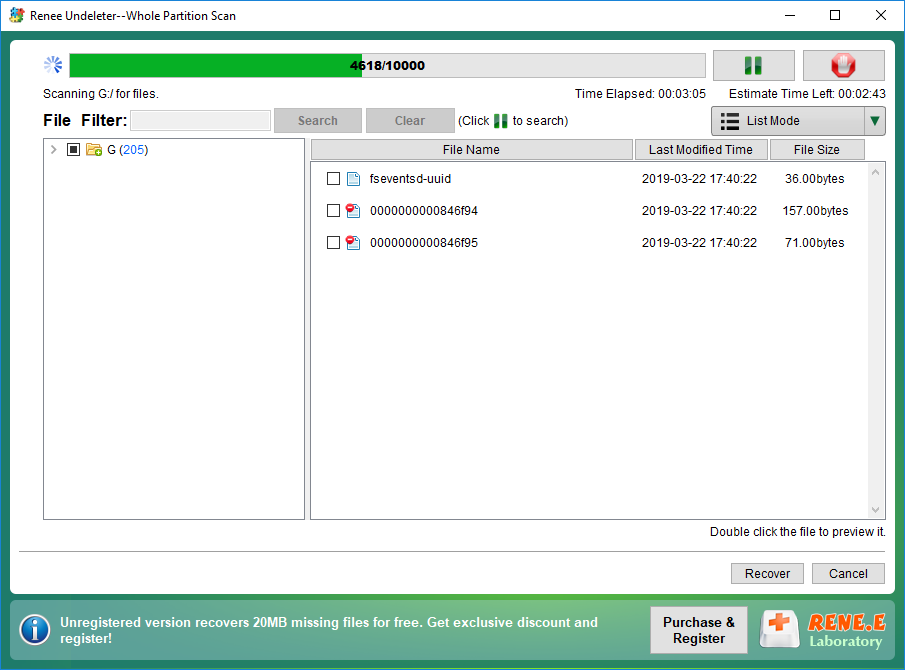
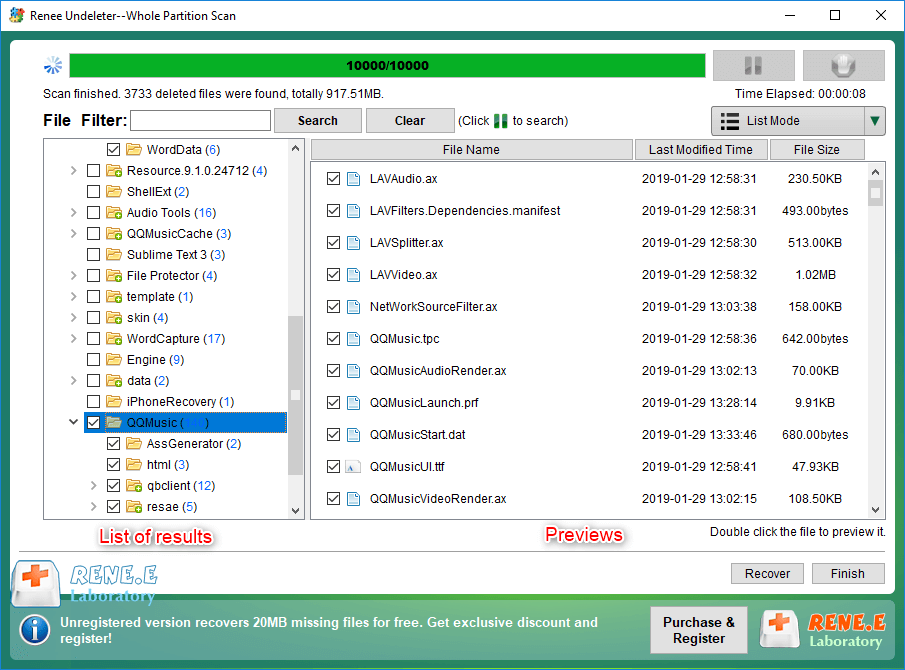
③ Then, the drive will be scanned. The scan time depends on the capacity of the drive. If it is large, it should be scanned for a long time.
Relate Links :
How When System Prompts for the Data Error (Cyclic Redundancy Check)?
12-10-2019
Amanda J. Brook : Sometimes, we meet with some data errors, such as CRC (cyclic redundancy check). How about the advent of...
Tips for Using HDD Low Level Format Tool
29-09-2019
Amanda J. Brook : HDD (hard disk drive), including internal and external hard drive, is the basic storage device on a computer....

