

How to Partition Hard Drives on Mac?

Summary
Learn to partition hard drives on mac, create multiple APFS volumes effortlessly, and understand the benefits with our straightforward guide.
Table of contents

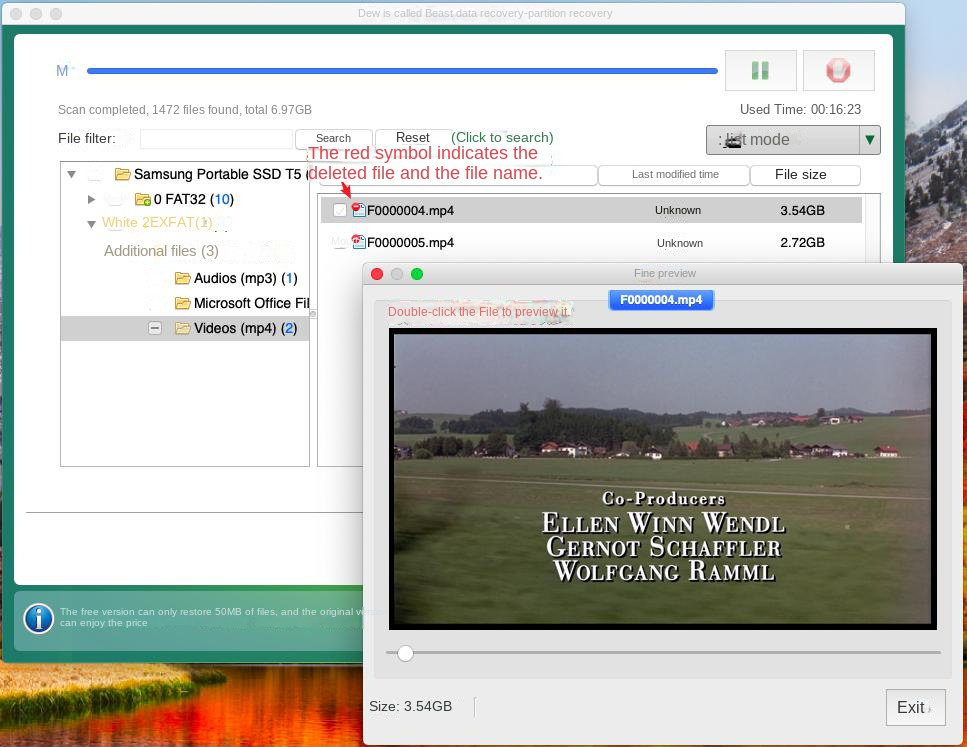
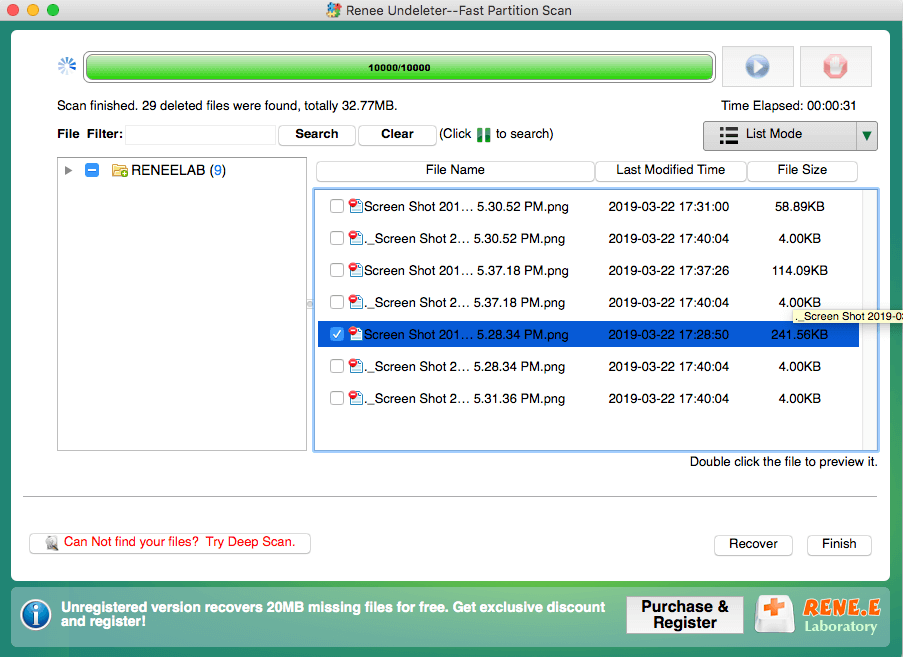
Easy to use Recover data by 3 steps;
Multiple scan modes Fast partition scan, whole partition scan and whole disk scan;
Supported file types Image, video, audio, text, email and so on;
Image creation Create a partition image to read and back up data;
Supported devices SD card, SDHC, SDXC, USB flash drive, hard disk and computer.
Easy to use Recover data by 3 steps;
Multiple scan modes Fast partition/whole partition/whole disk scan;
Supported devices SD card/USB/hard disk.
Free TrialFree TrialFree Trial 800 people have downloaded!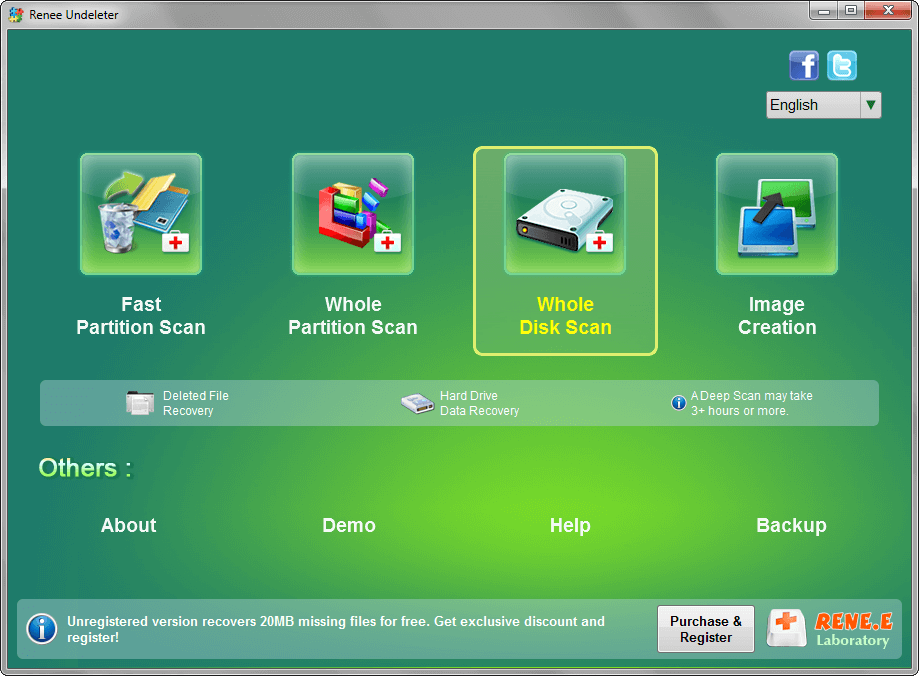
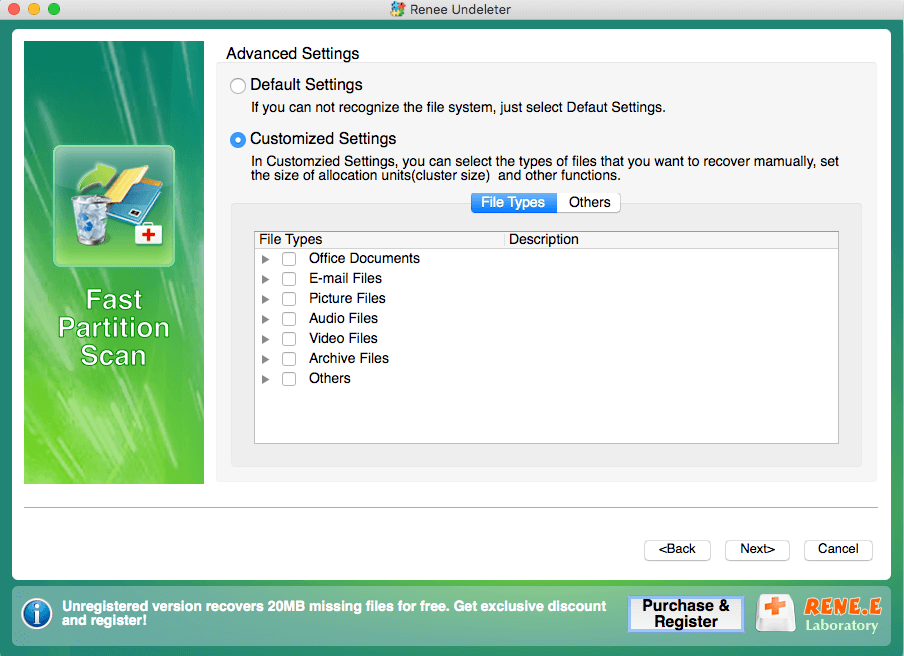
- Fast Partition Scan: Recovers files from accidental deletions or recycle bin clearance.
- Whole Partition Scan: Restores files from inaccessible or formatted partitions.
- Whole Disk Scan: Analyzes partition information for a comprehensive disk scan.
- Image Creation: Generates a partition mirror for backup purposes.

Relate Links :
Seagate External Hard Drive Data Recovery: Find Your Lost Files Easily

01-03-2024
Ashley S. Miller : Seagate, a renowned hard drive manufacturer, offers beloved mobile hard drives. If you encounter data loss on a...
Hard Drive Data Recovery on Mac: Recommended Solutions

24-04-2024
John Weaver : Learn effective solutions for Mac hard drive recovery from accidental deletions, disk failures, or disruptions in our comprehensive...
SATA Interface Hard Drive: Data Recovery Guide
26-05-2024
John Weaver : Dive into the specifics of SATA hard drives. Explore proficient strategies for data recovery from seemingly lost or...
Top Data Recovery Software for Hard Drives

07-06-2024
Jennifer Thatcher : Discover top hard drive data recovery software tailored to various needs, preventing data loss and restoring deleted files...

