author avatar
    Technology Manager of Test Dept.
 

Summary
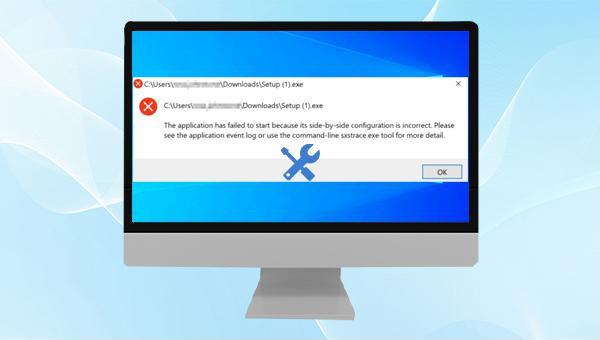
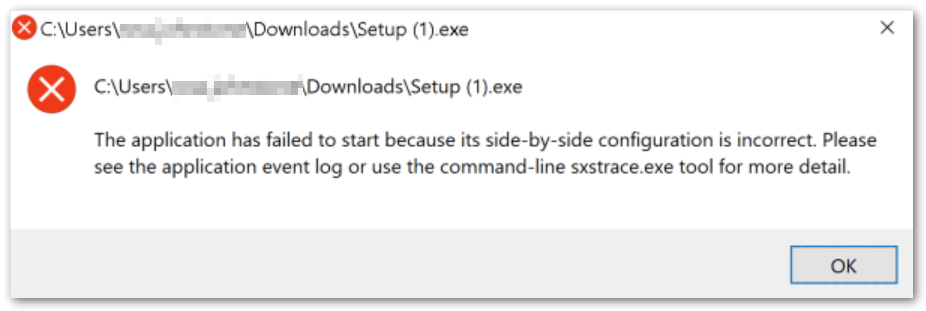
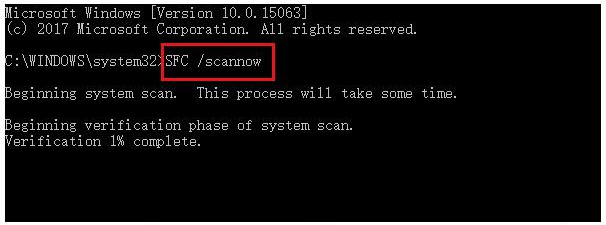
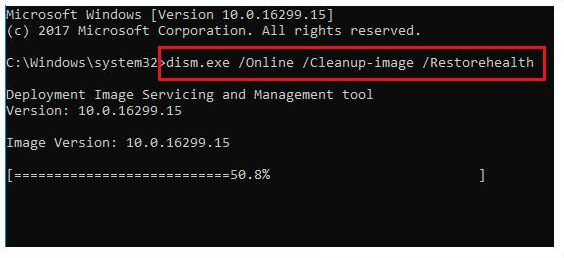
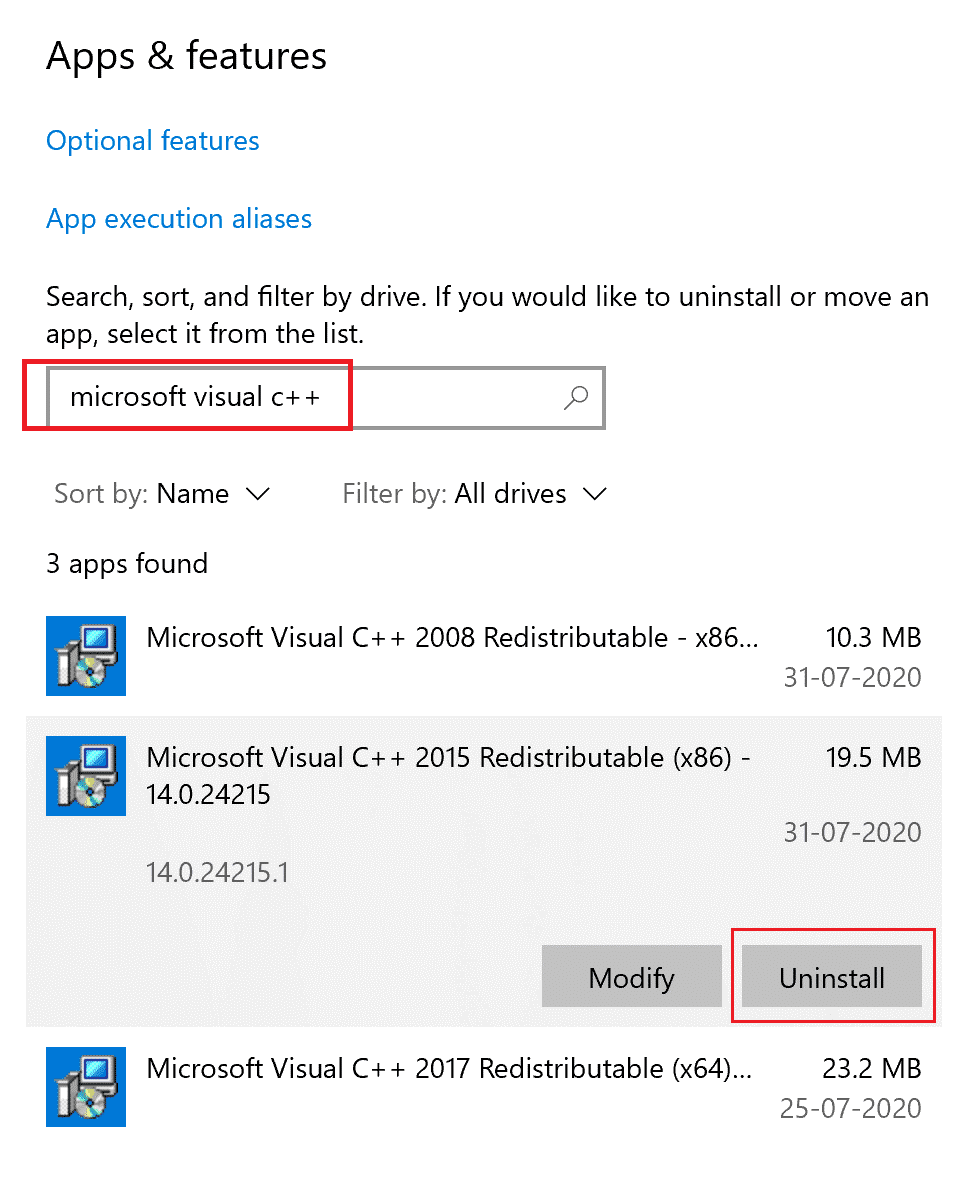
If you get the error "side-by-side configuration is incorrect windows 10", the application becomes impossible to access. We have compiled a list of effective methods to aid you in resolving this issue.


its side-by-side configuration is incorrect on Windows 10

I. About the problem of incorrect parallel configuration

Upon opening an application, you may encounter an error message stating that “The application cannot start because the parallel configuration of the application is incorrect.” To resolve this issue, you can refer to the application event log or use the command line sxstrace.exe tool. This error is often caused by a conflict between the time library and the application, resulting in the inability to load necessary C++ files. Additionally, corrupted system files can also contribute to this error.
Fix side by side configuration is incorrect error
If you also encounter this problem, please continue to see the specific solution below.

II. How to solve the incorrect parallel configuration of the application?

1. Reinstall the problematic application

If there’s a problem with an application, it’s a good idea to reinstall it.
Specific steps: To resolve any issues with a problematic app, simply right-click on the “Start” button and navigate to “Apps & Features”. From there, locate the app in question and click on it before selecting the Uninstall button. Once the uninstallation process is finished, head to the official website of the application and download the latest version of the installation package. After reinstalling the app, launch it to see if the problem has been resolved.
uninstall software in Windows 10

2. Start the Windows Modules Installer service

Some users reported that the side-by-side configuration of the application was incorrect after closing the Windows Modules Installer service. After re-enabling the Windows Modules Installer service and running the target application, the problem was solved. Let’s take a look at the specific steps.
Step 1: Search (Services) in the lower left corner of the taskbar, and then click the search result to open it.
run Service In Taskbar
Step 2: To check the status of the “Windows Modules Installer” service, simply find and double-click on it. If the service is currently stopped, click on “Start” and then “OK”.
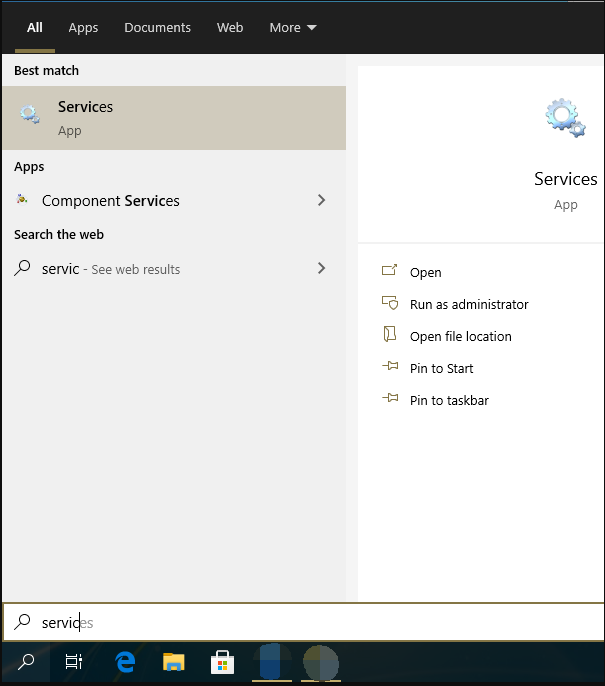
Once this is done, you can proceed to run the application that was giving you trouble. If the issue is resolved, then this method has proven to be effective. However, if you do not want to constantly enable the service manually, you may want to consider changing the startup type of the Windows Modules Installer service to automatic.
Windows Modules Installer

3. Scan system files via command prompt

Corruption of system files may also lead to incorrect side-by-side configuration of applications, which we can solve by running SFC and Dism commands through the command prompt.
Step 1: Enter (cmd) in the search box, right-click the search result, and select (Run as administrator) to open the command prompt window.
run as administrator
Step 2: In the opened command prompt window, copy and paste the (SFC /scannow) command into it, and press the (Enter) key. Next, the system file checker will scan the system and repair the problematic system files. After the scan is complete, if the problem is still not resolved, please go to the next step.
Type SFC /scannow
Step 3: Copy and paste the (dism.exe /Online /Cleanup-image /Restorehealth) command into the command prompt and press the (Enter) key. After that, restart the computer and check whether the problem is resolved.
Enter dism.exe /Online /Cleanup-image /Restorehealth

4. Reinstall Microsoft Visual C++ Redistributable Package

Reinstalling Microsoft Visual C++ is also an available method. Specific steps are as follows:
Step 1: Right-click (Start) > (Apps and Features). Find the Microsoft Visual C++ Redistributable Package application in the list, and click the (Uninstall) button. If there are different versions, please uninstall them one by one.
uninstallN Microsoft Visual C++ Redistributable
Step 2: Go to the Microsoft Visual C++ official website to download it. If there are two versions of x64 and x86, it is recommended to install them on the computer. Then restart the computer to see if the problem is resolved.
The solution to the incorrect side-by-side configuration of the application is shown above. I hope it will be helpful to everyone. If it fails, you can try resetting the computer or reinstalling the system, but be sure to back up important files beforehand. In case of data loss while using the computer, you can refer to the third part’s content for scanning and recovery.

III. When data is lost, use Renee Undeleter to restore it

1. What is Renee Undeleter?

Renee Undeleter is a professional data recovery tool that provides file recovery, format recovery, partition recovery and other functions for different situations. If you don’t have time to scan and recover temporarily, the (Create Image) function can create a backup image for the hard disk, and then you can use the software to scan the image file to find lost files. If you delete files by mistake, empty the recycle bin, or format the hard disk, delete the hard disk partition, etc., as long as the lost data has not been overwritten, then Renee Undeleter may retrieve the lost data. The free version scans your hard drive for lost files and offers 50MB of free recovery capacity.
Hot Topic - ADsRenee Undeleter – Simple & Powerful Software for Data Recovery

Easy to use Recover data by 3 steps;

Multiple scan modes Fast partition scan, whole partition scan and whole disk scan;

Supported file types Image, video, audio, text, email and so on;

Image creation Create a partition image to read and back up data;

Supported devices SD card, SDHC, SDXC, USB flash drive, hard disk and computer.

Easy to use Recover data by 3 steps;

Multiple scan modes Fast partition/whole partition/whole disk scan;

Supported devices SD card/USB/hard disk.

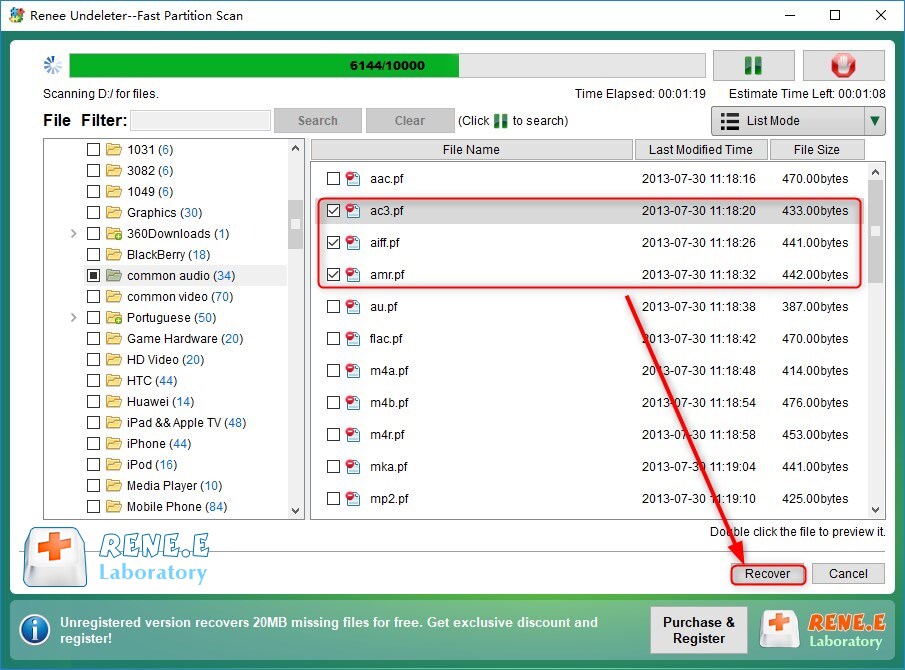
Free TrialFree TrialFree Trial 800 people have downloaded!

2. How to recover lost files with Renee Undeleter?

The specific steps to restore data with the help of Renee Undeleter are as follows:
Step 1: Before downloading and installing Renee Undeleter, first determine the hard disk location where the data is lost.

If they are stored in D: drive, you should download and install the software to other disks, such as E or F drive, to avoid data overwriting. After the installation is complete, run the software and select the (Fast Partition Scan) option in the main interface.

how to recover photos from sd card select the function fast partition scan in renee undeleter
Step 2: Then select the partition where the lost data is located, and click (Next).
scan disk with Renee Undeleter
Step 3: Select the (Fast Scan) option and click the (Next) button to scan.

(Fast Scan) mode can scan the first 30GB of the free space of the selected disk. If the desired file is not found after scanning, you can try the (Deep Scan) mode to scan the partition again. It will take more time, but more data can be scanned.

fast scan lost data
Step 4: During the scanning process, you can double-click the file to preview it. After the scanning is completed, check the files, and then click the (Recover) button to restore them to another disk.
recover files with Renee Undeleter