

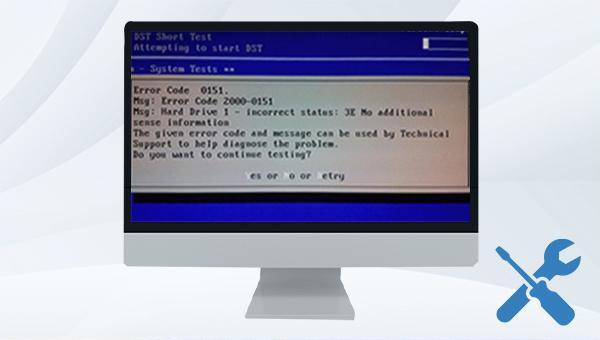
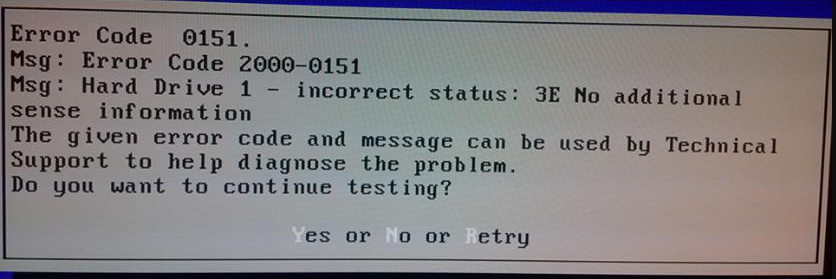
Troubleshoot the Error Code 2000-0151 on Your Hard Disk

Summary
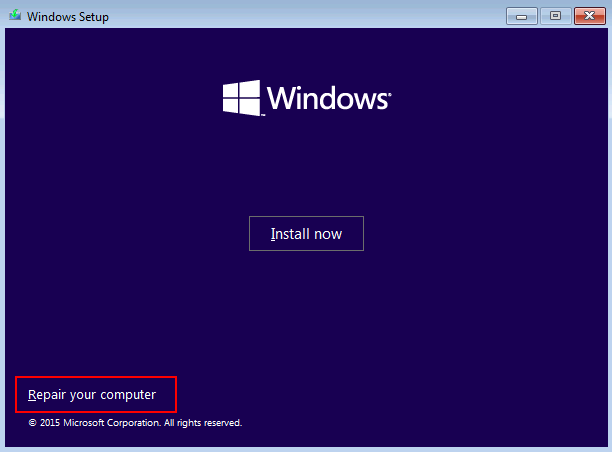
Our comprehensive article covers the causes and practical solutions to tackle the error code 2000-0151. Safeguard your important files by referring to our backup and transfer methods. Trust us to help you fix this issue and optimize your Dell computer's performance.

Easy to use 3 steps to transfer the files.
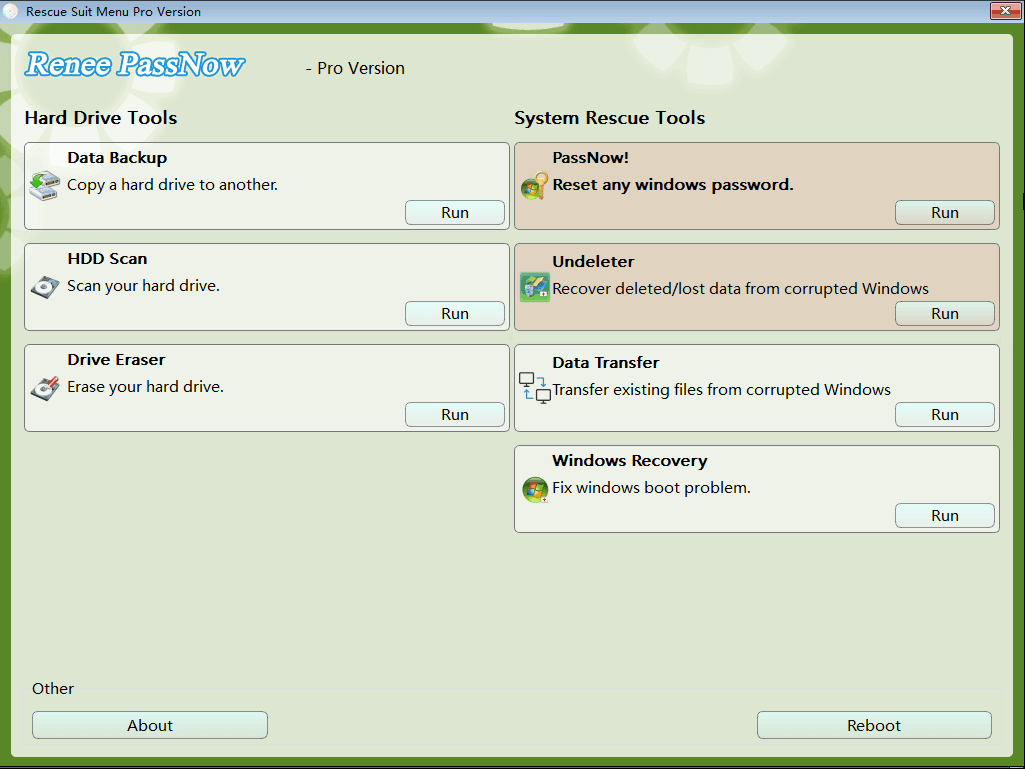
Transfer the files Transfer the important files of the computer without system.
Preview the files Preview the files while transferring the data.
Multifuctional Data recovery, Windows password reset, bootable problem recovery can be run without system.
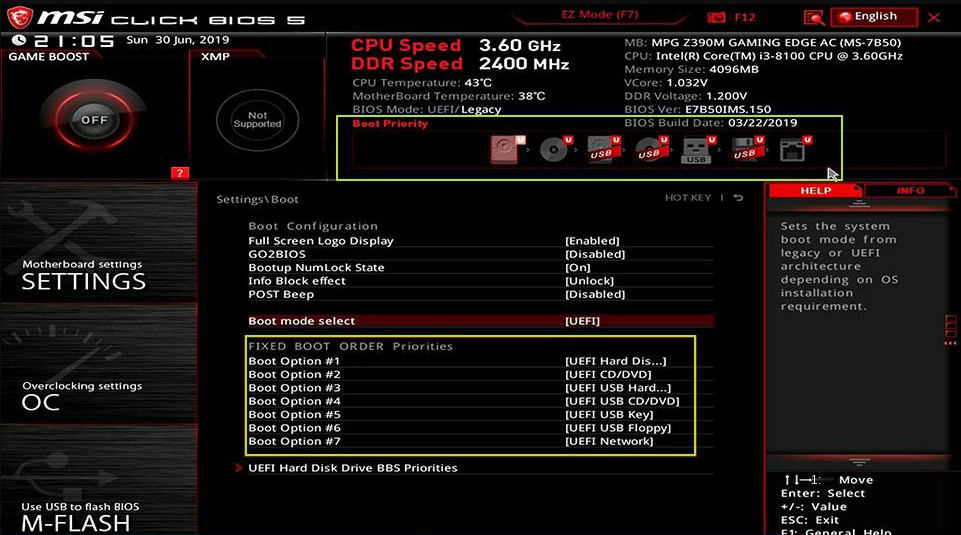
Highly compatible Windows 10/8.1/8/7/XP/Vista. Also supports UEFI boot mode.
Easy to use 3 steps to transfer the files.
Transfer the files Transfer the important files of the computer without system.
Preview the files Preview the files while transferring the data.
Free TrialFree TrialNow 2000 people have downloaded!


Relate Links :
Resolve Windows 10 PAGE FAULT IN NONPAGED AREA Blue Screen Error

09-05-2024
John Weaver : Learn to resolve the PAGE FAULT IN NONPAGED AREA error with our definitive guide, detailing symptoms, causes, and...
Fix the "Unknown Hard Error" on Windows 10 - Easy Solutions!!

22-01-2024
Amanda J. Brook : Unknown Hard Error is one of the most frustrating system errors that Windows users encounter. This error can...
Solutions to fix Windows 10 Blue Screen: Stop Code Memory Management
09-05-2024
Ashley S. Miller : Resolve Windows stop code memory management errors quickly with our expert solutions and safeguard your data with our...
How to fix Wdf01000.sys Blue Screen Error on Windows 10?

31-07-2023
Jennifer Thatcher : Discover the ultimate guide to solve the Wdf01000.sys blue screen error on your Windows 10 computer! Say goodbye...

