author avatar
    Technology Manager of Test Dept.
 

Summary
In the past, we were used to repairing the computer with the factory-attached recovery disk. How if you don’t have such disk? In this essay, we will talk about how to create Windows 10 recovery disk with Renee PassNow and how to create Windows 7 installation disc.


Content

Part 1: About Windows 10 Recovery Disc

In the past, a system recovery disc was provided when the computer left the factory. Users can use the disc to format hard disks, reinstall system and install software. The Windows system image built in the disc can be used to factory reset the system when attacked by virus, Trojan or the other issues. All the third-party applications and data are removed after the factory reset. Now, the computer suppliers place the system image into the hidden partition of the drive. If you are a Windows 10 user, you can create a recovery disk by yourself.
Note: The Windows 10 recovery disk cannot back up your personal files, data and the installed applications. If you want to use the disk, please remember to back up the data or transfer them to the other computers. In addition, the computer data should be backed up at schedule in case that it is accidentally lost.
how to create windows 10 recovery disk

Part 2: Back up Computer at Schedule
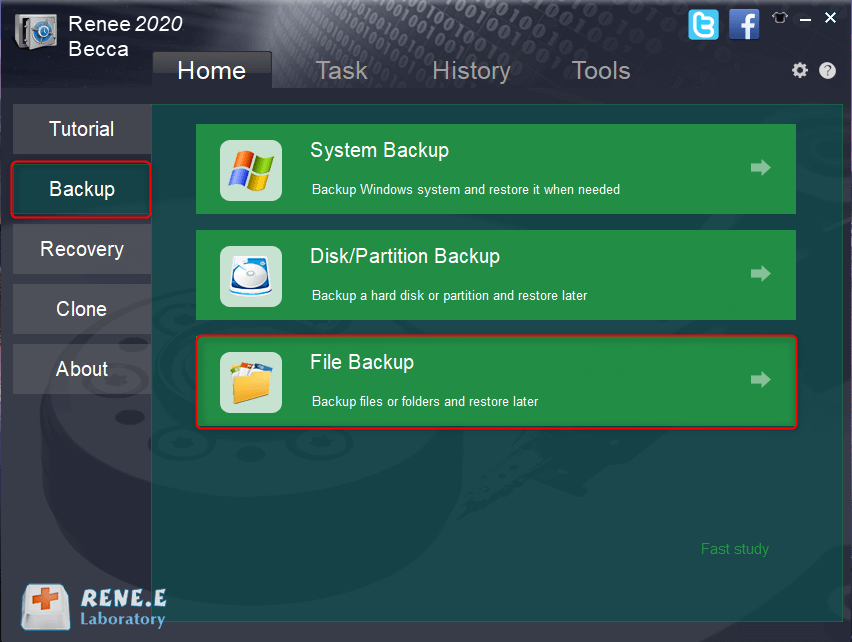
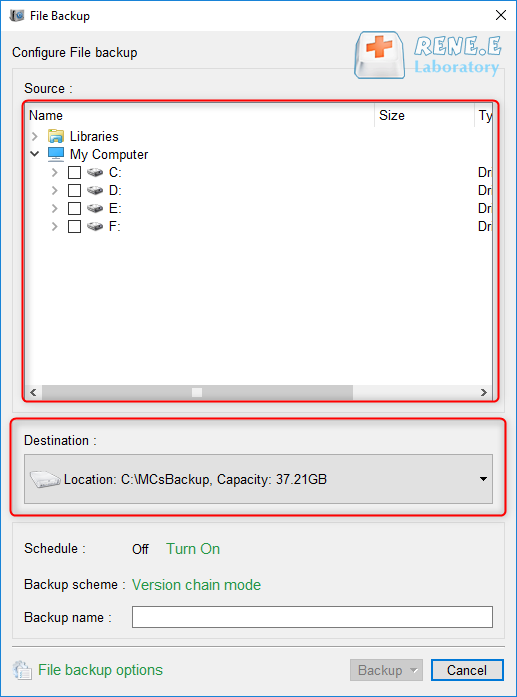
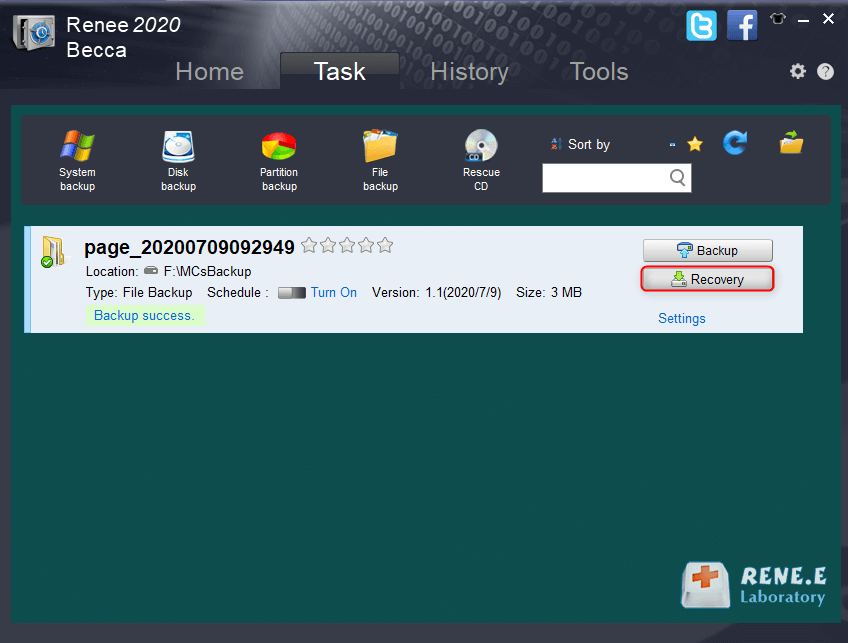
If you cannot boot or repair your computer, you should try the recovery disc. But your personal files and data will be removed when you use the disc. To avoid such situations, you should back up data at schedule. Here are two ways, Renee Becca and OneDrive.

1. Use Renee Becca

Renee Becca is a good choice for backup. It offers multiple backup plans for different targets, such as system, partitions, hard disks, files and drives. The software can quickly process the data at the speed of 3,000MB/min. Besides, users can formulate the auto backup schedule so that the backup can be updated from time to time. Windows 10/8.1/8/7/Vista/XP are available.
press to the download button
Steps:

① Open Renee Becca and click on [Backup] > [File Backup].

click to back up files in renee becca
② Select the backup target and set the storage position. Then, click on [Backup] to save the backup files. External disk is the recommended media for backup storage.
back up files now with renee becca
Renee Becca provides 5 backup schemes. You can set to run the software at the specific time period.

select backup mode with renee becca
enable backup schedule in renee becca
③ After that, click on [Task] to check the backup file. You can recover the file to the computer when you need.
recover backup files from renee becca

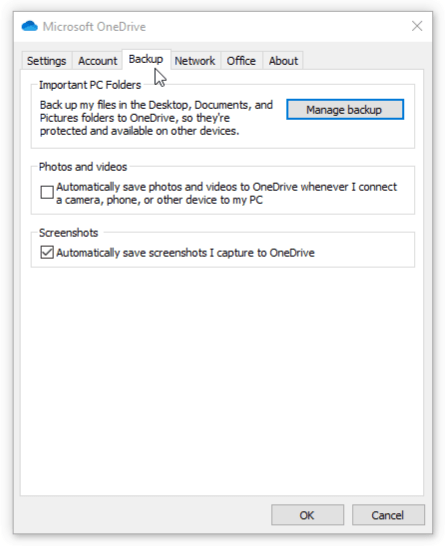
2. Online Backup via OneDrive

In addition to Renee Becca, you can back up files via OneDrive. OneDrive is the online platform where you can store data. Users can download the files from the cloud to any devices (i.e. smartphone, tablet PC and computer) once they log in OneDrive with their Microsoft accounts. 5GB free storage space is offered to each Microsoft account. By default, OneDrive backs up desktop, files, images and folders. However, OneDrive should work under the network. If the network is slow, the files will be hard to back up to the cloud.
Steps:

① Click at the OneDrive icon or search the application from the Start menu. Then, follow to click [More] > [Settings].

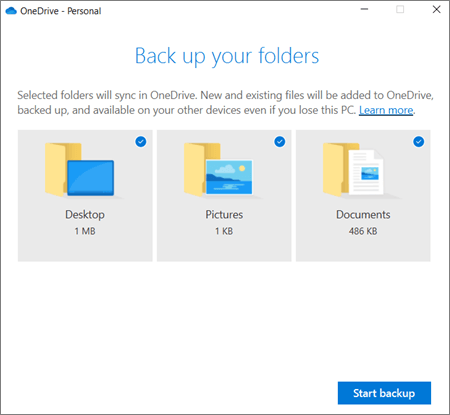
② In the tab [Backup], click [Manage backup].

set to back up files and folders to onedrive when no windows 10 recovery disk
③ On the OneDrive window, select the target files to back up and finally click on [Start backup] to back up the files.
start to back up files to onedrive when no windows 10 recovery disk

Part 3: How to Create Windows 10 Recovery Disk?

When you back up the files well, you can create the Windows 10 recovery disk.
Note: The following steps are suitable for the situation that Windows can be started up normally.
Steps:

① First, insert the blank CD/DVD into the computer and wait for system recognition.

② Search [Control Panel] at the task bar.

③ Click on [Back up and Restore (Windows 7)].
④ Click on [Create a system repair disc].
Finally, select a CD/DVD to create the disc.
TipsIf the computer is not normally bootable, you can use the recovery disc to solve the problem. When you get into the Troubleshoot, you can select [Restore from the drive]. Then, the Windows system will be reinstalled, and all applications and data will be removed. Of course, you can select the other repair schemes in Advanced Options, such as system restore, command prompt, system image restore, startup settings, even select to go back to the previous build.
TipsWhat is Windows 10 recovery drive? What is different between the recovery disc and the drive?

To create a Windows 10 recovery drive, you should place the installation program into the USB drive beforehand. Both of the recovery disc and the drive can repair the system issues and the startup problems. You have no need to create two recovery media at the same time. However, if the computer cannot boot from the recovery drive, please try the recovery disc.

Differences between the USB drive and disc:

● The USB drive is portable and easy to save.

● The USB drive process data much quickly than the disc.

● The USB drive is available in many devices while the CD driver is not built in most of the latest computers.

Next, we will talk about how to create a Windows 10 recovery disk with Renee PassNow.

Part 4: How to Create Boot Media with PassNow?

When you cannot get into the Windows system, you can create a boot media with Renee PassNow. The software can be used to repair many Windows issues, remove login password, transfer files and recover the lost data.

To create a recovery Windows recovery disk, you should download and install Renee PassNow beforehand. It supports over 1,600 PC computers and Windows tablet computers, including Dell, HP, Acer, Lenovo, Samsung, Toshiba, Sony and IBM. What’s more, it is compatible with Windows 10/8.1/8/7/Vista/XP.

Renee Passnow – Professional Windows Password Remover

Remove Windows Login Password 3 steps for whole password remove process.

Enable/Create Administrator One click for creating new administrator and enable the disabled account.

Widely Use New version supports UEFI boot model, which can be used on more computers, laptops and even surfaces.

Multifuctional Data transfer, data recovery, bootable problem recovery can be run without system.

Highly compatible Windows 10/8.1/8/7/XP/Vista.

Remove Login Password 3 steps for whole password remove process.

Enable/Create Administrator One click for creating new administrator and enable the disabled account.

Easy to use No need of any professional knowledge or password reset disk.

Free TrialFree TrialNow 2000 people have downloaded!

Steps to Use PassNow

Steps:

① First, download and install Renee PassNow in another computer. Insert CD/DVD. Then, run the software.

② Select one option from [Crate a Live USB] and [Create a Live CD]. Then, select [x64] or [x86] according to your computer. Next, click on [Download Now] to download the licensed ISO. Remember to activate the software beforehand. After that, click on [Create USB] to create the boot media.

use renee passnow to create usb to reset passnword
As the recovery disk is created, you can transfer data to the storage media, recover the lost data, reset the login password, erase the drive and repair the system. Next, we will show you three functions of the software.

1. Transfer Important Data

It is urgent for us to transfer the data from the crashed computer to the other safe devices. The recovery disk created with PassNow is a useful way at such situation.
Steps:

① Insert the recovery disk into the computer, and then start up the computer.

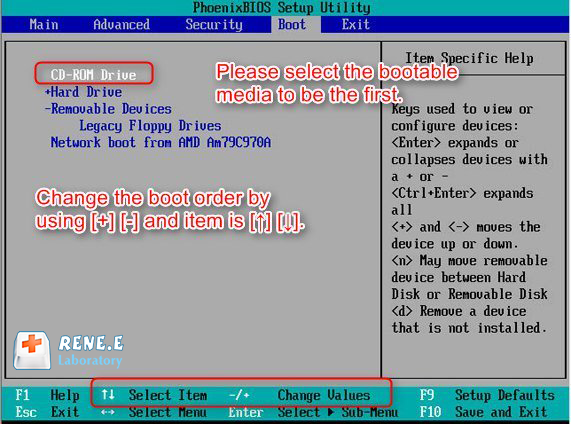
② Press the key (F2 or DEL) to get into BIOS/UFFI. Next, change the boot order as CD-ROM Drive.

steps to change the boot order in BIOS
③ When the system is booted from the recovery disk, you can select the function [Data Transfer] and click on [Run].
data transfer
④ Select the important files to transfer.
data transfer in Renee Passnow

2. Recover Lost Data

The data may be lost at the moment of system crash. Renee PassNow can help you retrieve the data.
Steps:

① Insert the PassNow-created recovery disk and start up the computer. Press the key to get into BIOS/UFFI. Change the boot order as CD-ROM Drive.

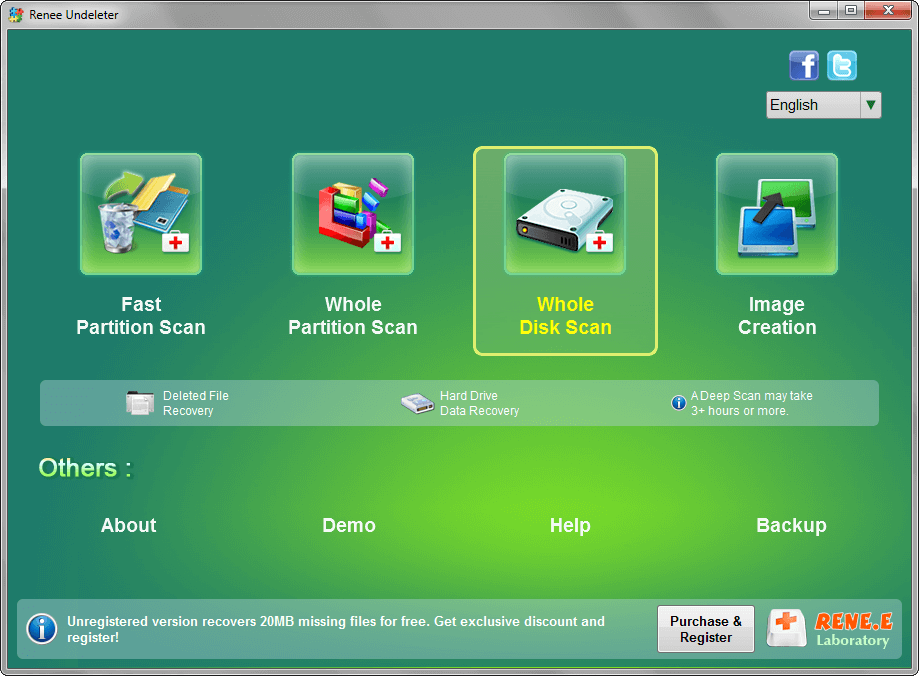
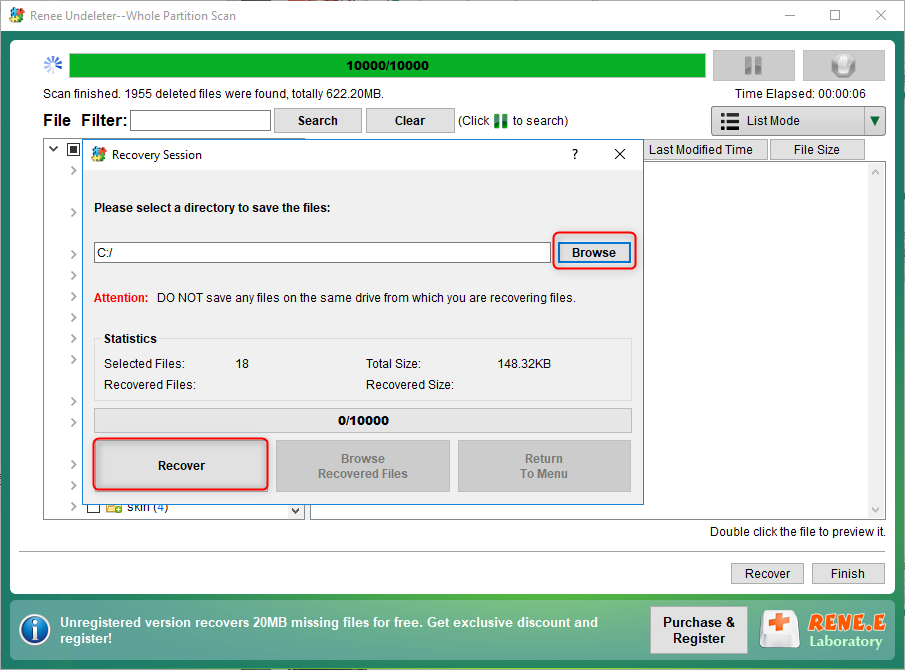
② As the computer is booted from the recovery disk, select the function [Undeleter] and click on [Run].

data recovery function in Renee Passnow
③ Select [Whole Disk Scan] and wait for a while. Then, select the target files after scan over. After that, click on [Recover] to retrieve the data. Finally, restart the computer.
select whole disk scan to scan disk in renee undeleter
select the output folder for usb or sd card recovery session in renee undeleter

3. Reset/Remove Windows Login Password

If you forget the Windows login password, Renee PassNow can help you remove the password safely, without any data loss.
Steps:

① Insert the PassNow-created recovery disk and start up the computer. Press the key to get into BIOS/UFFI. Change the boot order as CD-ROM Drive.

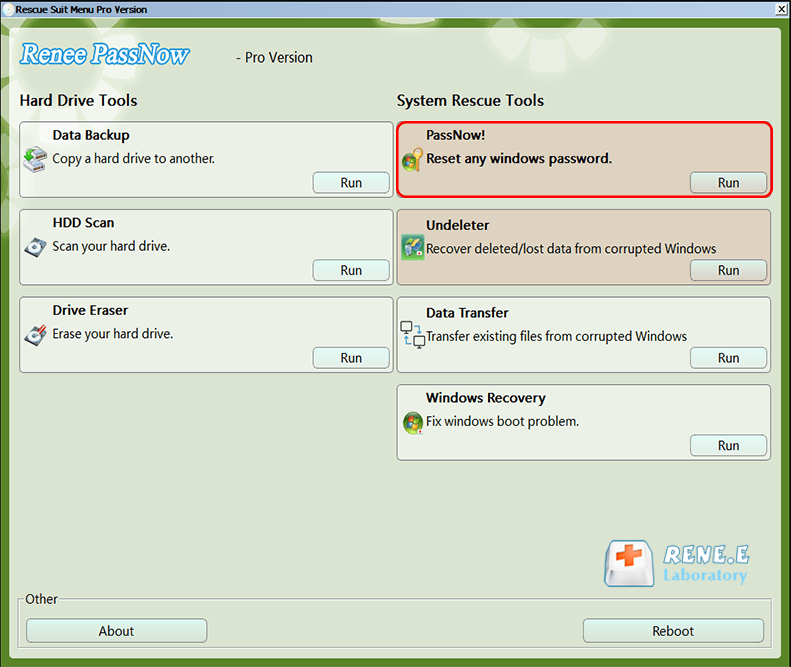
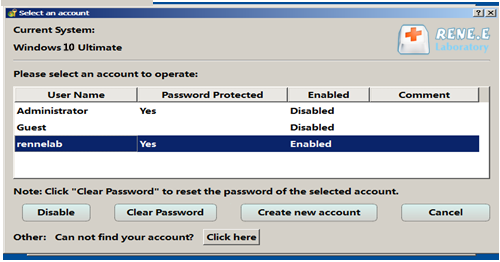
② Select the [PassNow] function and click on [Run].

click on passnow to reset login password
③ Select the target account and click on [Clear Password].
clear login password with renee passnow
In addition, you can create a new administrator account for quick access.
successfully create new account

Part 5: How to Create Windows Installation Disk

If many problems occur in Windows 10, we suggest you try to install Windows 7. First, you should download the Windows 7 ISO file, and then save to the USB drive or DVD. Here is the tutorial.
Step 1: Download ISO
Steps:

① First, download the Windows 7 ISO from the Microsoft website (link: https://www.microsoft.com/en-us/software-download/windows7).

② Enter the valid product key of Windows 7 and then click on [Verify]. The product key is usually located inside the box that the Windows DVD came in, on the DVD or in a confirmation e-mail that shows you purchased Windows.

③ Then, select the language and the version. Finally, download the file.
Step 2: Burn the ISO files to CD/DVD
Steps:

① Insert CD/DVD into the computer.

② Right click at the ISO file and select [Burn Disc Image] to burn a DVD. In Windows 7, you just double click at the ISO file.

Note: In Windows 10 or Windows 8, the ISO file will be installed as a virtual disk when you double click at the file.
③ Pull down the Disc Burner menu to select the DVD burner. Then, click on [Burn]. Finally, wait for burning the ISO file to the disc.