

Burn or Backup Computer Files to DVD or CD: Easy Steps

Summary
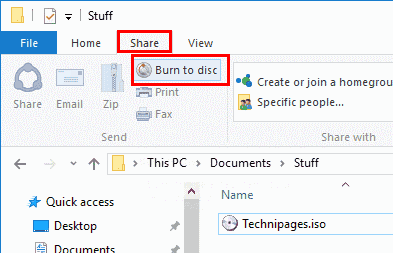
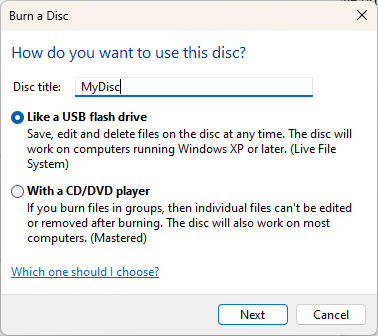
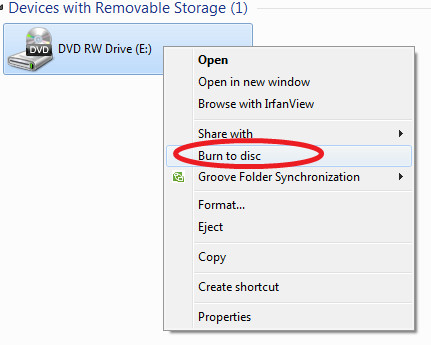
Learn efficient methods to burn/backup computer files onto DVD or CD to ensure data security. Choose separate storage devices for a secure backup solution.

Quick Backup files at up to 3,000MB/min.
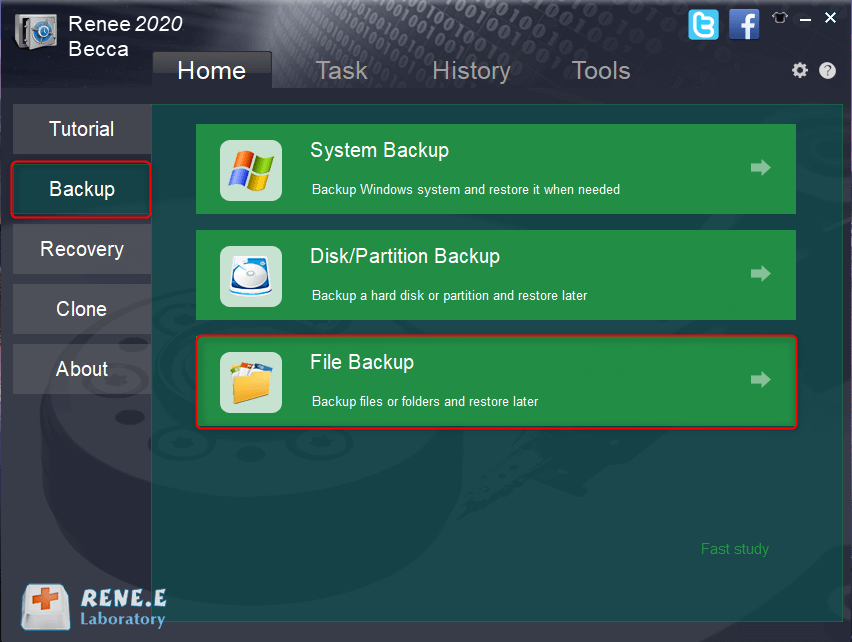
Fullfill different backup needs Supports system backup, disk / partition backup, file backup and disk clone.
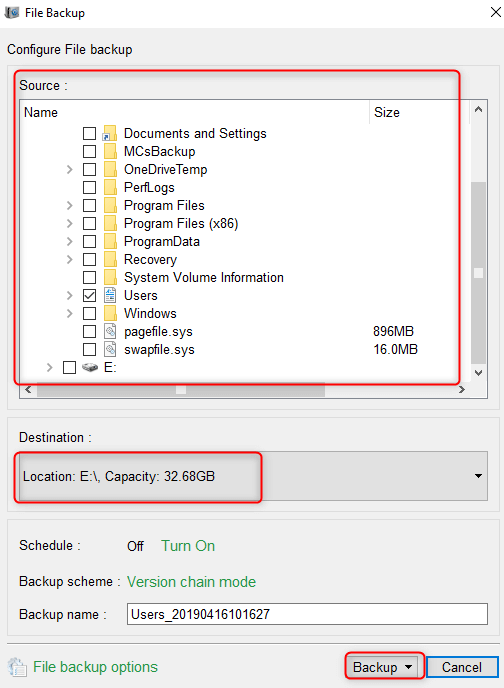
Intelligent Automatically analyze the differences between source and backup data.
Convenient Support VSS, allowing to freely view webpages when backing up system.
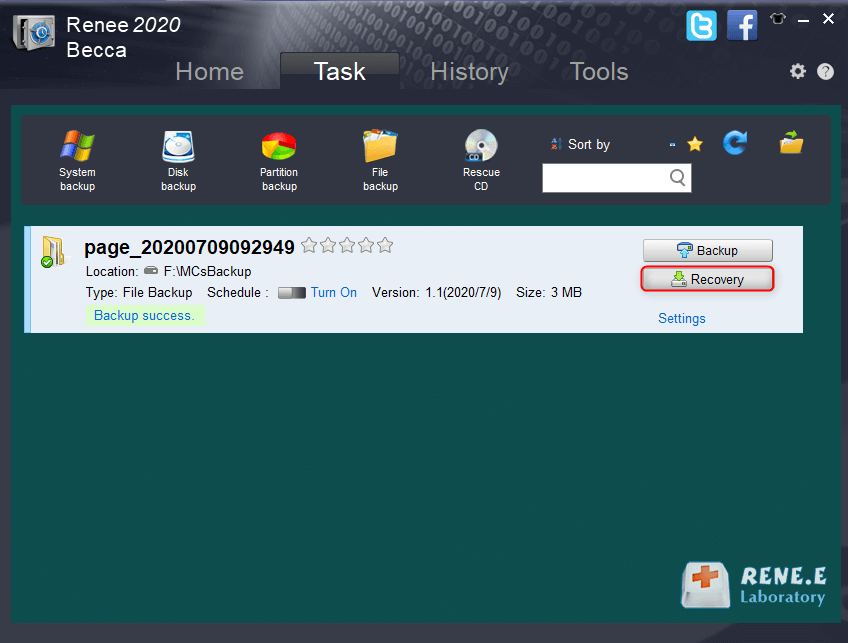
Highly compatible Supports various files and storage devices.
Quick Backup files at up to 3,000MB/min.
Fullfill different backup needs Backup for disk, partition and system. Save disk space by backing up incremental /differential data.
Highly compatible Supports various files and storage devices.
Relate Links :
Only 3 Simple Steps Perfectly Clone Disk to SSD!

20-05-2022
John Weaver : Best choice to upgrade computer performance is replace HDD disk with SSD. Renee Becca helps you clone disk...
Perfectly Clone UEFI Boot Disk to SSD: Master the Process

23-10-2023
Ashley S. Miller : Learn how to clone a UEFI boot disk to an SSD. Discover the difference between UEFI and BIOS...
Backup vs Clone: Best Methods of Cloning or Backing up Hard Disk
21-02-2024
Amanda J. Brook : In this authoritative article, we'll clarify the distinction between backup and cloning, their optimal uses, and provide step-by-step...
27-07-2021
Ashley S. Miller : If you want to change a solid hard drive, you should clone the data from the source drive...

