

Tips and Tricks for Solving KMODE_EXCEPTION_NOT_HANDLED on Blue Screen

Summary
If you're facing the KMODE_EXCEPTION_NOT_HANDLED error on your Windows system, this guide offers a range of solutions to help you tackle the issue. Ensure you safeguard your data by following the backup strategies outlined here, especially if you're experiencing difficulties starting Windows.
Table of contents
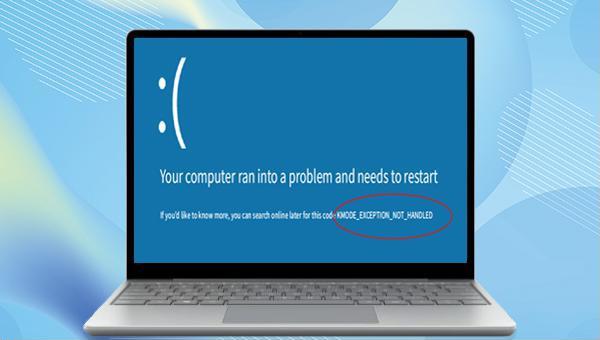
"KMODE_EXCEPTION_NOT_HANDLED" error often occur when applications overwrite each other’s memory. This can result from access violations, incompatible hardware, system service, device driver failures, or invalid memory, potentially leading to complete system failure.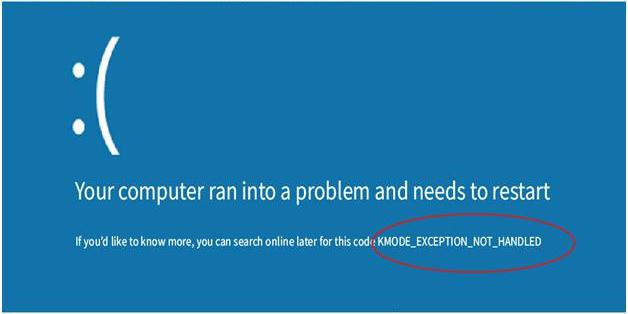
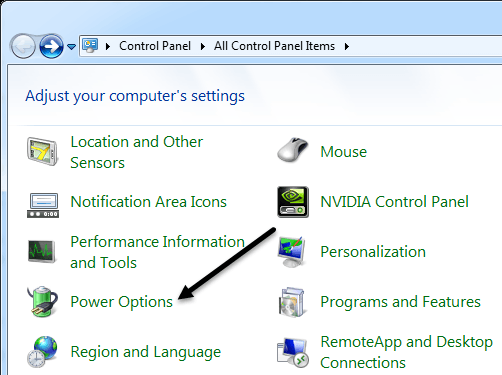
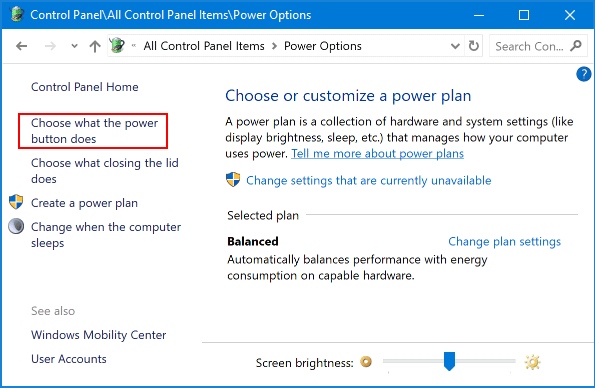
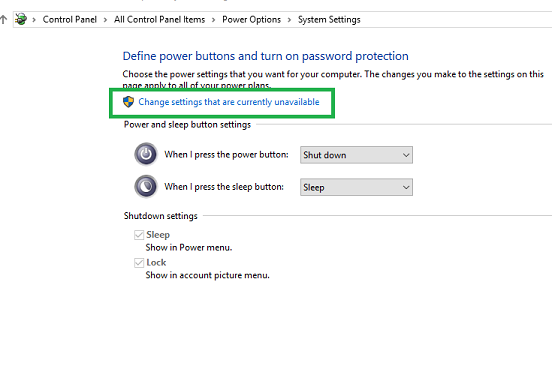
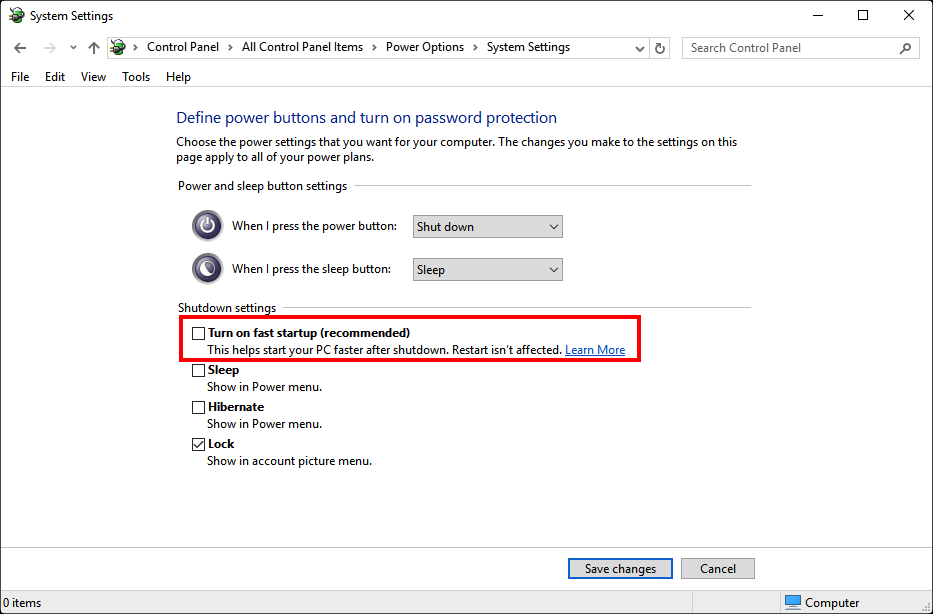
KMODE_EXCEPTION_NOT_HANDLED” blue screen error, restart your computer. After a successful reboot, press Windows+R, type “control panel“, and click “OK” to open the Control Panel.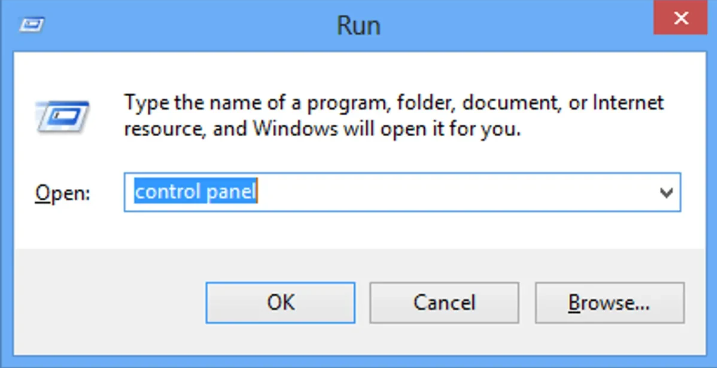
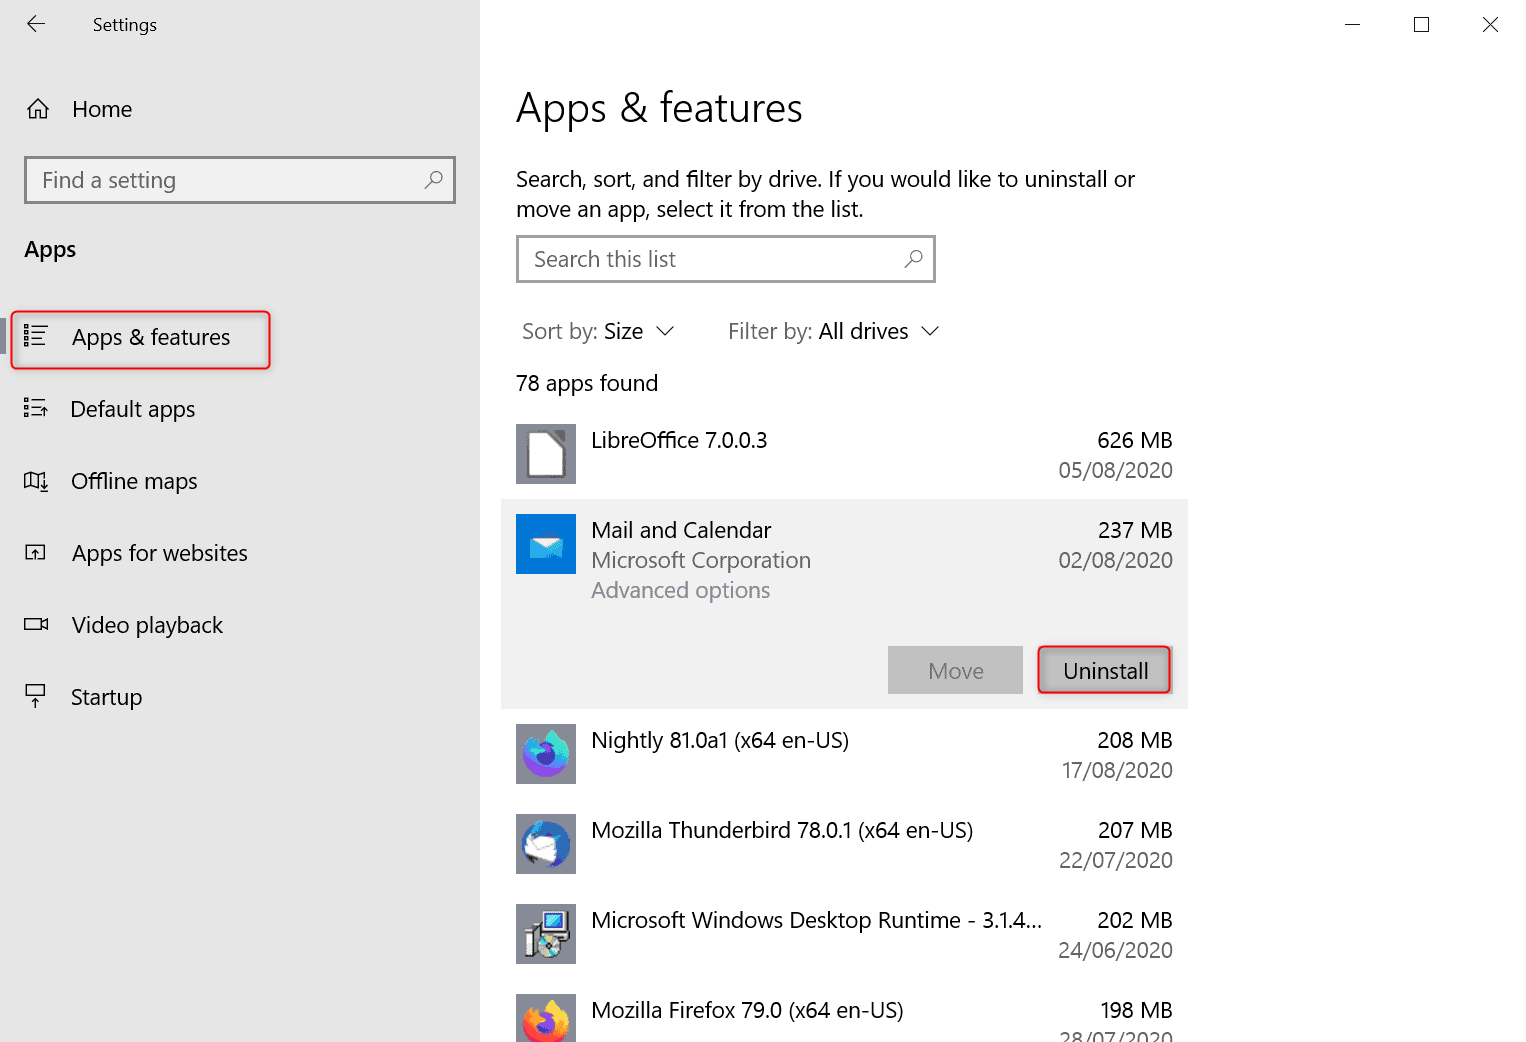
KMODE_EXCEPTION_NOT_HANDLED error occurs, the problematic driver’s name will be displayed within the error message. To resolve this, identify the driver’s name and proceed to update it with the following steps:Windows+X) key, and Select (device manager) .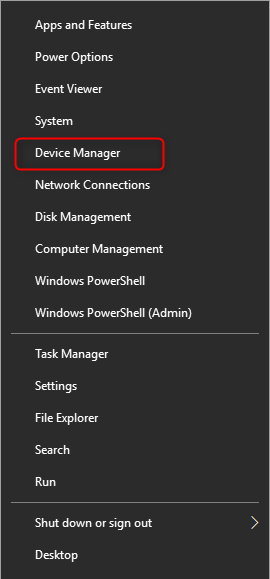
To resolve issues such as the KMODE_EXCEPTION_NOT_HANDLED error, utilize the Windows System File Checker (SFC). This tool verifies the integrity of all protected system files on your PC. Perform the following steps to use SFC:
cmd) in the search box, right-click the search result, and select (Run as administrator) to open the command prompt window.DISM.exe /Online /Cleanup-image /Restorehealth before the SFC scan. Afterward, input sfc /scannow and hit Enter. If you encounter “Windows Resource Protection cannot perform the requested operation” post-SFC scan, click here for further information.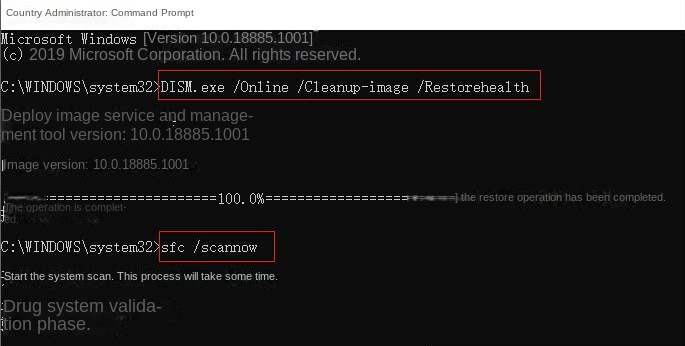

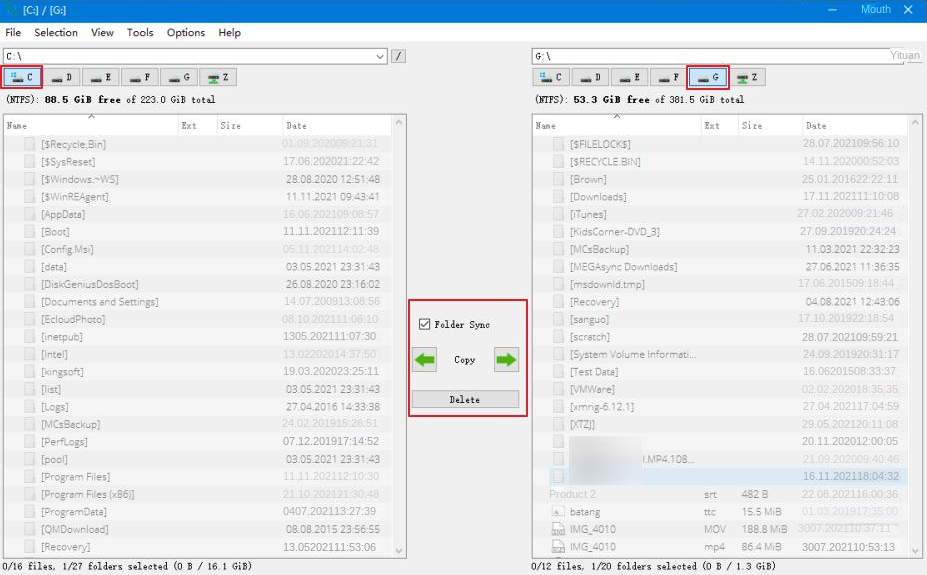
Easy to use 3 steps to transfer the files.
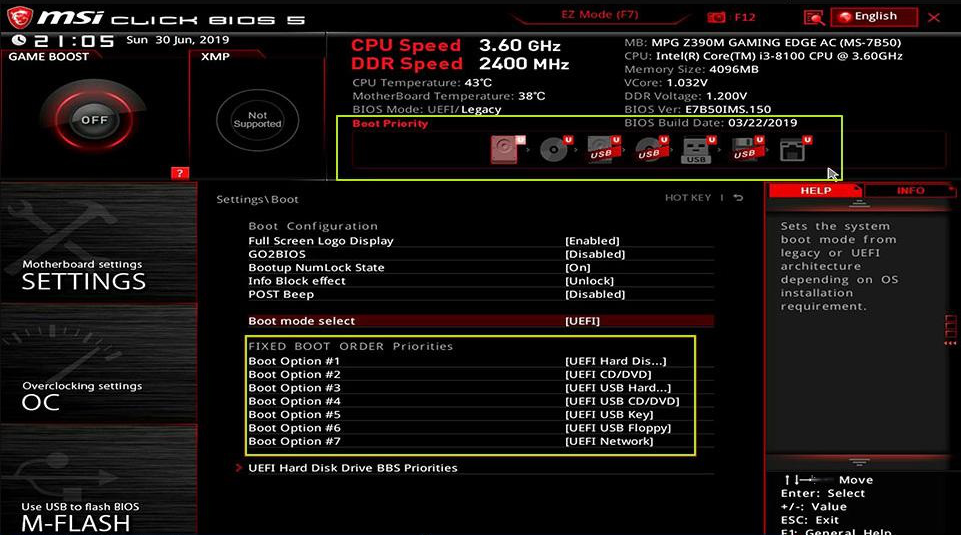
Transfer the files Transfer the important files of the computer without system.
Preview the files Preview the files while transferring the data.
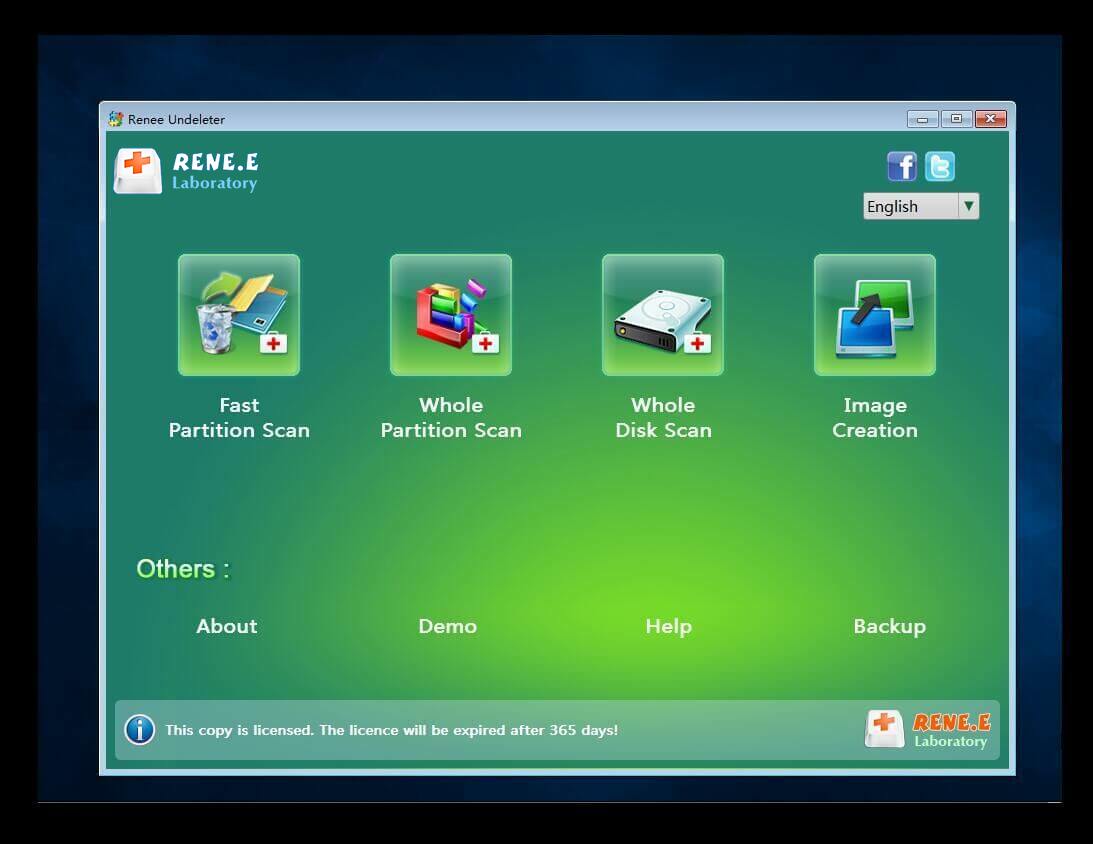
Multifuctional Data recovery, Windows password reset, bootable problem recovery can be run without system.
Highly compatible Windows 10/8.1/8/7/XP/Vista. Also supports UEFI boot mode.
Easy to use 3 steps to transfer the files.
Transfer the files Transfer the important files of the computer without system.
Preview the files Preview the files while transferring the data.
Free TrialFree TrialNow 2000 people have downloaded!


Relate Links :
Easy Solutions for Fixing HP Computer's SMART Hard Disk Error 301 Error

12-09-2023
Jennifer Thatcher : Learn how to solve the SMART hard disk error 301 prompt on HP computers with this comprehensive article...
Fix the Blue Screen Error Code Process1 Initialization Failed in Windows

12-09-2023
John Weaver : Learn how to solve the Windows blue screen error code "Process1 Initialization Failed" with practical solutions and data...
Ultimate Guide for the NETIO.SYS Blue Screen Error on Windows
08-12-2023
Amanda J. Brook : Resolve the NETIO.SYS blue screen error with our article guide. Before the reparation, we recommend you to transfer...
Ultimate Guide to Fix the error CRITICAL_STRUCTURE_CORRUPTION

12-03-2024
Ashley S. Miller : Learn how to analyze and fix the "CRITICAL_STRUCTURE_CORRUPTION" blue screen error on your Windows system. Also discover how...

