

Fixing Windows 10 Not Detecting Second Hard Drive

Summary
Learn how to troubleshoot the "Windows 10 not detecting second hard drive" issue. Discover common causes and effective solutions in this article.

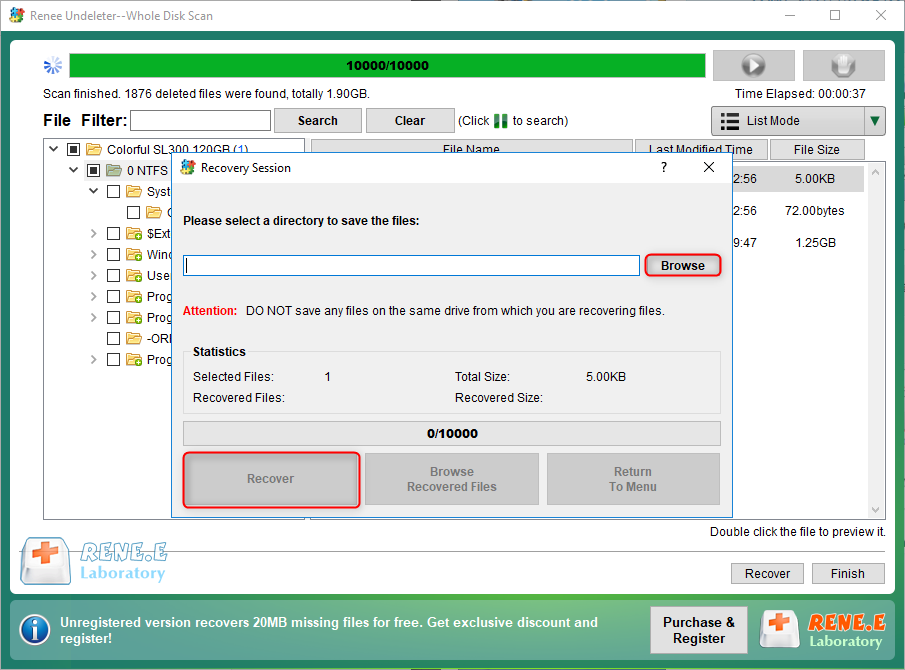
Easy to use Recover data by 3 steps;
Multiple scan modes Fast partition scan, whole partition scan and whole disk scan;
Supported file types Image, video, audio, text, email and so on;
Image creation Create a partition image to read and back up data;
Supported devices SD card, SDHC, SDXC, USB flash drive, hard disk and computer.
Easy to use Recover data by 3 steps;
Multiple scan modes Fast partition/whole partition/whole disk scan;
Supported devices SD card/USB/hard disk.
Free TrialFree TrialFree Trial 800 people have downloaded!
- Fast Partition Scan – Quickly retrieve files lost due to accidental deletion or emptying the recycle bin.
- Whole Partition Scan – Recover files from inaccessible or formatted partitions.
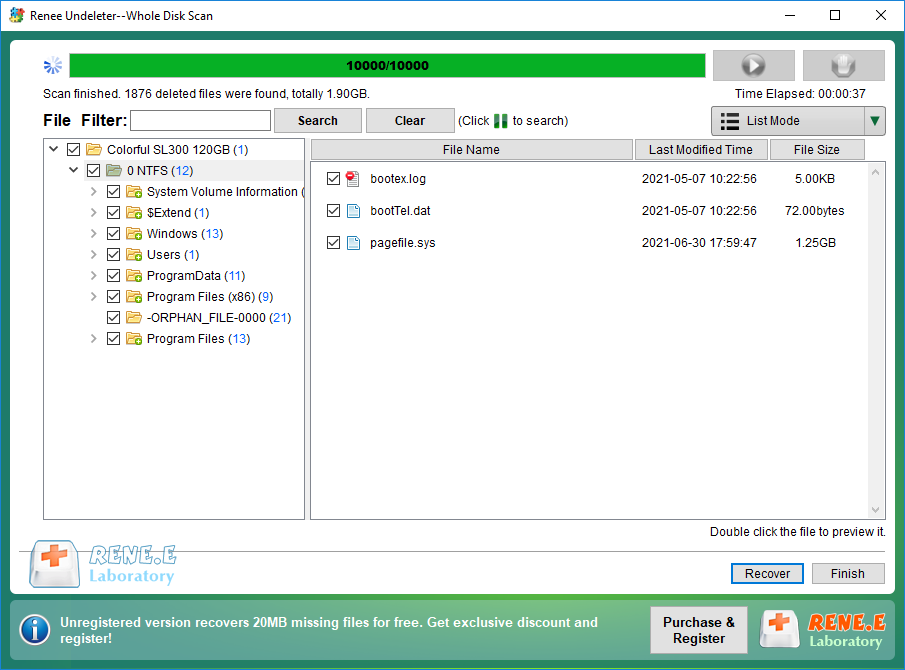
- Whole Disk Scan – Analyze partition information and fully scan the entire disk.
- Image Creation – Create an image of a partition to back up its current state.

Relate Links :
Fix Maxtor External Hard Drive Not Recognized Issue

12-01-2024
John Weaver : Learn how to fix maxtor external hard drive not recognized by your computer and recover your data with...
Recover Data from a Laptop Hard Drive that Won't Boot

11-06-2024
Ashley S. Miller : Learn two proven techniques to quickly recover data from laptop hard drive and protect your valuable information.
Hard Drive Not Showing Files - Quick Fix

11-06-2024
Amanda J. Brook : Identify causes of hard drive not showing files, master data recovery, and repair faulty hard disks. Enhance your...
Toshiba Hard Drive Recovery: Expert Tips
18-01-2024
Ashley S. Miller : Learn how to quickly recover data from your Toshiba hard disk and discover practical data recovery software solutions....

