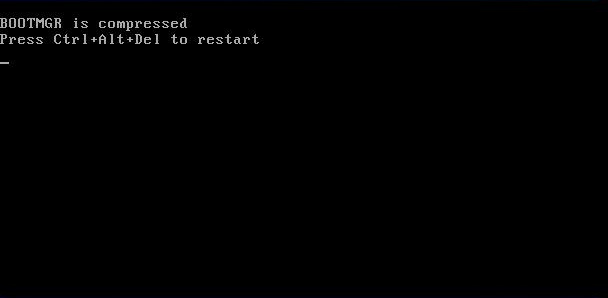
II. How to solve the prompt BOOTMGR is compressed when booting?
1. Use the startup repair function
The Startup Repair feature resides in the Windows Recovery Environment and can fix many startup problems. Specific steps are as follows:
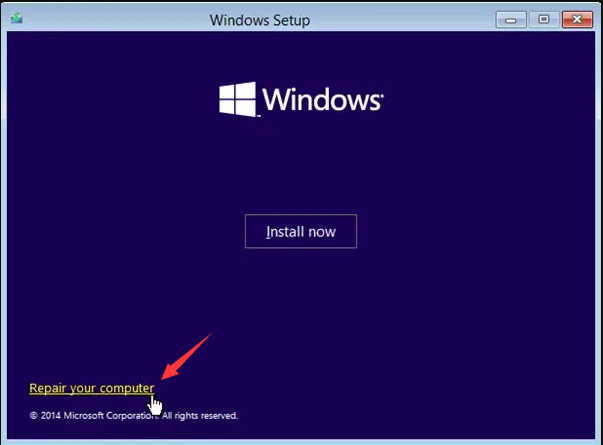
Step 1: Insert the Windows 10 installation disk and set the first boot sequence to the disk in BIOS settings. Restart the computer and select “Repair Your Computer” on the Windows Installer screen to enter the recovery environment.
You can create a WIndows Installation disk using Windows Media Creation Tool : https://www.microsoft.com/software-download/windows10
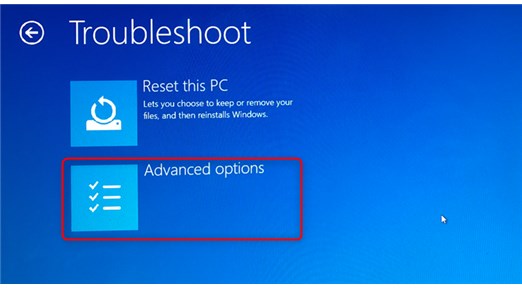
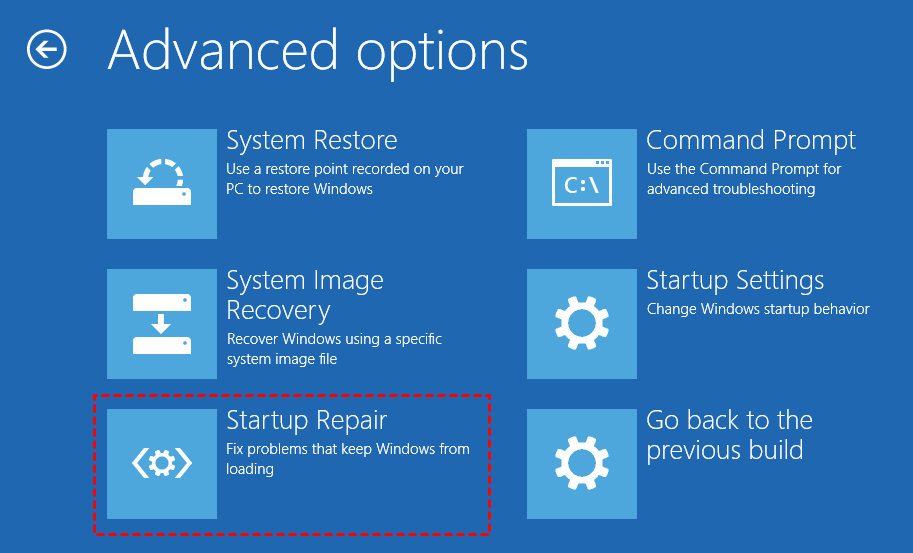
Step 2: Enter the recovery environment, choose (Troubleshooting)>(Advanced Options)>(Startup Repair), wait for Windows Startup Repair to finish, then restart the computer to check if the issue is fixed.
2. Uncheck (Compress this drive)
Accidentally checking the “compress this drive to save disk space” option in the properties of the system disk (C:) can cause Windows to fail to boot with an error of “BOOTMGR is compressed“. To resolve this, try entering safe mode and unchecking this option in the future.
Step 1: Insert the Windows 10 installation disk and set the first boot sequence to the disk in BIOS settings. Restart the computer and select “Repair Your Computer” on the Windows Installer screen to enter the recovery environment.
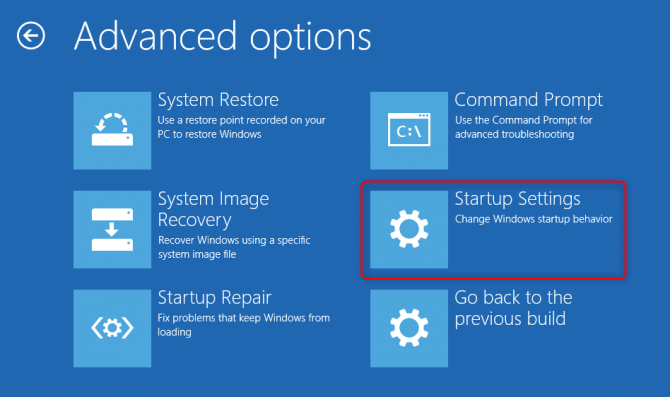
Step 2: After entering the recovery environment, select (Troubleshooting)>(Advanced Options)>(Startup Settings).
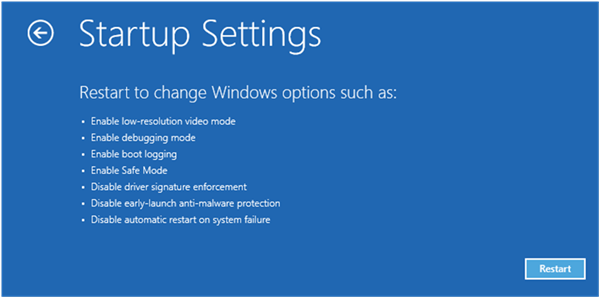
Step 3: Click the (Restart) button in the lower right corner to restart the computer.
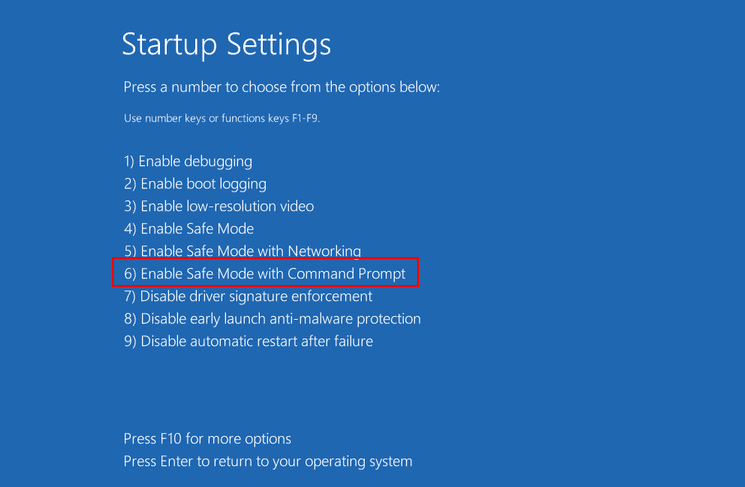
Step 4: When the computer restarts, press the corresponding number (such as F4/F5/F6) in the startup setting menu to select the safe mode you need to start. For example, press (F4) to enable safe mode.
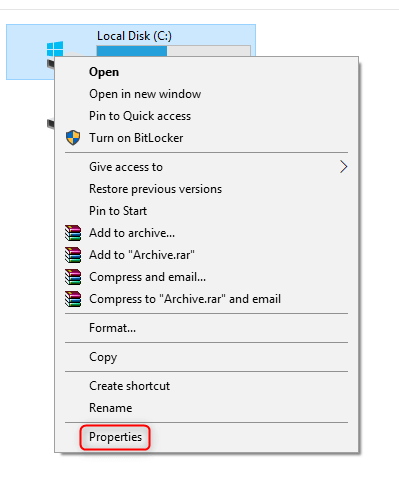
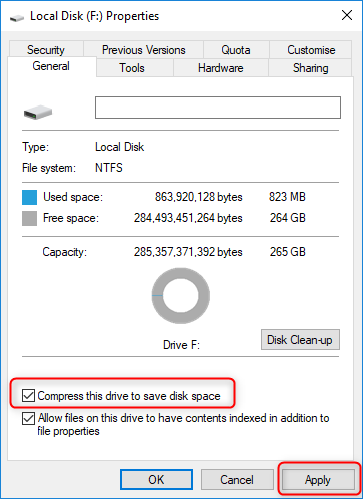
Step 5: In safe mode, right-click system disk (C:) in file explorer, select (Properties), uncheck (Compress this drive to save disk space) in (General) tab, click (OK). Remove Windows installation disk, restart computer to check problem resolution.
3. Decompress BOOTMGR through the Compact command
If you cannot enter safe mode, you can also decompress BOOTMGR through the Compact command. Specific steps are as follows:
Step 1: Insert the Windows 10 installation disk and set the first boot sequence to the disk in BIOS settings. Restart the computer and select “Repair Your Computer” on the Windows Installer screen to enter the recovery environment.
Step 2: After entering the recovery environment, select (Troubleshooting)>(Advanced Options)>(Command Prompt).
Step 3: Enter (compact /u C:\bootmgr) in the command prompt window, press Enter, delete compression attribute from directory C:\bootmgr. Remove Windows installation disk, restart computer to check if problem is resolved. For more info on Compact command, refer to Microsoft’s official instructions.
4. Manually update BOOTMGR
We can also try to manually update BOOTMGR to solve this problem, the specific steps are as follows:
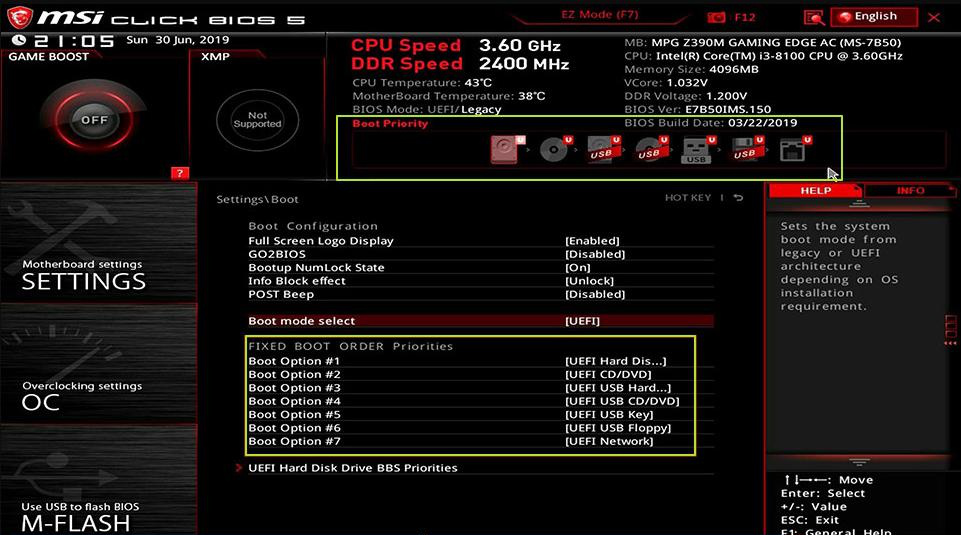
Step 1: Insert the Windows 10 installation disk (DVD or USB flash drive) into the computer. Continuously click F2 or F10 or DEL or ESC shortcut key (varies with the computer brand) to enter the BIOS setting interface when starting up, set the first boot sequence to the Windows installation disk, then save the settings, restart the computer, and make the computer start from the installation disk, Select the (Repair Your Computer) option on the Windows Installer “Install Now” screen to enter the recovery environment.
Step 2: After entering the recovery environment, select (Troubleshooting)>(Advanced Options)>(Command Prompt).
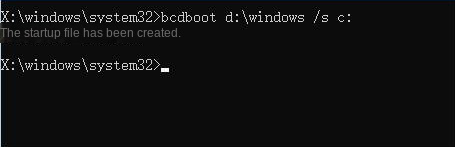
Step 3: In the opened command prompt window, enter (bcdboot d:\windows /s c:) (copy the BCD file in the d:\windows folder to the system boot partition c:), and press the (Enter) key . Then shut down and remove the Windows installation disk, and then restart the computer to see if the problem is resolved. For more information about the BCDBoot command, check out the official instructions written by Microsoft.
● (d:\windows) in the command refers to the location of the root directory of the Windows system. Please enter the corresponding drive letter and directory according to the disk location where your Windows installation is located.
● The (c:) in the command refers to the boot partition, please fill in the correct drive letter according to the actual situation.
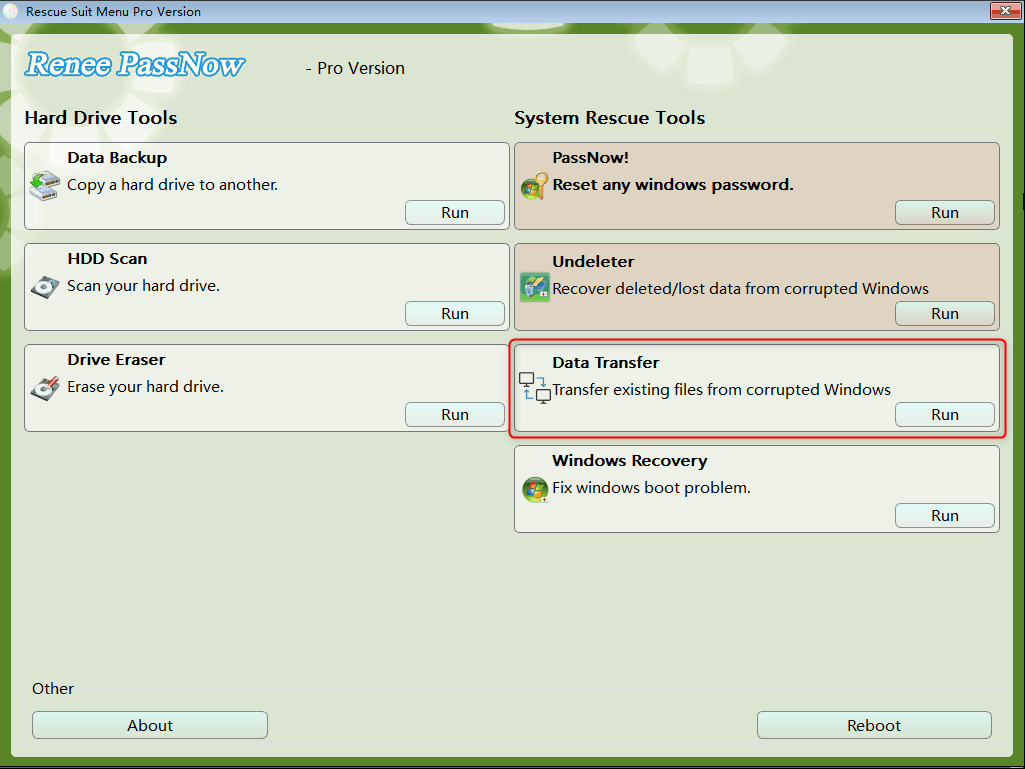
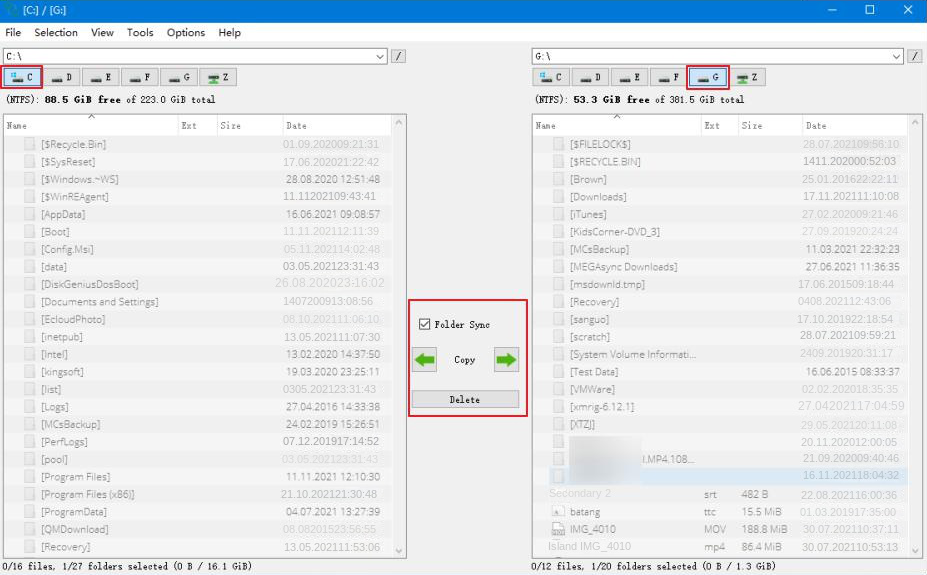
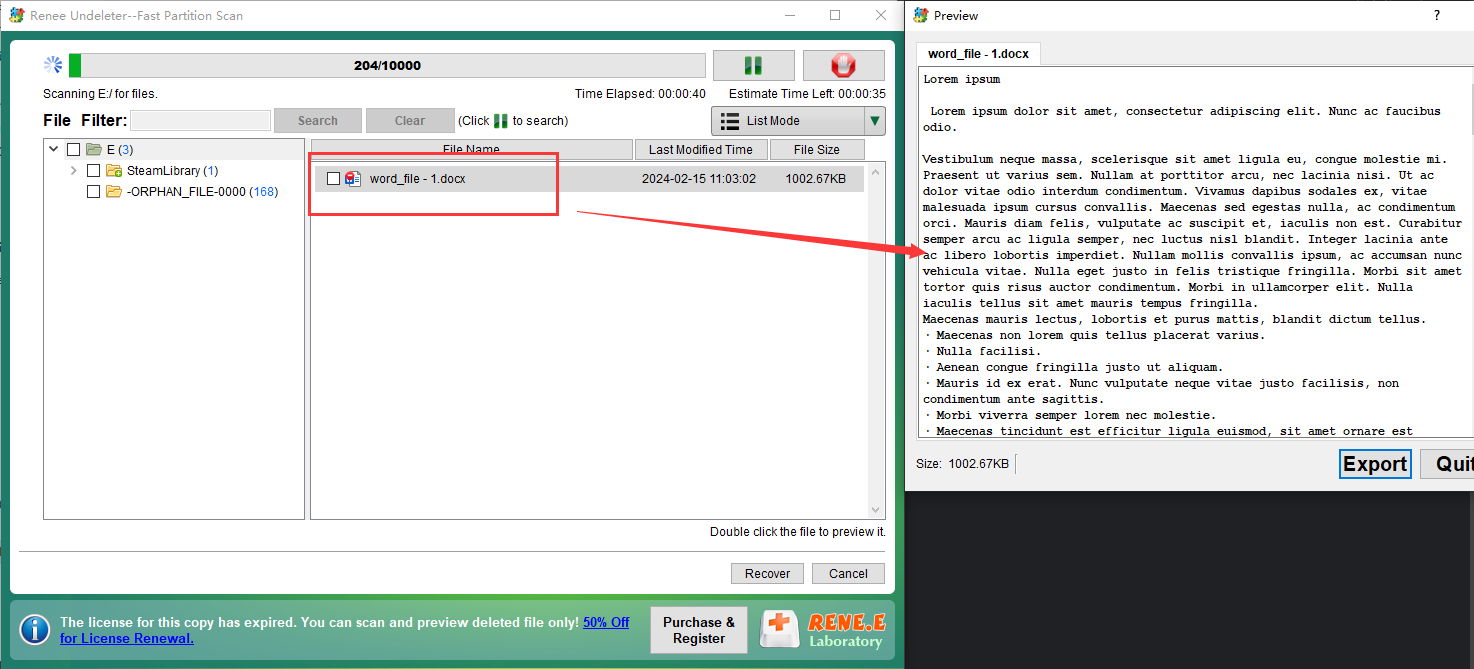
The above is the solution to the prompt “BOOTMGR is compressed” when booting up. When the system cannot be accessed normally, in order to avoid data loss in the computer, you can view the content of the third part, the method of transferring or restoring data without entering Windows.