

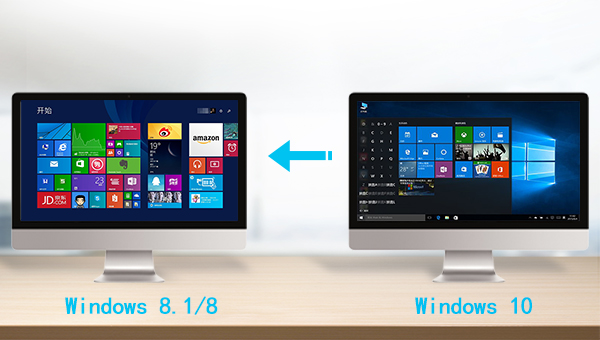
Best Solution of Downgrading from Windows 10 to Windows 8/8.1

Summary
Discover practical methods for downgrading from windows 10 to windows 8, addressing concerns such as software compatibility and network issues.

Quick Backup files at up to 3,000MB/min.
Fullfill different backup needs Supports system backup, disk / partition backup, file backup and disk clone.
Intelligent Automatically analyze the differences between source and backup data.
Convenient Support VSS, allowing to freely view webpages when backing up system.
Highly compatible Supports various files and storage devices.
Quick Backup files at up to 3,000MB/min.
Fullfill different backup needs Backup for disk, partition and system. Save disk space by backing up incremental /differential data.
Highly compatible Supports various files and storage devices.
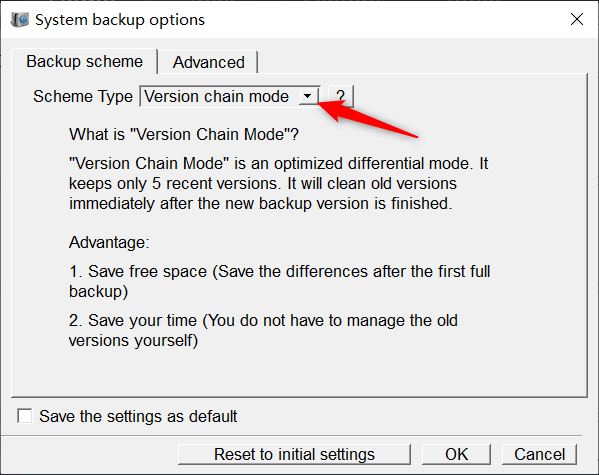
- Version Chain Mode: Keeps the latest 5 versions, automatically deleting older ones after each backup.
- Single Version Mode: Retains only the most recent version, deleting the previous one after each backup.
- Full Mode: Creates a full backup.
- Incremental Mode: After an initial full backup, only incremental backups are made.
- Differential Mode: Only differential backups are made after an initial full backup.

Relate Links :
Windows 10 System Backup : 5 Different Backup Modes
13-09-2023
Amanda J. Brook : Make the automatic backup plans for Windows 10 system with 5 different backup modes. Save time and disk...
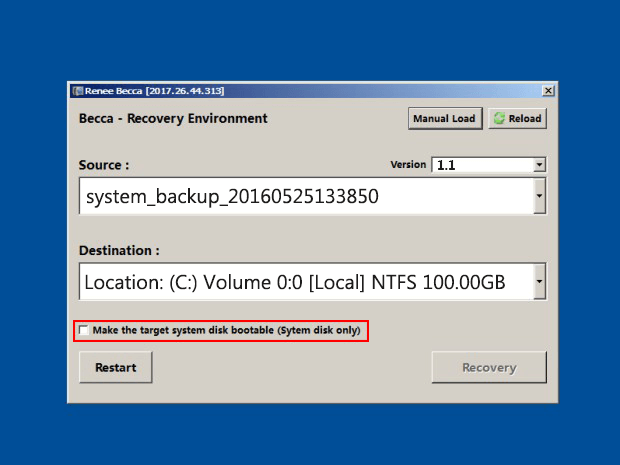
How to Restore System Backup by Renee Becca
27-05-2022
Amanda J. Brook : Detailed steps about how to restore the backup system to original system disk without Windows.
Windows 8 Backup, Windows 8.1Backup and System Restore

20-06-2019
John Weaver : In the daily use of Windows 8 or Windows 8.1, malfunction, poor performance or fail to start of...
How to Backup iPhone? Mastering iPhone Backup Secrets
16-01-2024
Amanda J. Brook : Discover different methods to back up your iPhone, ensuring the safety of your personal data. Find out everything...

