

Fix GPT Partition Style Error When We Install Windows on Selected Disk

Summary
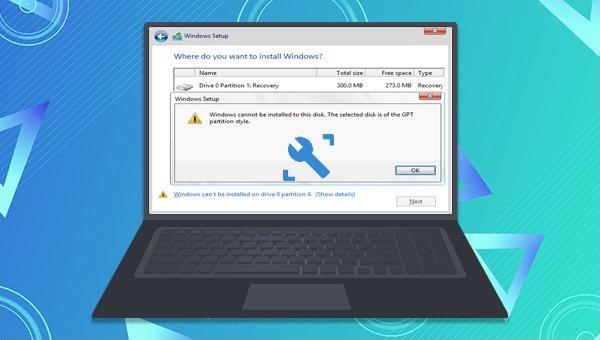
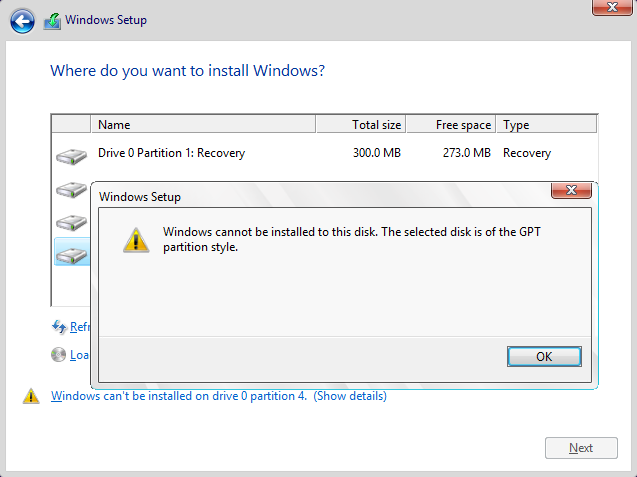
Learn how to fix the error "Windows cannot be installed to this disk. The selected disk is of the GPT partition style" with effective solutions and system data backup.
Table of contents

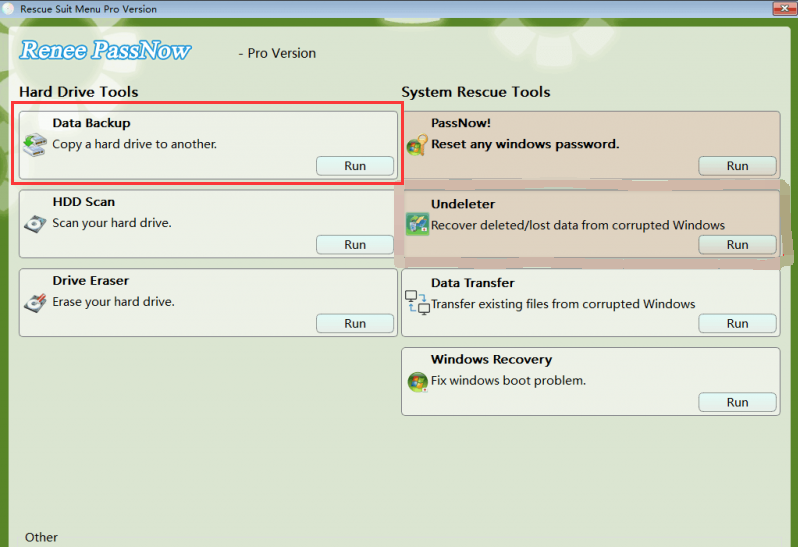
Easy to use 3 steps to transfer the files.
Transfer the files Transfer the important files of the computer without system.
Preview the files Preview the files while transferring the data.
Multifuctional Data recovery, Windows password reset, bootable problem recovery can be run without system.
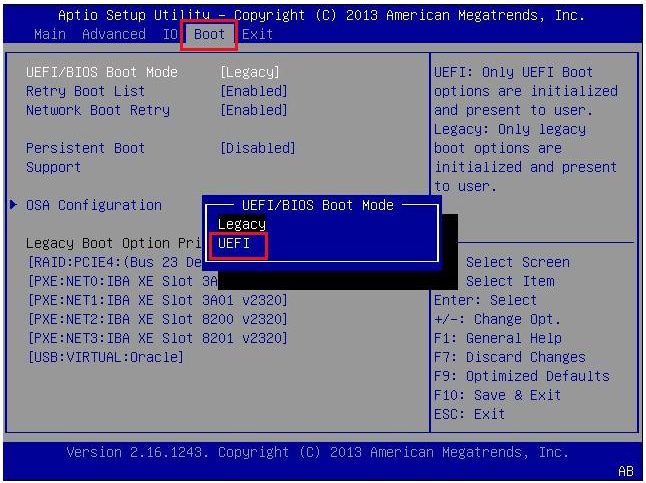
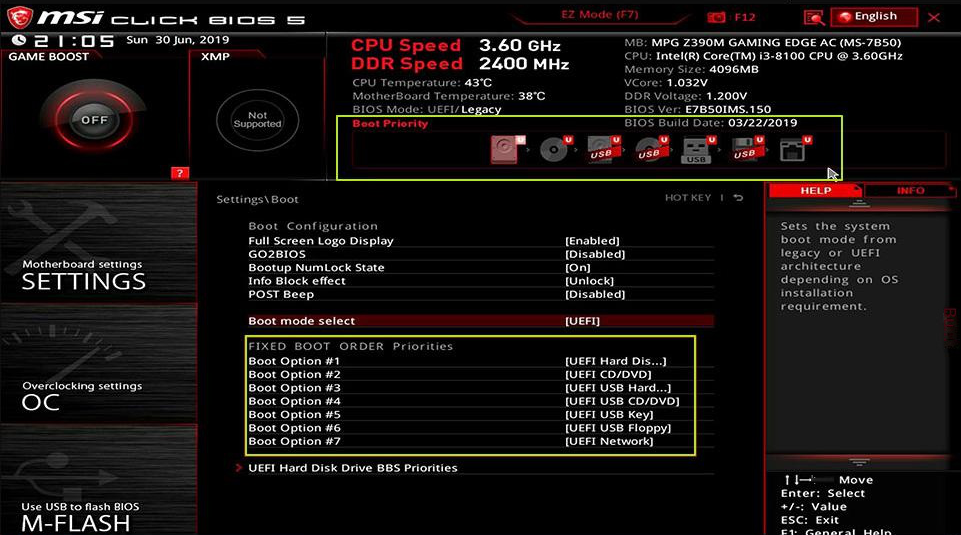
Highly compatible Windows 10/8.1/8/7/XP/Vista. Also supports UEFI boot mode.
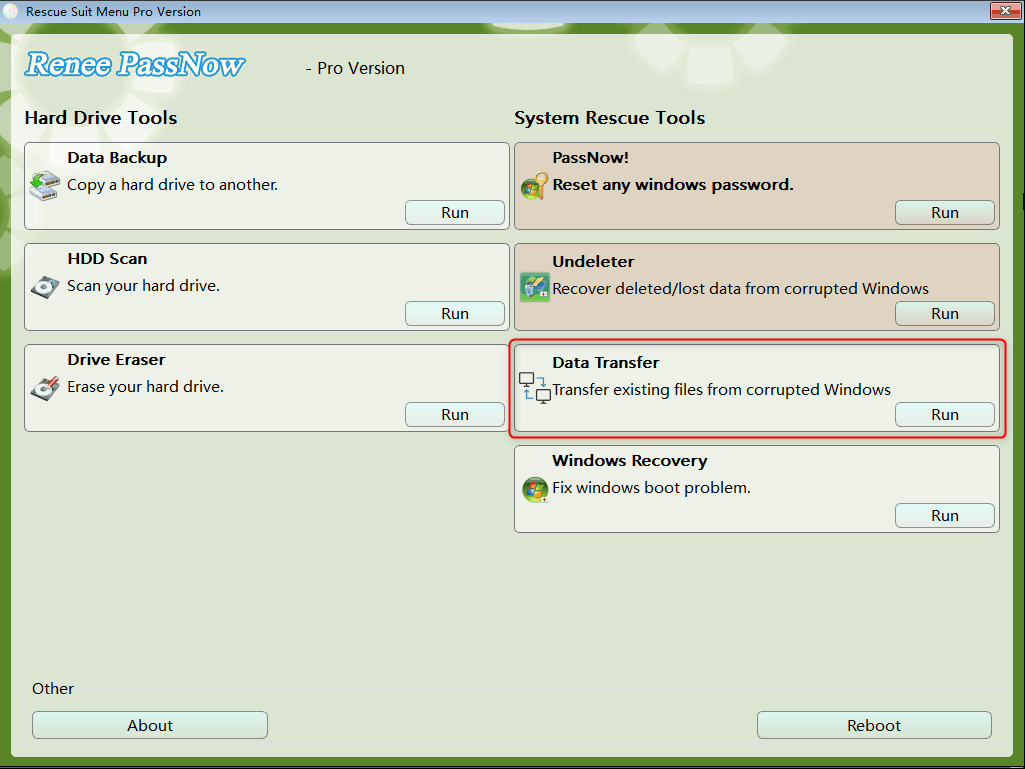
Easy to use 3 steps to transfer the files.
Transfer the files Transfer the important files of the computer without system.
Preview the files Preview the files while transferring the data.
Free TrialFree TrialNow 2000 people have downloaded!Please select the (Create a Live USB) option under “Step 1: Select creation method” in the main interface.
Note: Before performing this operation, please make sure that the important files in the USB disk have been saved in other locations because the operation will delete all the data in the USB disk.


Relate Links :
How to boot from CD in Windows 10?
03-04-2024
Ashley S. Miller : Discover the straightforward process for booting directly from a CD in Windows 10, whether you're aiming to repair...
Easy Solutions for Fixing the error BOOTMGR is Compressed

01-03-2024
Jennifer Thatcher : Discover effective methods to resolve the "BOOTMGR is compressed" error on Windows PCs and retrieve inaccessible data without...
Fixing "Advapi32.dll Missing" Error on Windows System

09-12-2023
John Weaver : When you meet the error Advapi32.dll missing on your computer, you can fix it with the solutions presented...
Tips and Tricks for Solving KMODE_EXCEPTION_NOT_HANDLED on Blue Screen

03-04-2024
Amanda J. Brook : If you're facing the KMODE_EXCEPTION_NOT_HANDLED error on your Windows system, this guide offers a range of solutions to...

