

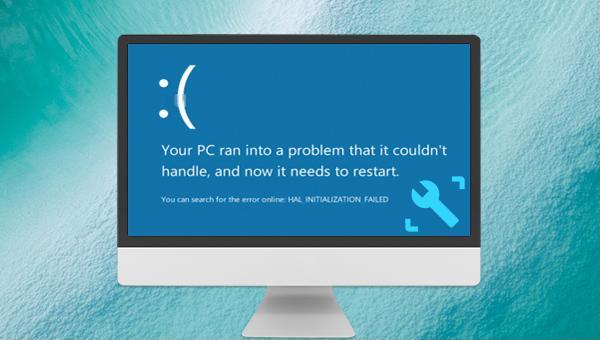
Solve Windows 10′s HAL_INITIALIZATION_FAILED Blue Screen Error Now

Summary
Learn how to solve the HAL_INITIALIZATION_FAILED blue screen error. Discover the root cause and common solutions in this comprehensive guide. Plus, easily transfer data when your computer can't enter the system due to various blue screen failures.
Table of contents

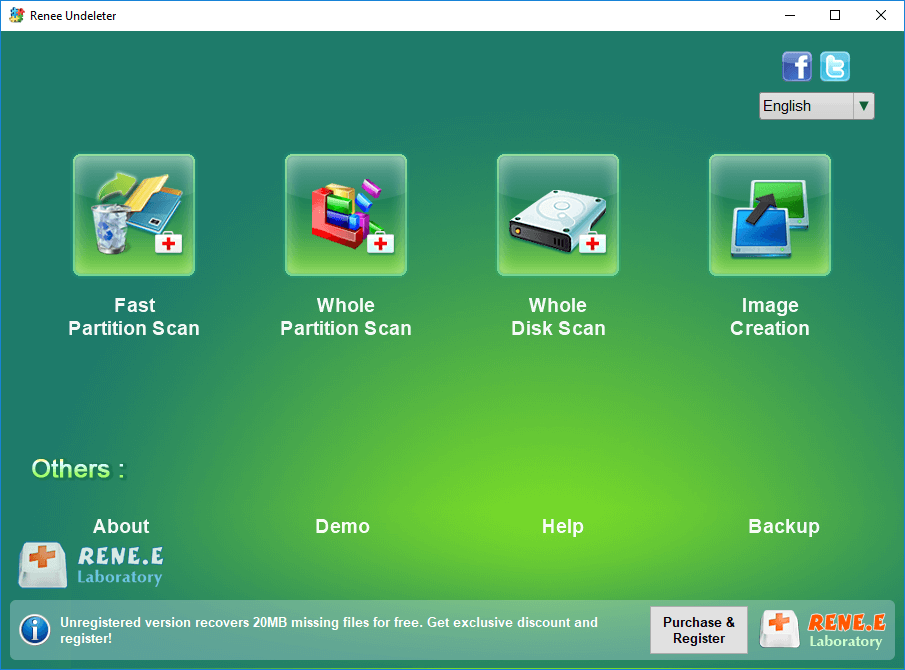
Easy to use 3 steps to transfer the files.
Transfer the files Transfer the important files of the computer without system.
Preview the files Preview the files while transferring the data.
Multifuctional Data recovery, Windows password reset, bootable problem recovery can be run without system.
Highly compatible Windows 10/8.1/8/7/XP/Vista. Also supports UEFI boot mode.
Easy to use 3 steps to transfer the files.
Transfer the files Transfer the important files of the computer without system.
Preview the files Preview the files while transferring the data.
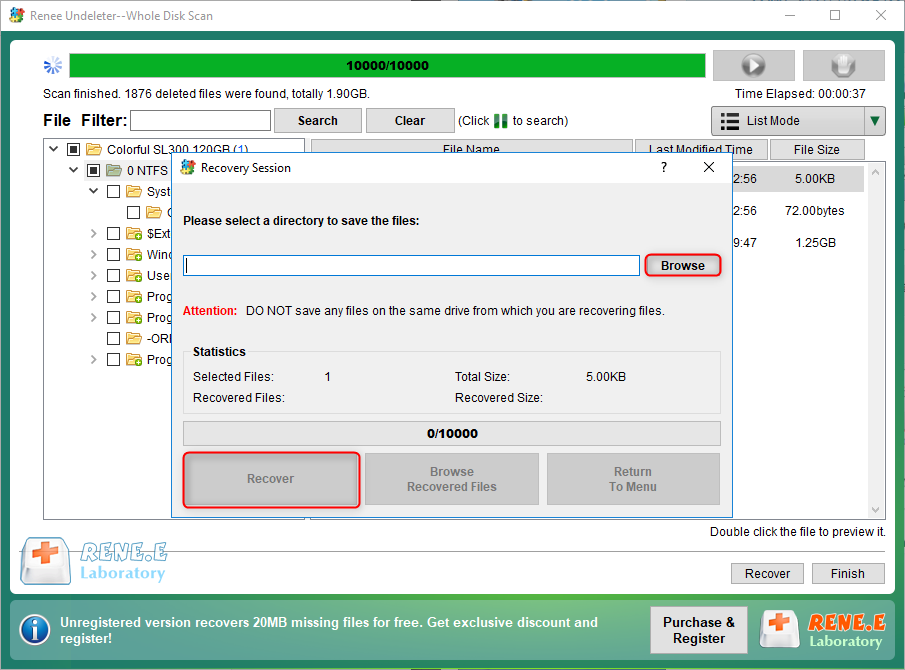
Free TrialFree TrialNow 2000 people have downloaded!Please select the (Create a Live USB) option under “Step 1: Select creation method” in the main interface.
Note: Before performing this operation, please make sure that the important files in the USB disk have been saved in other locations because the operation will delete all the data in the USB disk.


SFC /scannow , and press Enter. System File Checker will scan and repair corrupt system files. If the issue persists, proceed to the next step.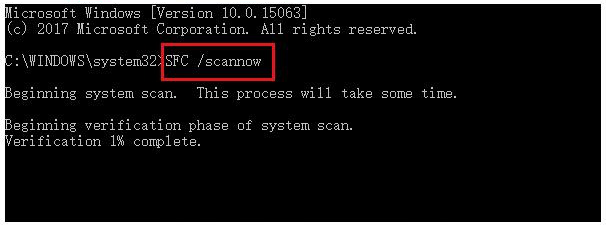
Dism /Online /Cleanup-Image /RestoreHealth, and press Enter to repair damaged system files. Once executed, restart your computer to see if the issue is resolved.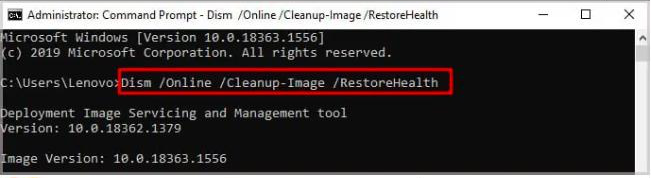
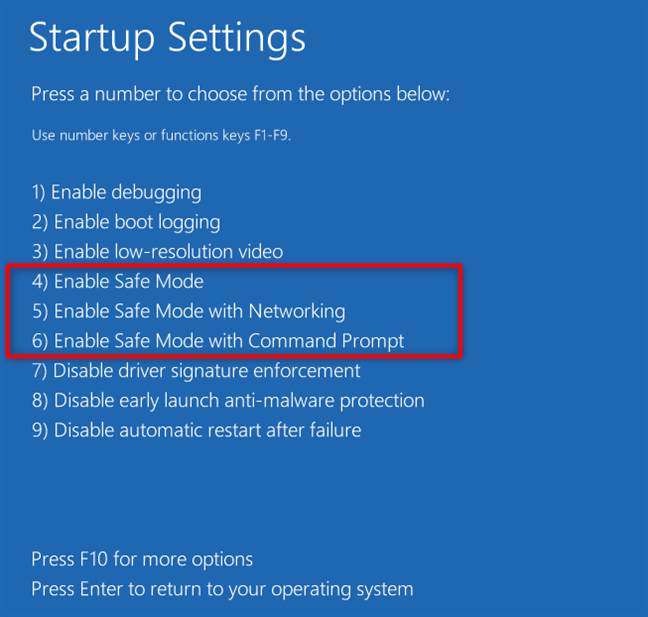
① HAL_INITIALIZATION_FAILED blue screen problem may be caused by problematic software. If your computer is experiencing blue screen errors after installing new software, uninstall it in safe mode.
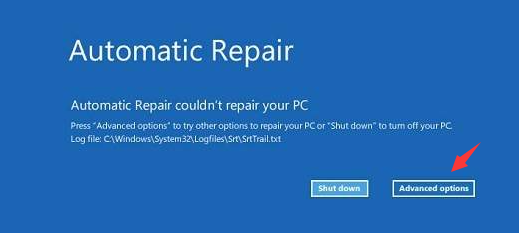
② Resetting the computer is a viable solution for resolving the HAL_INITIALIZATION_FAILED blue screen issue. If you are unable to access the Windows system, you can attempt to enter the recovery environment using the Windows installation disk. From there, you can utilize the “Reset this computer” feature to erase all system content and reboot the system. However, it is advisable to first consult the second section for transferring any crucial data.
③ The blue screen failure may also be caused by incompatible hardware. If you have installed new hardware recently, you can try to remove the newly installed hardware. If you haven’t installed any new hardware, you need to check if the hardware is working properly.
Relate Links :
How to Fix When Files on SD Card Not Showing up on Android?

27-12-2021
Amanda J. Brook : Sometimes, the SD card files are not showing up on Android. How can we solve the problem? In...
How to Fix GoPro SD Card Error?
14-09-2024
Ashley S. Miller : Some people meet with the GoPro SD card errors, such as “NO SD” and “SD ERR”. In this...
Solutions to SD Card Unexpectedly Removed on Android

24-12-2021
Jennifer Thatcher : Some Android users complain that they always receive the notification saying that the SD is unexpectedly removed. In...
How to Fix Corrupted SD Card on Android?

16-12-2021
John Weaver : SD card is used in various devices, phones, cameras and video games. How to fix the corrupted SD...

