

Solution: Resolving File History not working Issues in Windows 10

Summary
Discover effective solutions to enable file history in Windows 10. Learn how to quickly resolve the problem with automatic backups in this article. Let's solve it together.

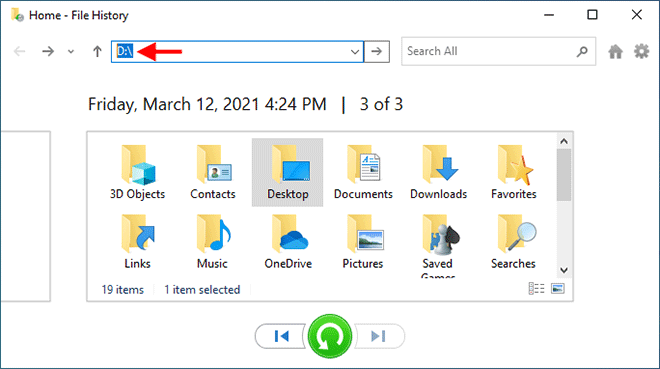

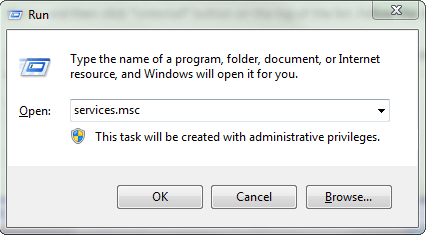
service.msc control dialog.
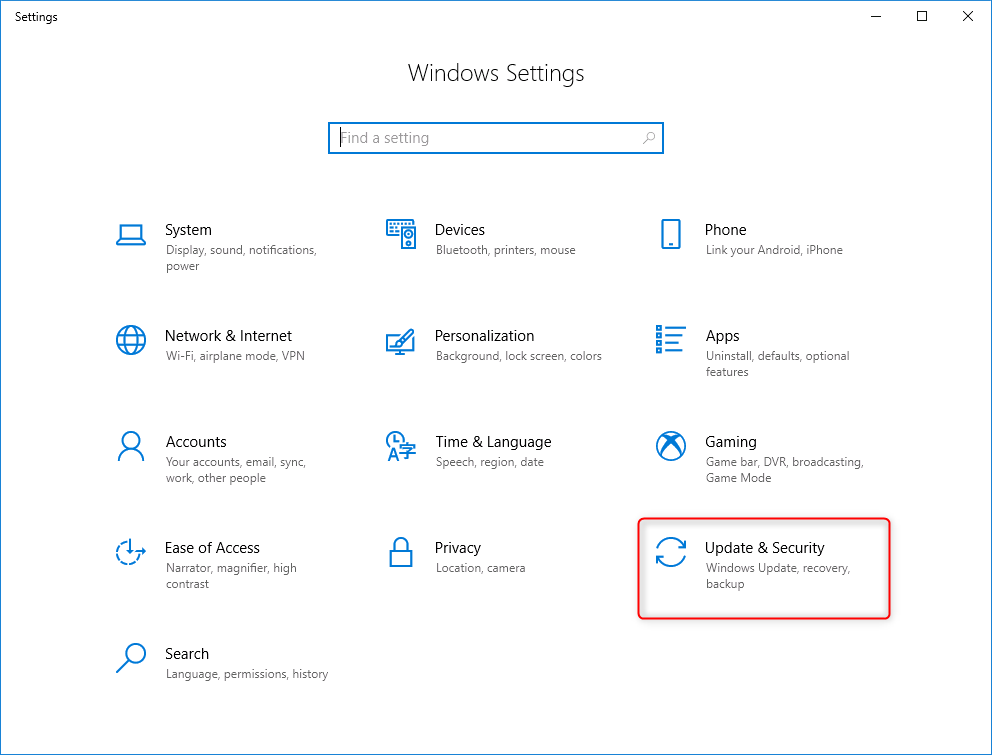
SFC /scannow in the command prompt window and press Enter. System File Checker will scan and fix system files. Restart the device after repair to check for problem resolution.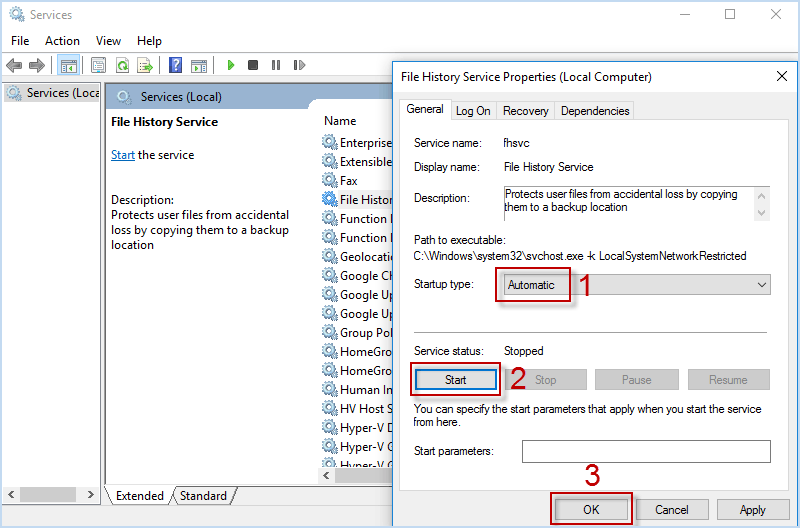


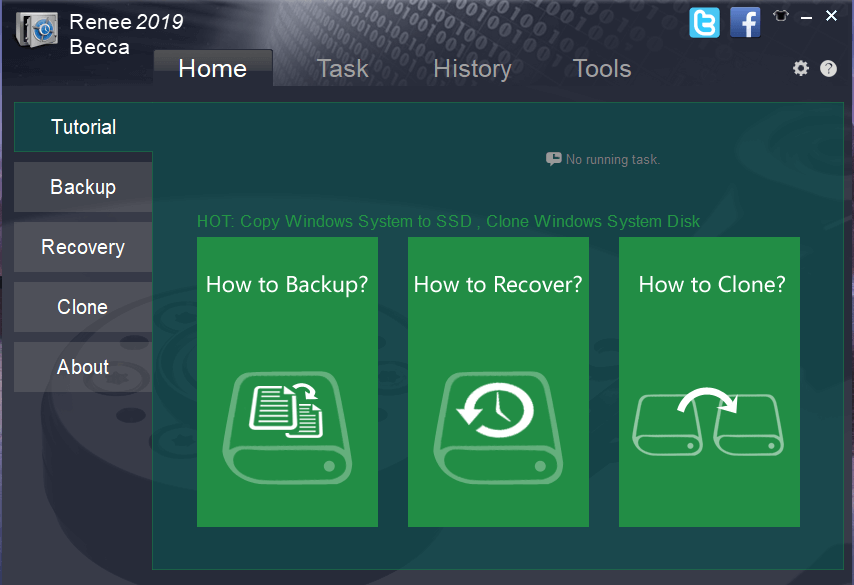

Quick Backup files at up to 3,000MB/min.
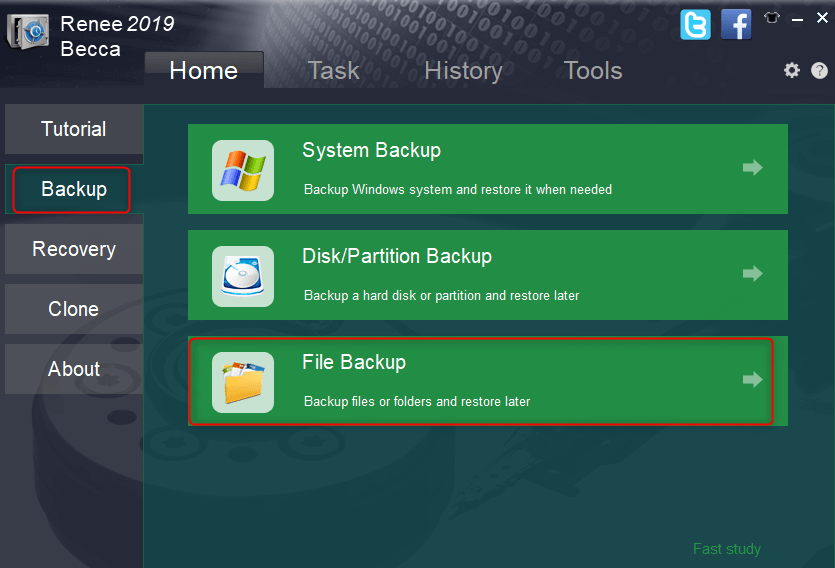
Fullfill different backup needs Supports system backup, disk / partition backup, file backup and disk clone.
Intelligent Automatically analyze the differences between source and backup data.
Convenient Support VSS, allowing to freely view webpages when backing up system.
Highly compatible Supports various files and storage devices.
Quick Backup files at up to 3,000MB/min.
Fullfill different backup needs Backup for disk, partition and system. Save disk space by backing up incremental /differential data.
Highly compatible Supports various files and storage devices.
Relate Links :
Best System Backup Software for Easy and Reliable Data Protection
20-02-2024
Ashley S. Miller : Regularly using system backup software is crucial to avoid data loss due to system failure. Here are recommended...
Backup Comparison: System Backup vs Disk Backup

05-01-2024
Amanda J. Brook : Learn about the difference between system backup vs disk backup for data security in computers. Find out more...
Windows 8 Backup, Windows 8.1Backup and System Restore

20-06-2019
John Weaver : In the daily use of Windows 8 or Windows 8.1, malfunction, poor performance or fail to start of...
Windows 10 System Backup : 5 Different Backup Modes
13-09-2023
Amanda J. Brook : Make the automatic backup plans for Windows 10 system with 5 different backup modes. Save time and disk...

