

Recover Lost/Deleted Partitions & Data: Expert Tips

Summary
Discover practical methods to restore lost partitions and recover crucial data with our comprehensive guide. Find out the most effective strategies to reconstruct your partition and safeguard your valuable information.

Easy to use Only simple steps to recover data from storage devices.
Multiple scan modes Fast partition scan, whole partition scan and whole disk scan for different recovery needs.
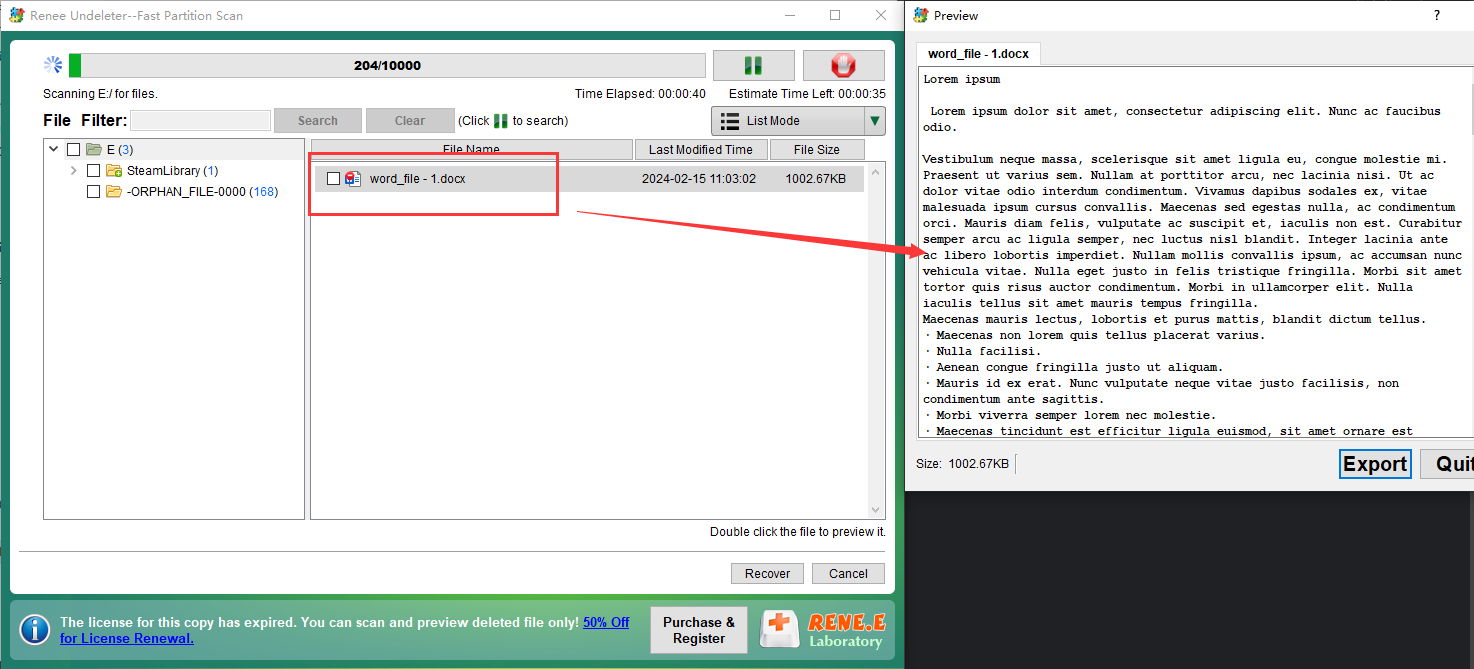
File types Support to recover pictures, videos, audios, documents, mails, etc.
Supported storage devices Recover data from recycle bin, SD card, external disk, etc.
Supported systems Windows 11,10, 8.1, 8, 7, Vista, XP, 2000 and Mac OS X10.6, 10.7, 10.8+.
Easy to use Only simple steps to recover data from storage devices.
Multiple scan modes - 3 scan modes for different recovery needs.
Supported storage devices Recover data from recycle bin, SD card, external disk, etc.
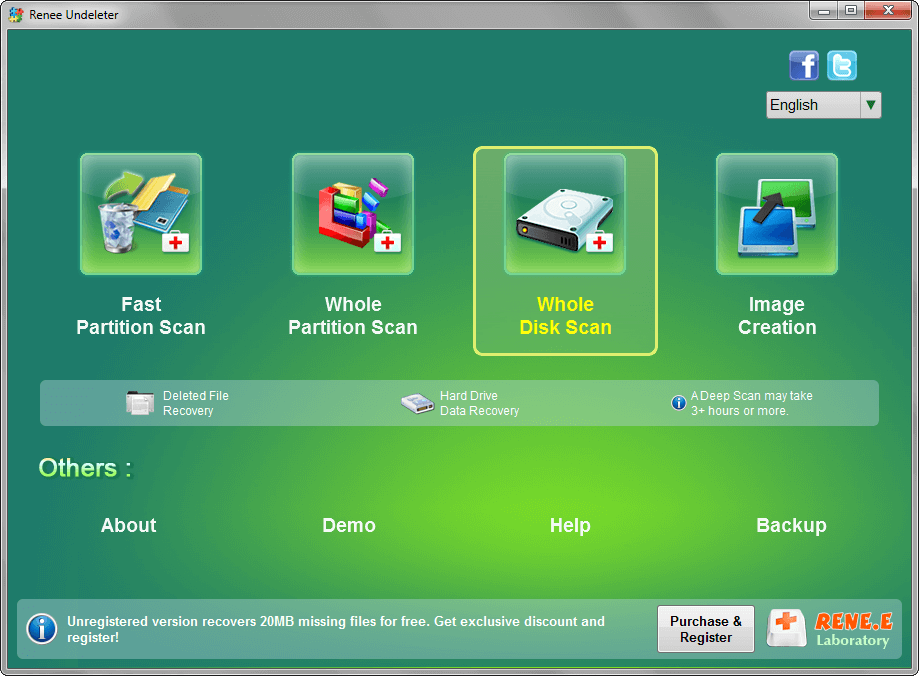
Fast Partition Scan: Quickly retrieve files lost due to accidental deletion or emptying the recycle bin.
Whole Partition Scan: Quickly recover files lost due to inaccessible or formatted partitions.
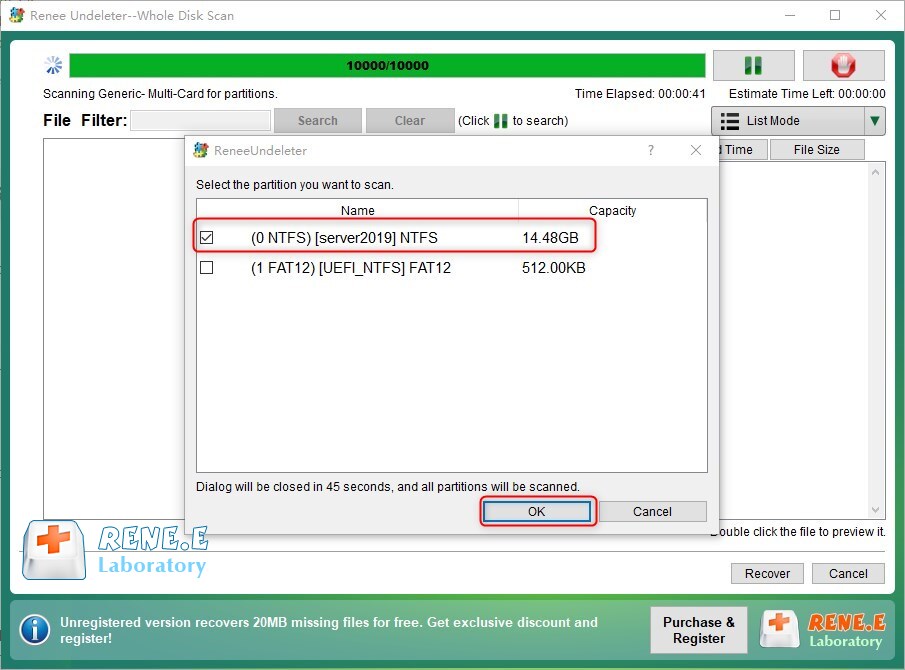
Whole Disk Scan: Partition information can be analyzed and obtained, and the entire partition can be fully scanned.
Image Creation: A mirror can be created for a partition to back up the current partition state.


Easy to use Only simple steps to recover data from storage devices.
Multiple scan modes Fast partition scan, whole partition scan and whole disk scan for different recovery needs.
File types Support to recover pictures, videos, audios, documents, mails, etc.
Supported storage devices Recover data from recycle bin, SD card, external disk, etc.
Supported systems Windows 11,10, 8.1, 8, 7, Vista, XP, 2000 and Mac OS X10.6, 10.7, 10.8+.
Easy to use Only simple steps to recover data from storage devices.
Multiple scan modes - 3 scan modes for different recovery needs.
Supported storage devices Recover data from recycle bin, SD card, external disk, etc.
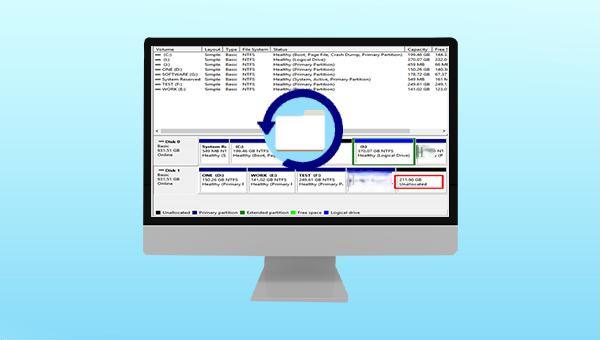
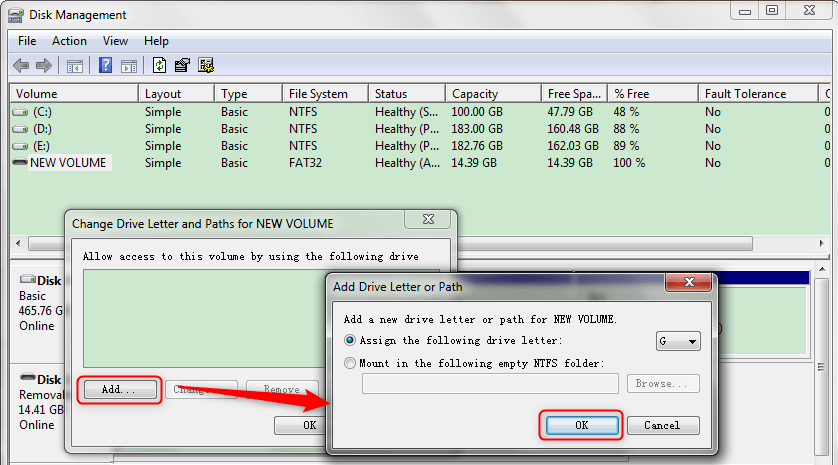
Windows+X) keys on the keyboard at the same time. Then in the pop-up list, select the (Disk Management) option.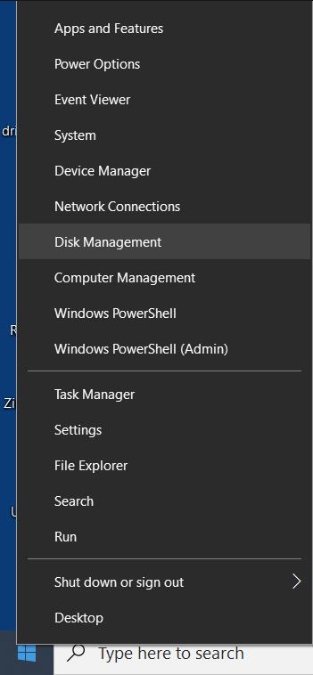

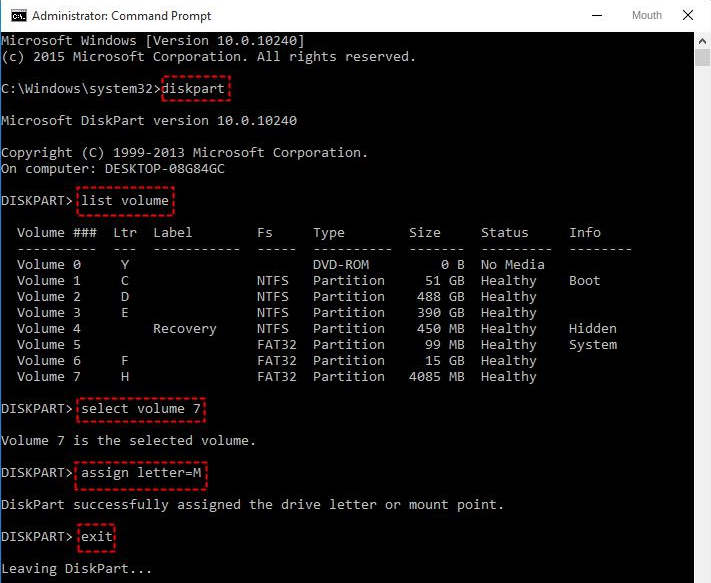
diskpart
list volume
select volume 7
assign letter=M
exit
Relate Links :
How to Recover Files/Data from Corrupted Hard Drive

05-01-2021
Amanda J. Brook : Hard drive gets corrupted, damaged and failed to work? When you come into this situation, please do not...
Recover Data from WD Hard Drive: A Comprehensive Guide
16-06-2024
Amanda J. Brook : Learn how to perform the western digital hard drive recovery to prevent loss due to hard disk failure...
Recover Data from Time Capsule: Simple Steps

10-11-2023
Ashley S. Miller : Learn about Time Capsule, a wireless hard disk for Mac devices. Discover its storage capabilities and how to...
Solving Shortcut Virus on Hard Disk Without Data Loss

20-10-2023
Jennifer Thatcher : Learn how to remove the shortcut virus from your computer's hard disk and recover lost data without any...

